Appearance
Exercise 2 - Enhance your Email Content with Agents
The goal of this exercise is to enhance an email in our campaign brief generated by AI, and use an Agent to make changes to our content.
Step 1: Customize Our Email Template Using our Agent
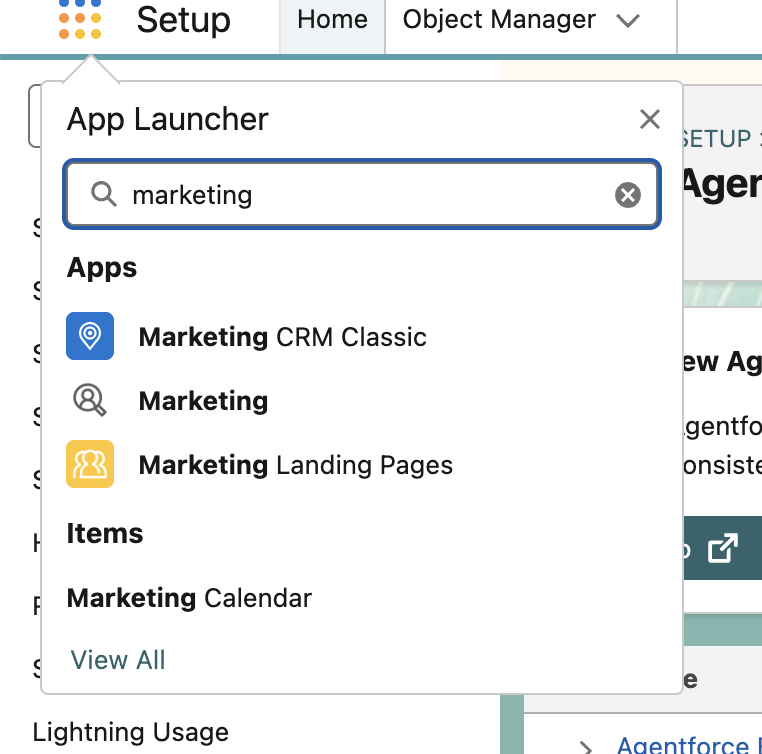
Exit the agent builder. At the top left, click the waffle icon and search for and click Marketing.
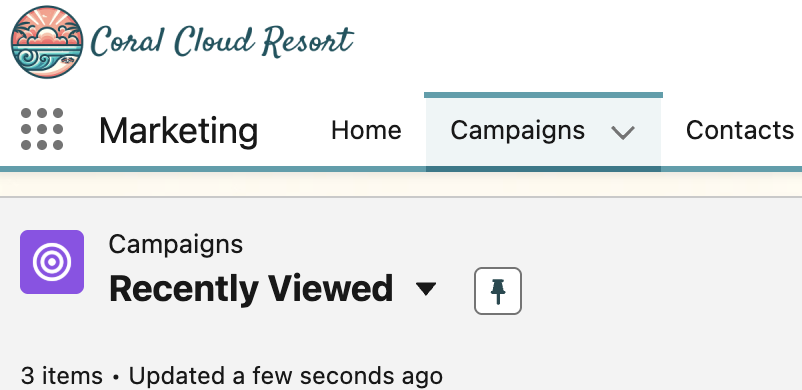
Find and click on the Campaigns Tab
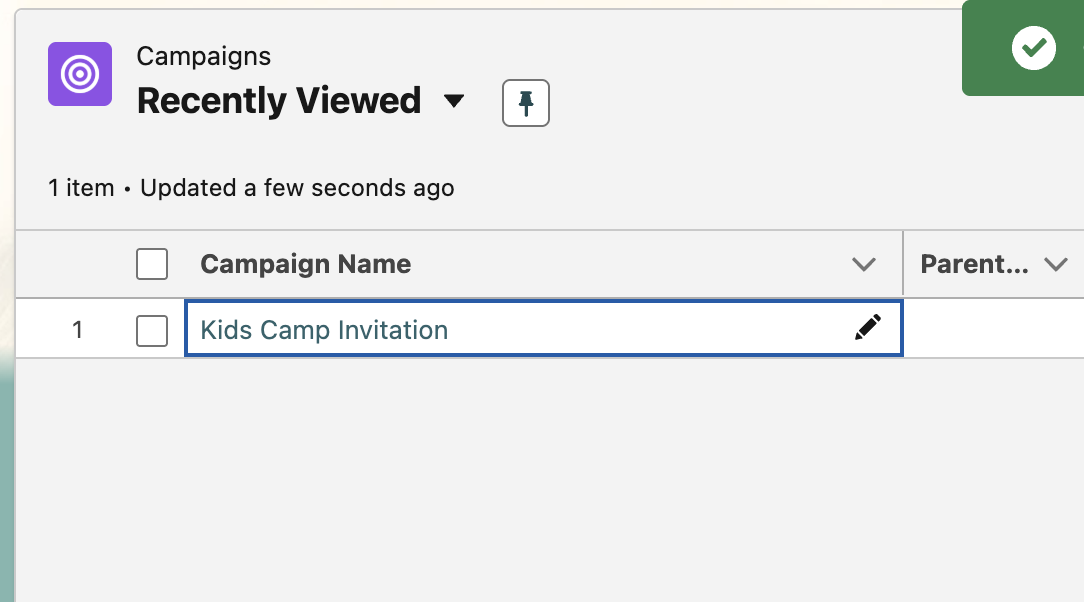
Within this tab, find and click on the campaign we created using AI in exercise 1.
Scroll down to the Content section.
Find and click the arrow next to Email draft, and click on Edit.

Next, scroll down and click on the paragraph below the email header. You’ll notice this is a general email with little additional context. We can add additional details to further personalize our content using our new Employee Agent.
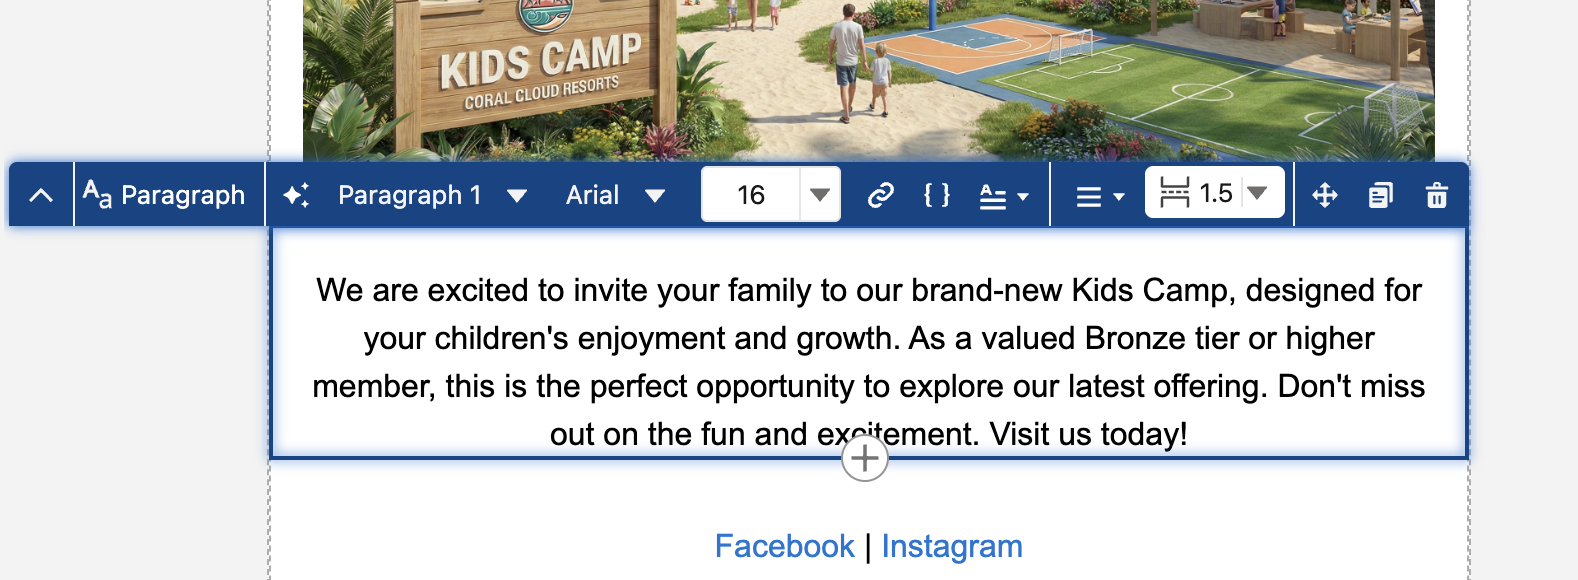
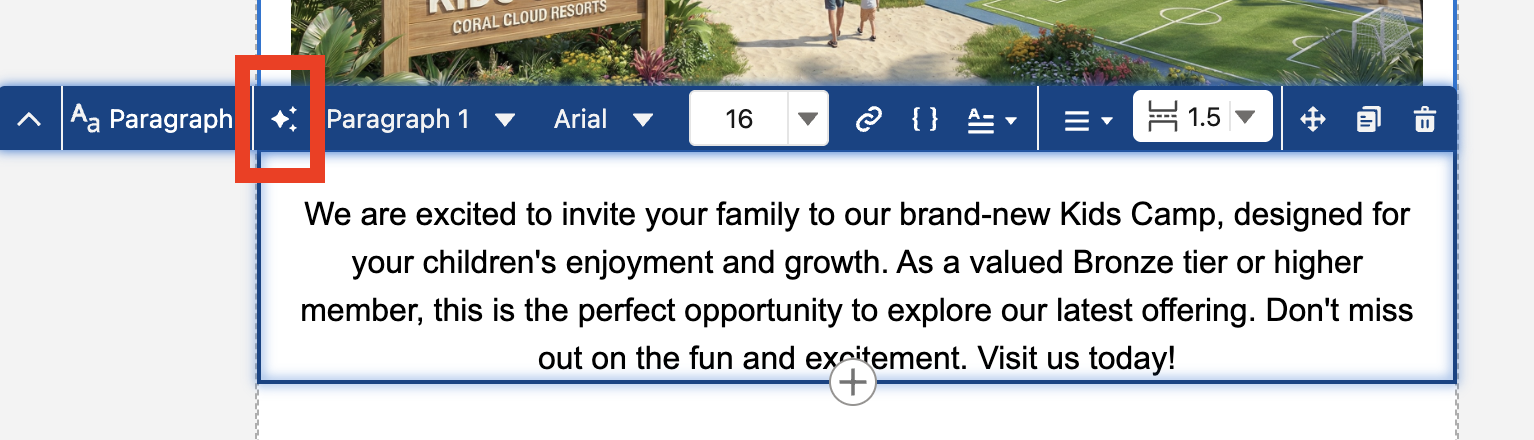
When you click the block of text, a small blue menu bar will appear. Click on the stars next to paragraph to launch our agent builder.
An agent chat window will appear. Before we edit anything, press confirm on the agent window without changing anything.
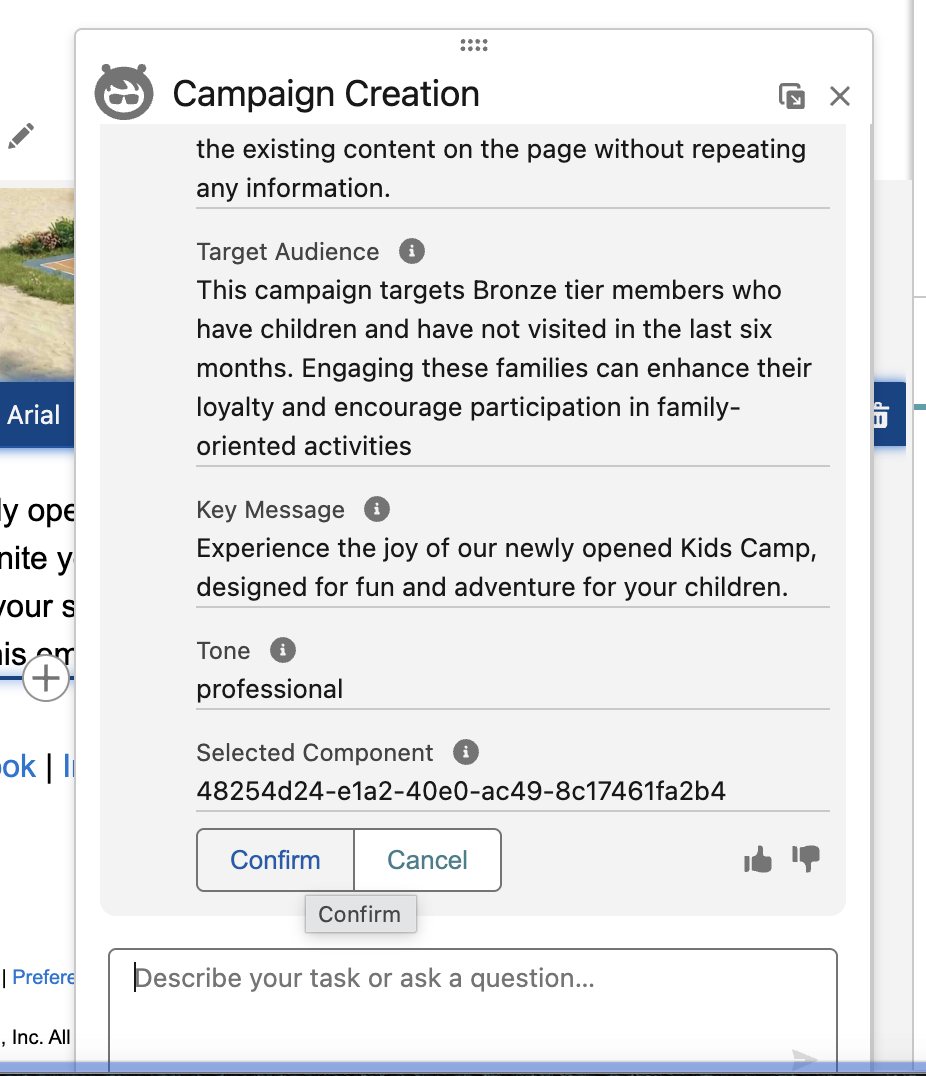
Once you’ve clicked confirm you do not have to click apply. Instead, next within the agent chat, provide the following information:
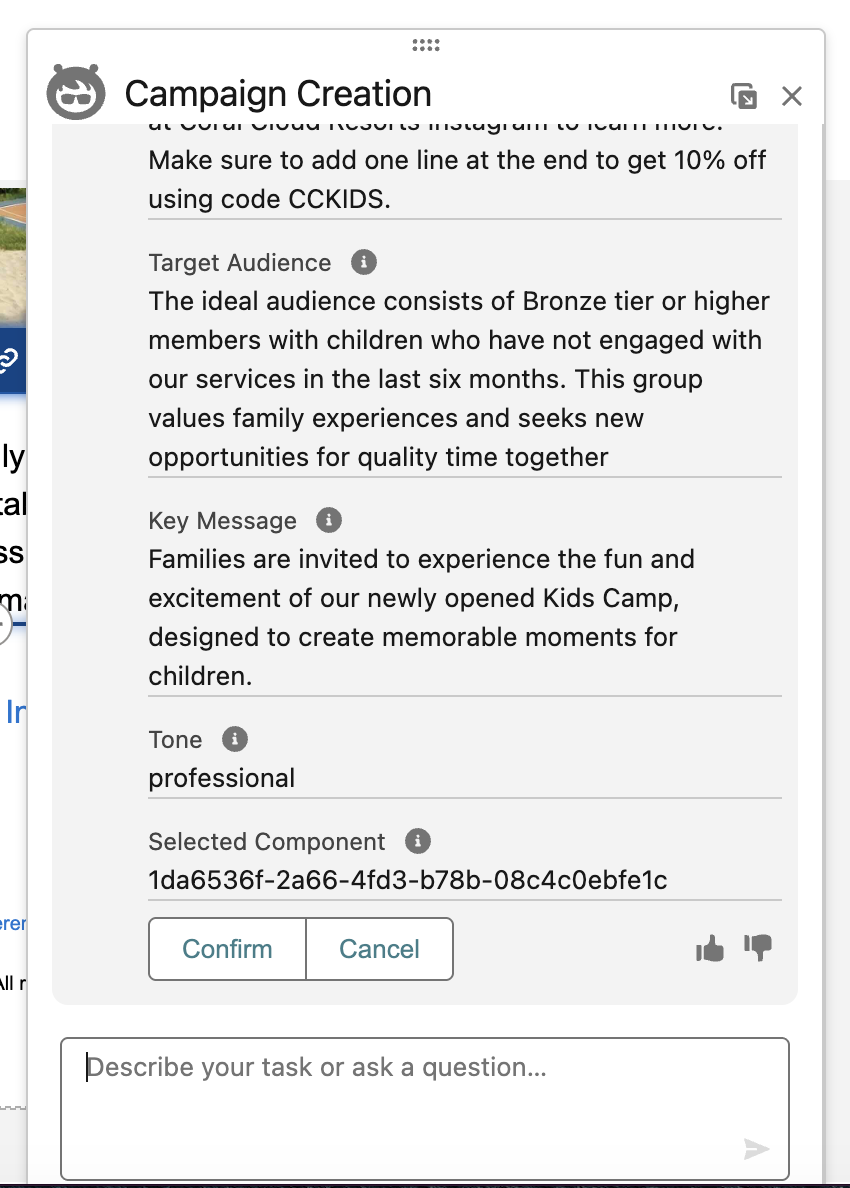
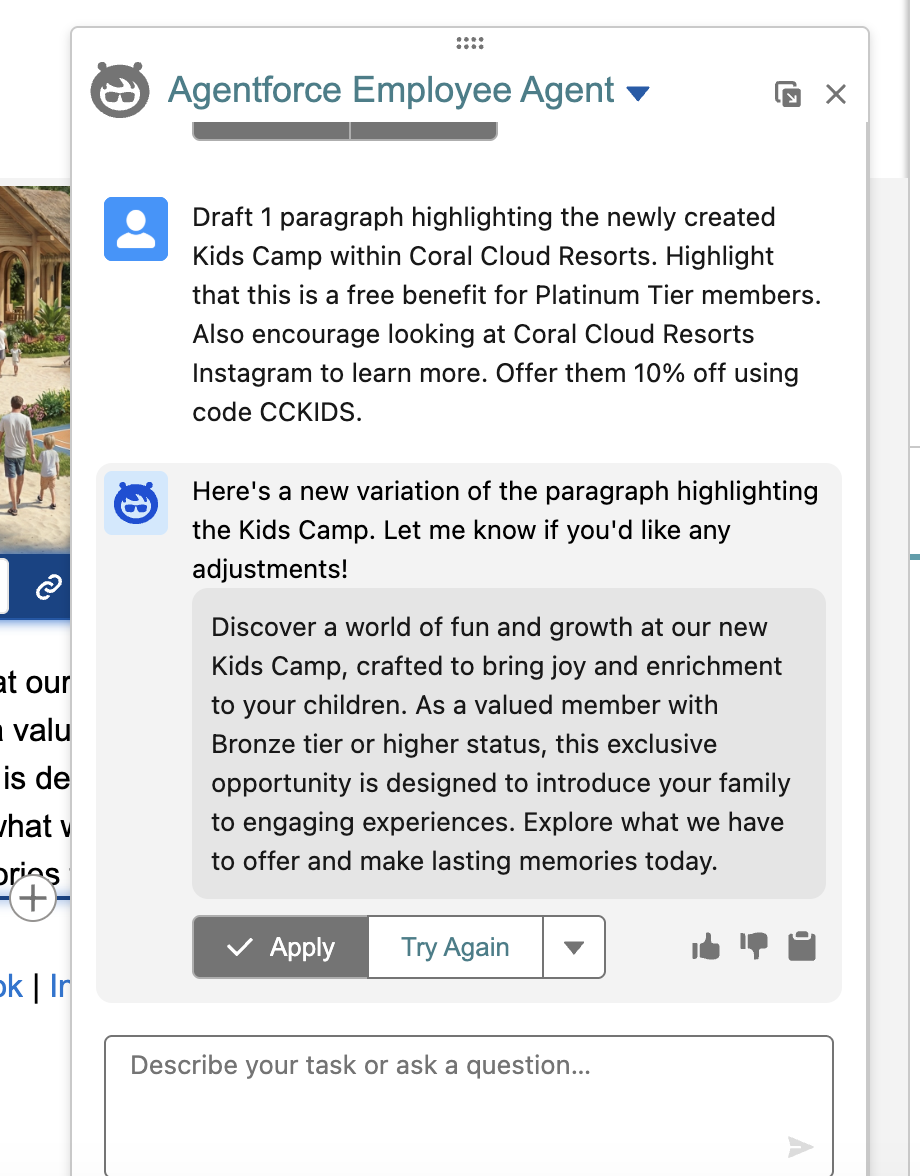
Highlight the newly created Kids Camp within Coral Cloud Resorts. State that this is a free benefit for Platinum Tier members. Specifically mention looking at Coral Cloud Resorts Instagram to learn more.
Make sure to add one line at the end to get 10% off using code CCKIDS.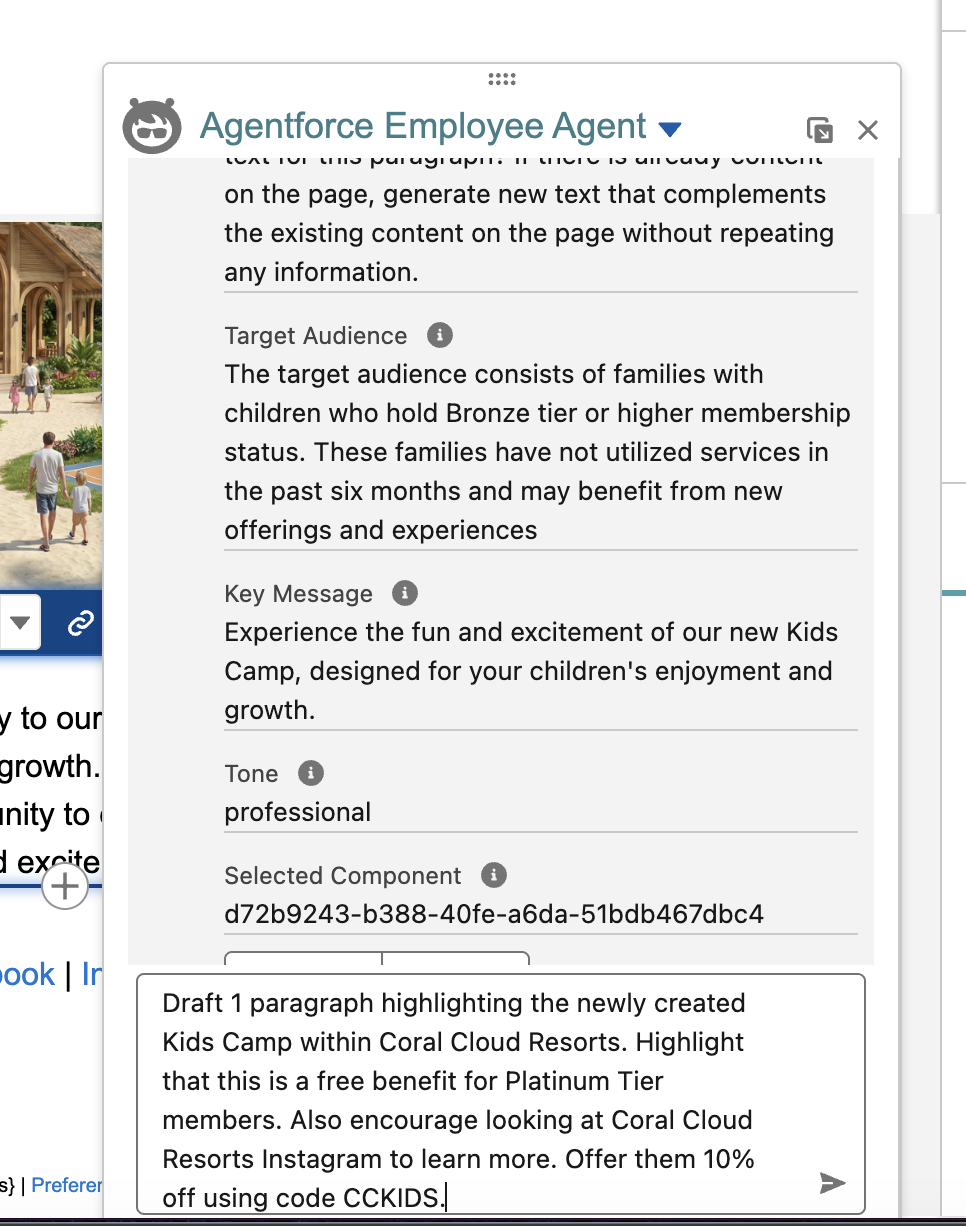
First, the agent will ask you to confirm these changes, click on confirm.
Next, you will see a draft of the revised content within the agent builder. Click Apply. This will reflect the changes in the email template.
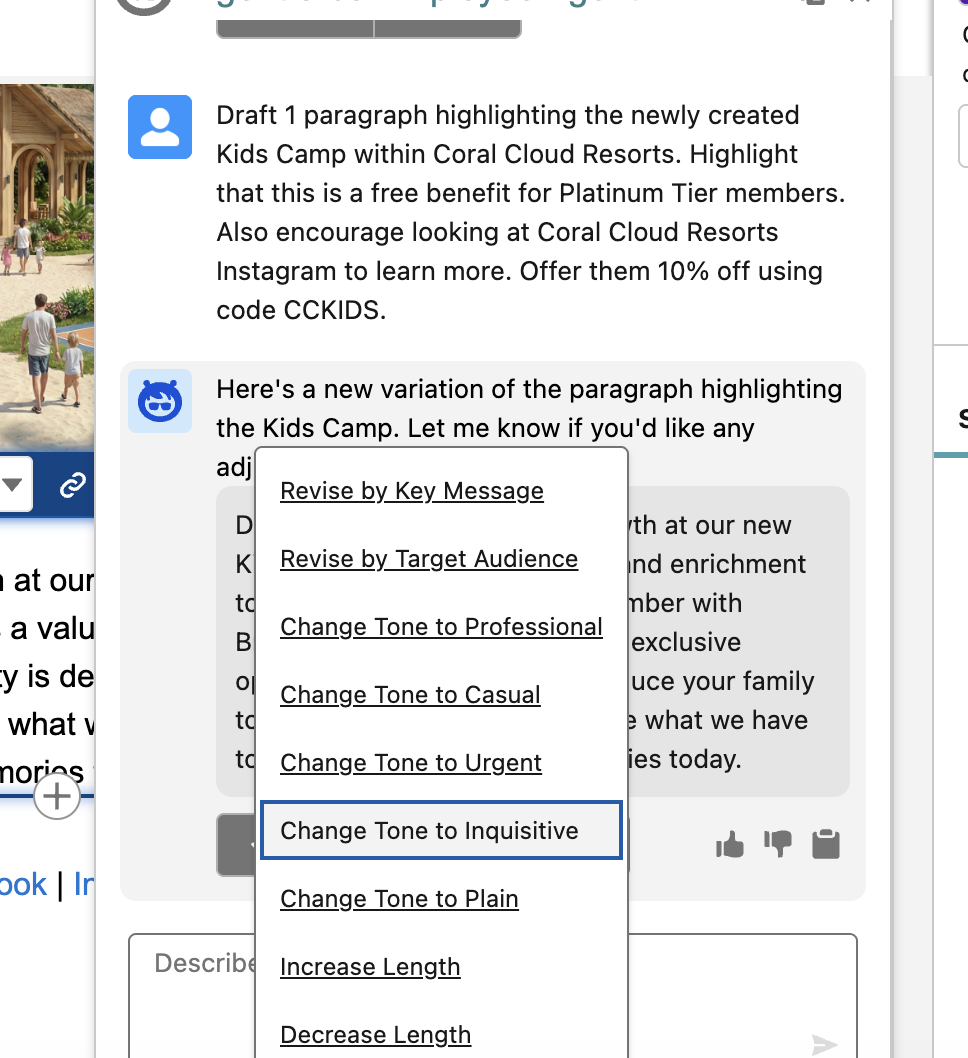
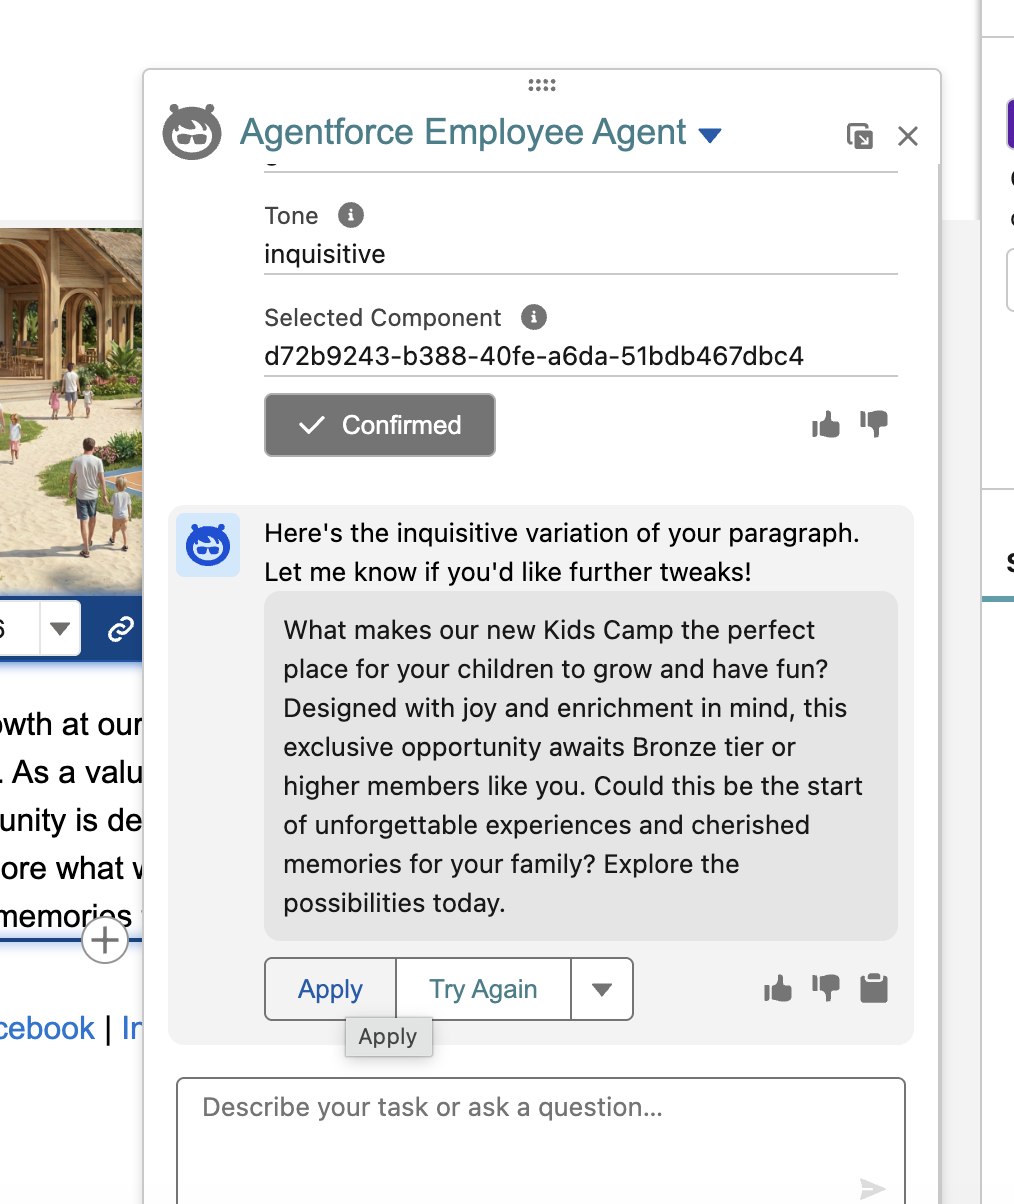
Next, we can also edit the tone of our conversation. Next to the apply button find and click on the arrow.

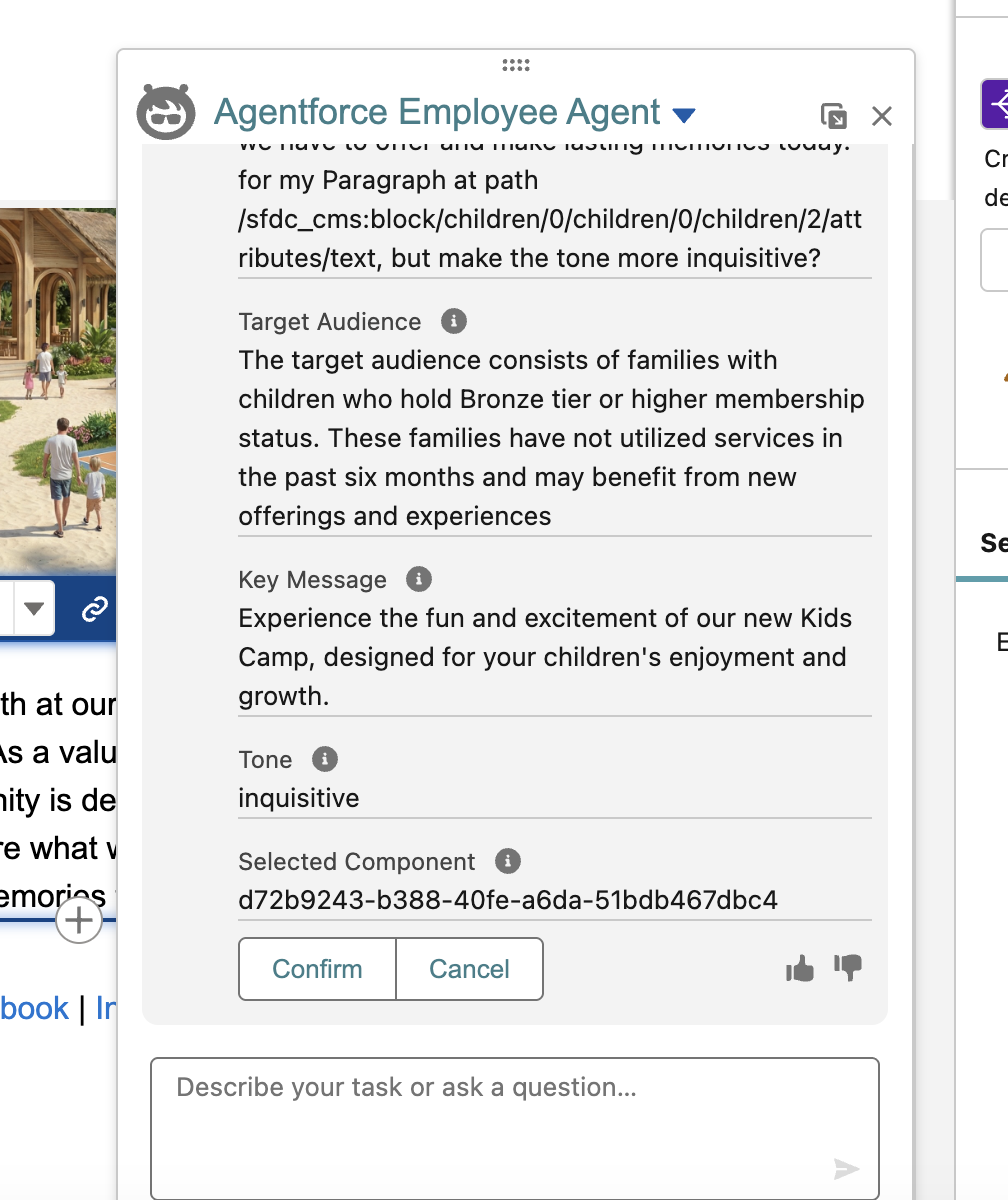
From the menu that appears, click on Change Tone to Inquisitive. You will see now that the message we generated earlier has shifted to a more inquisitive tone asking questions, and drawing our customer’s attention. You can optionally experiment with other tones as well.
The agent will ask you to confirm then apply this change similar to before. Click the confirm button, then click Apply button again.
We can continue to play with content, but we will now exit the agent chat, and click save in the top right corner. Exit this email template using the back arrow in the template.

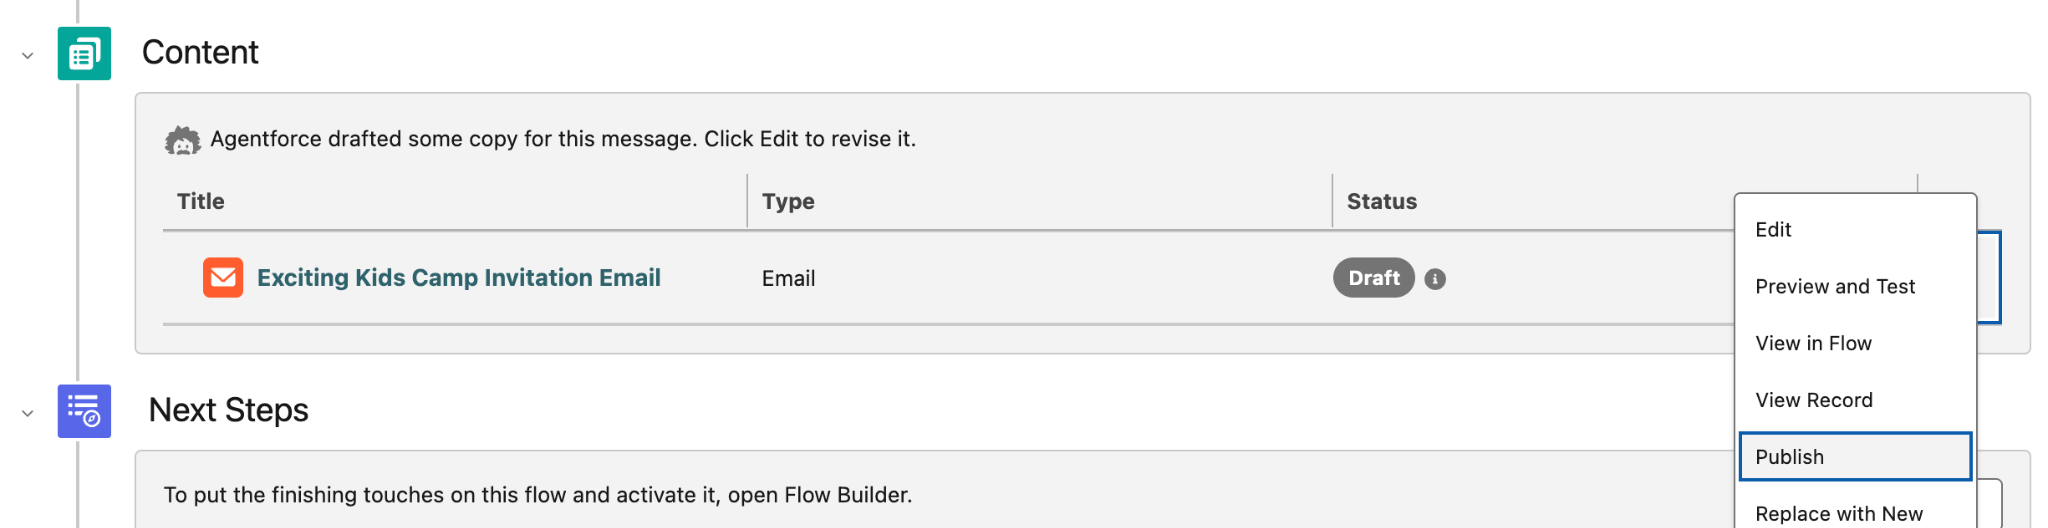
Back on the main screen of our flow, you will see the section titled content. You will see that our email we just edited has a status of draft. We need to publish this, and in order to do so click the carrot arrow on the right, and select Publish from the menu.
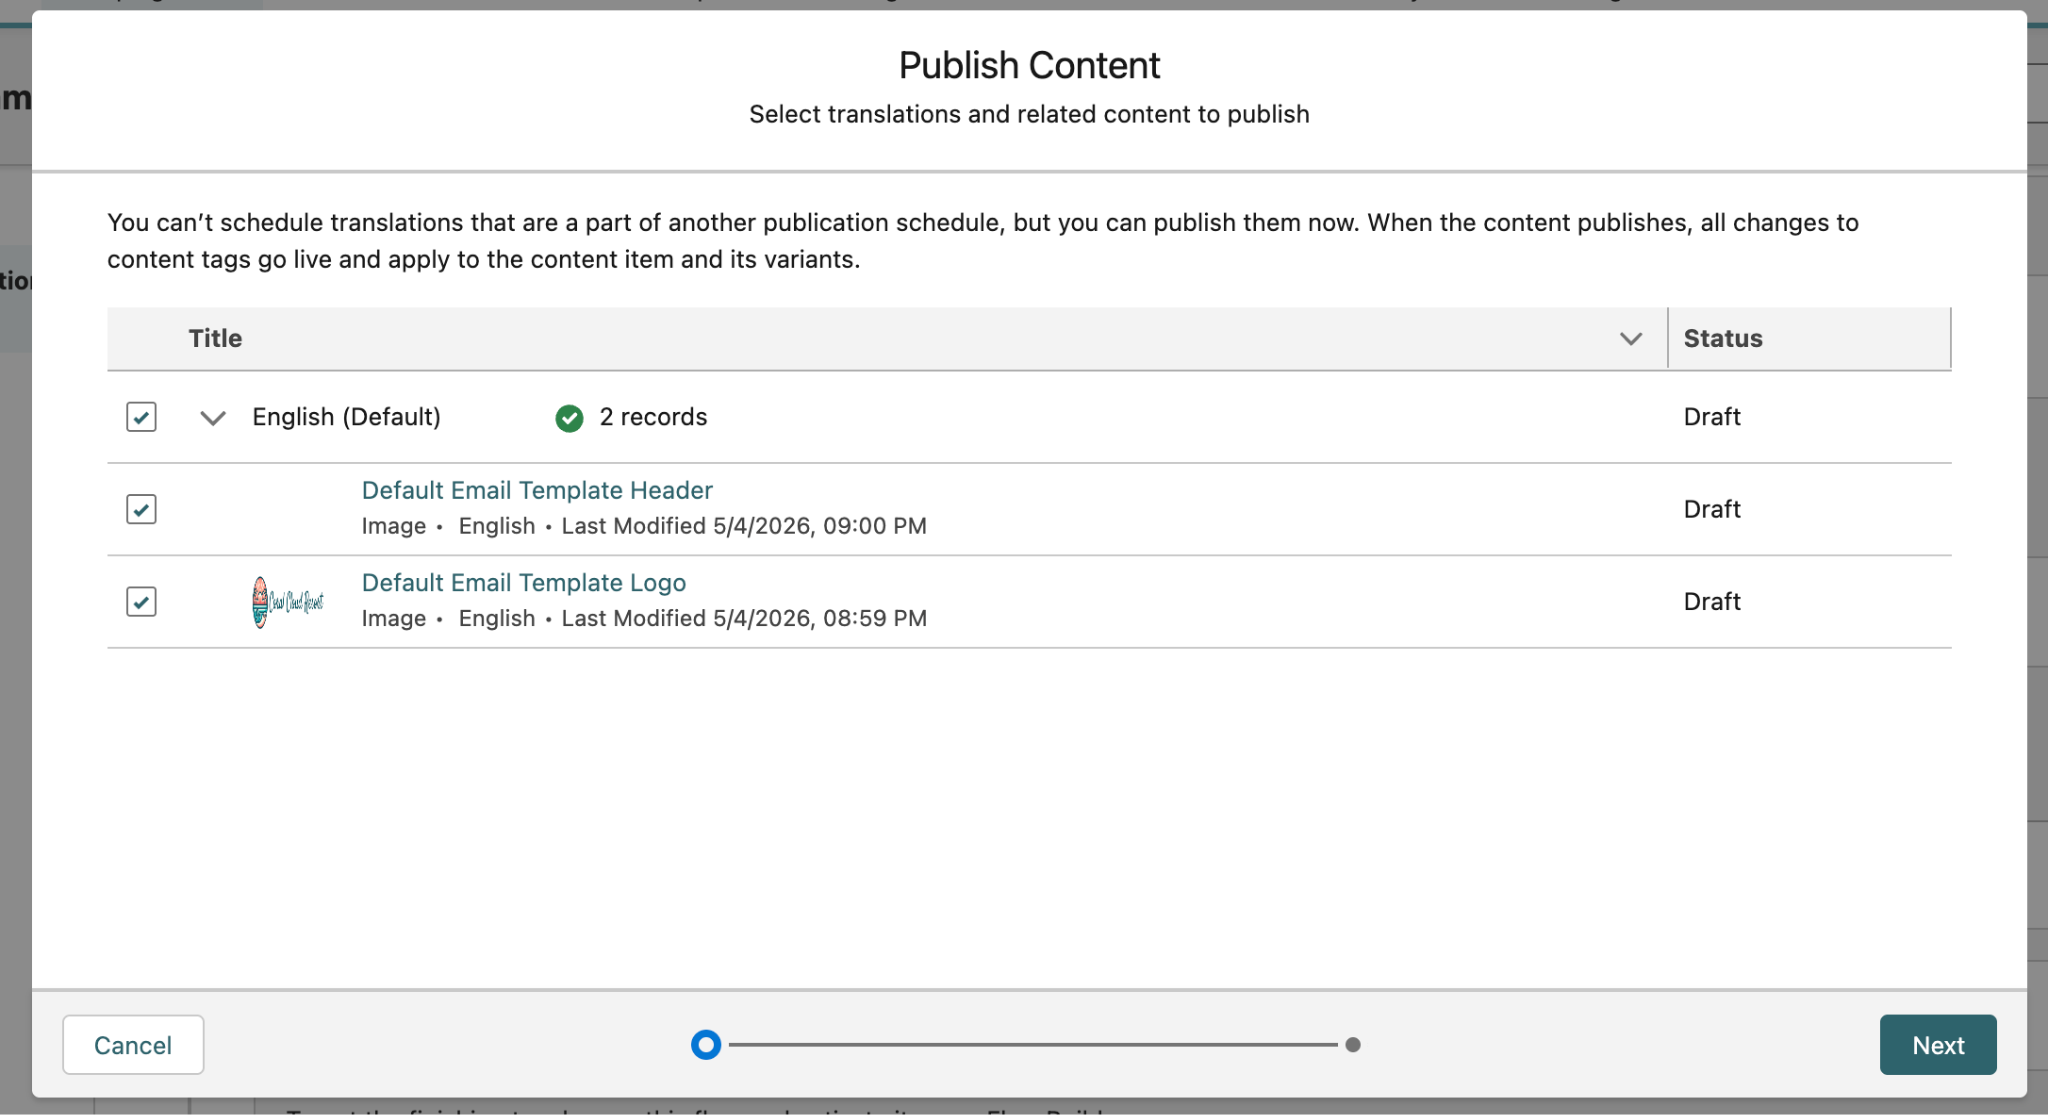
You will see a window pop up, leave everything as is with both the Default Email Template Header and Default Email Template Logo, and click next.
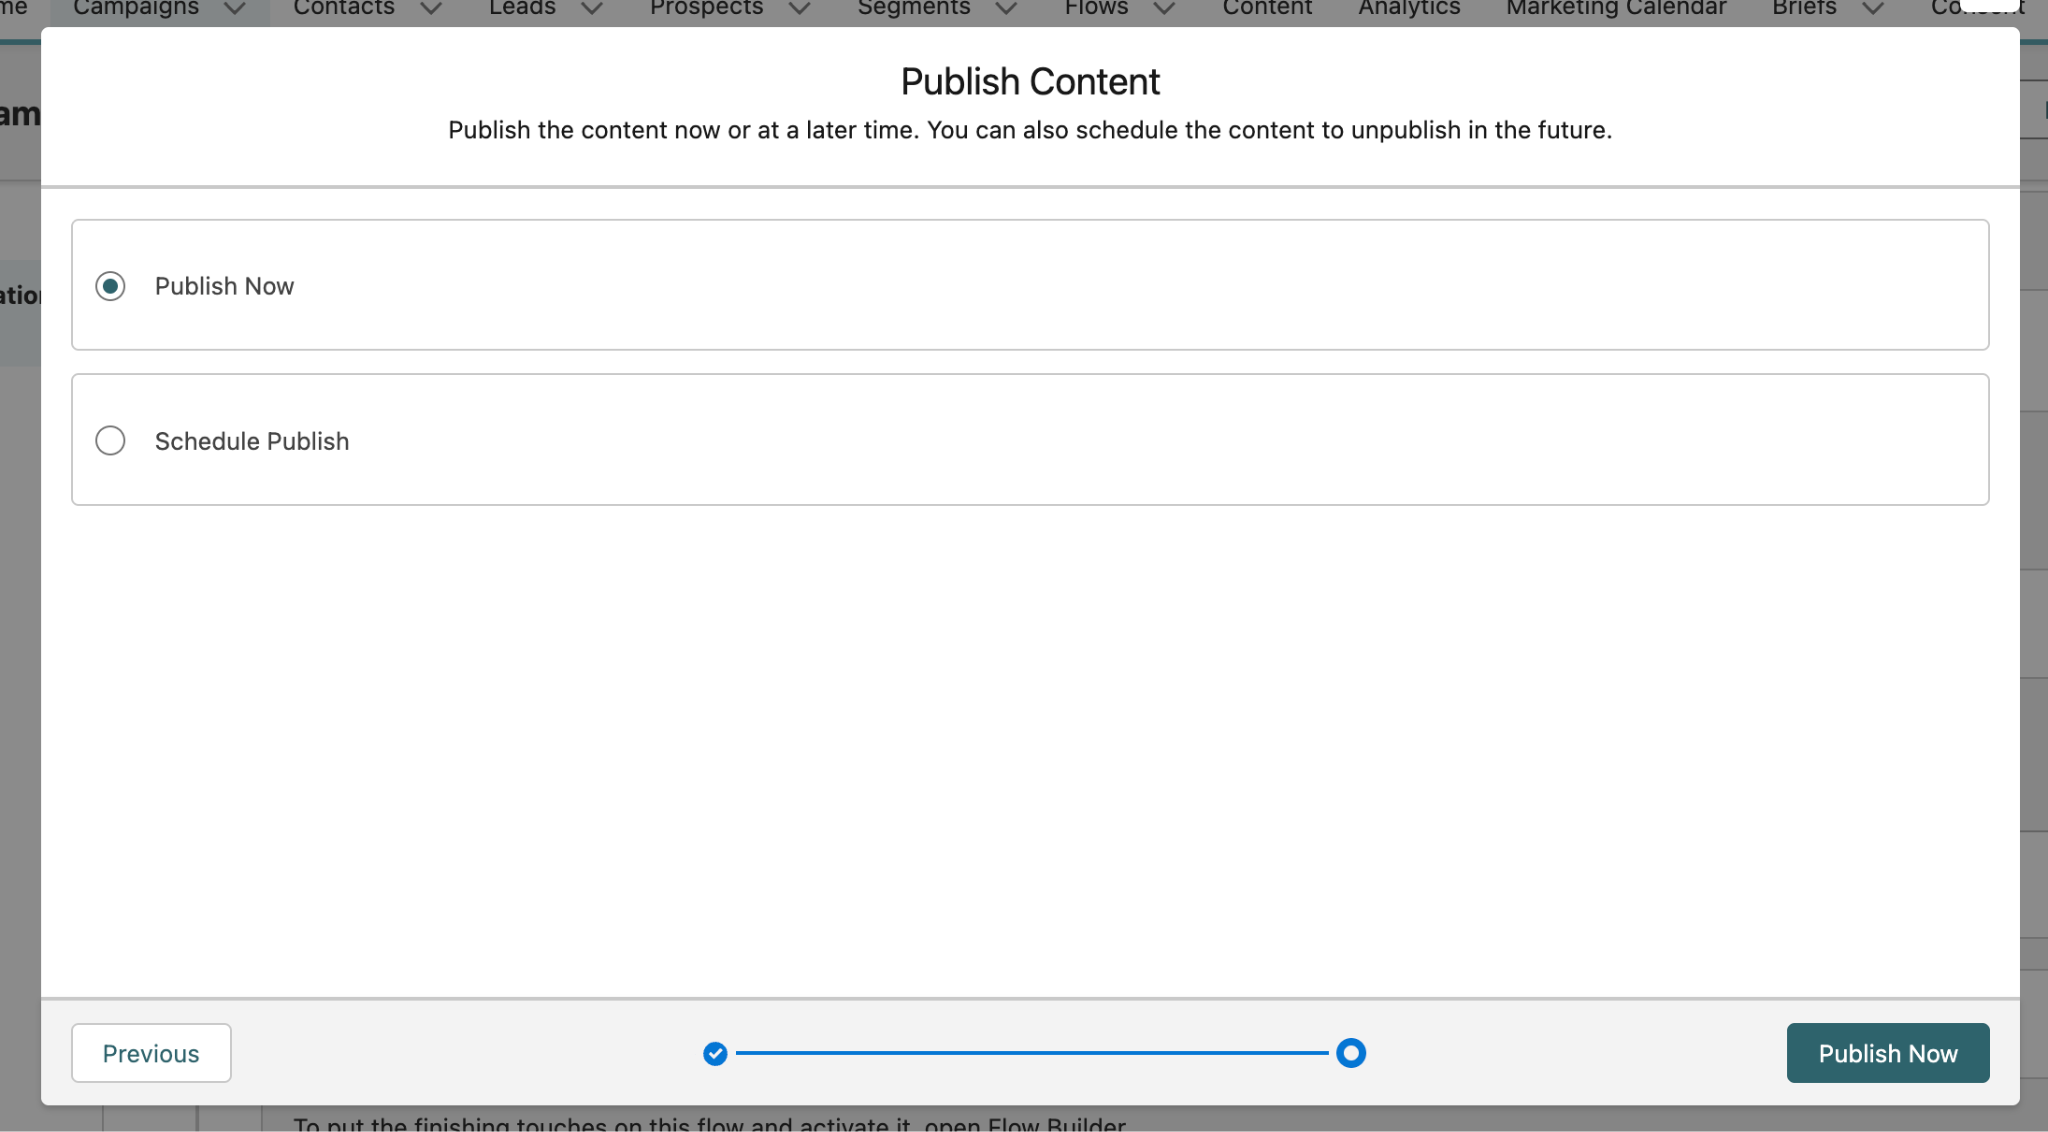
On the next screen, leave Publish Now selected and click the Publish Now button in the bottom right. You will see a green banner confirming your content has been published.
This concludes Exercise 2.