
Appearance
Exercise 4 - Slack, Make Every Employee a Concierge
The goal of this exercise is to activate and deploy an AI Agent and connect it to a Slack workspace. You will configure and connect the Agent to Slack via an API, which will then allow it to interact with users directly within the chat platform.
This is a critical step because it transforms the Agent from a standalone tool into a valuable, integrated member of your team that can be used to handle tasks and provide information where your employees already work.
Step 1: Spin Up Slack Trial
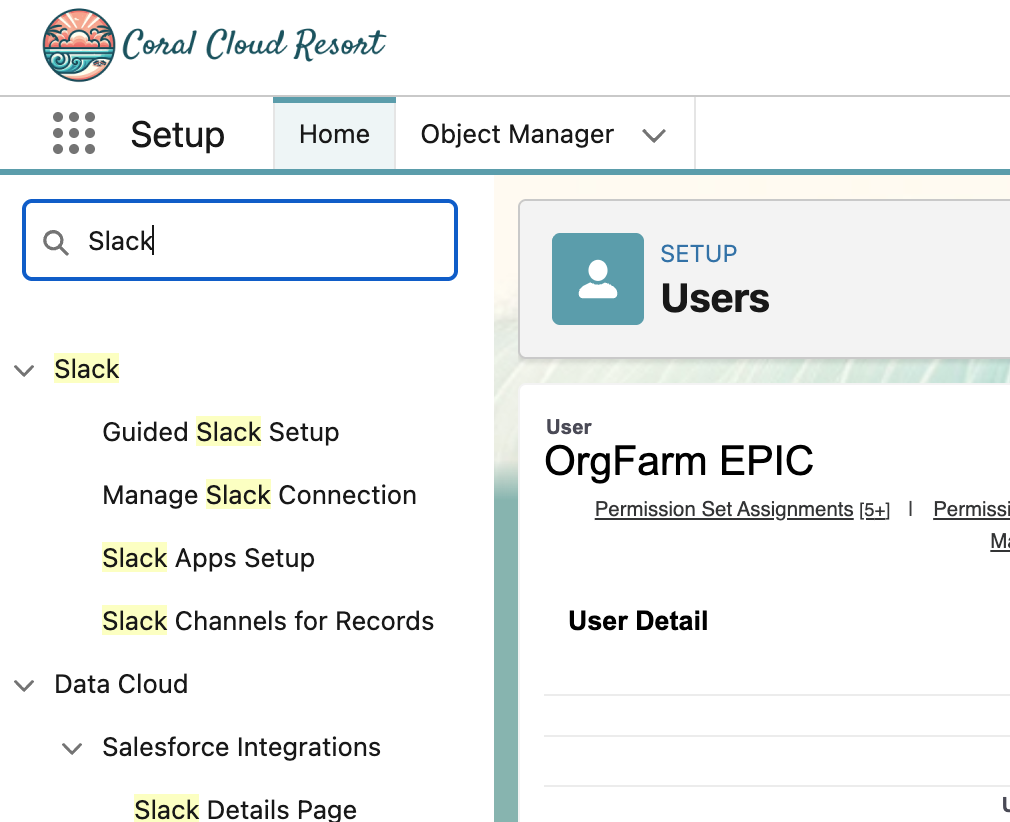
Back in Setup, in the Quick Find box at the top left, search for Slack and then select Guided Slack Setup.
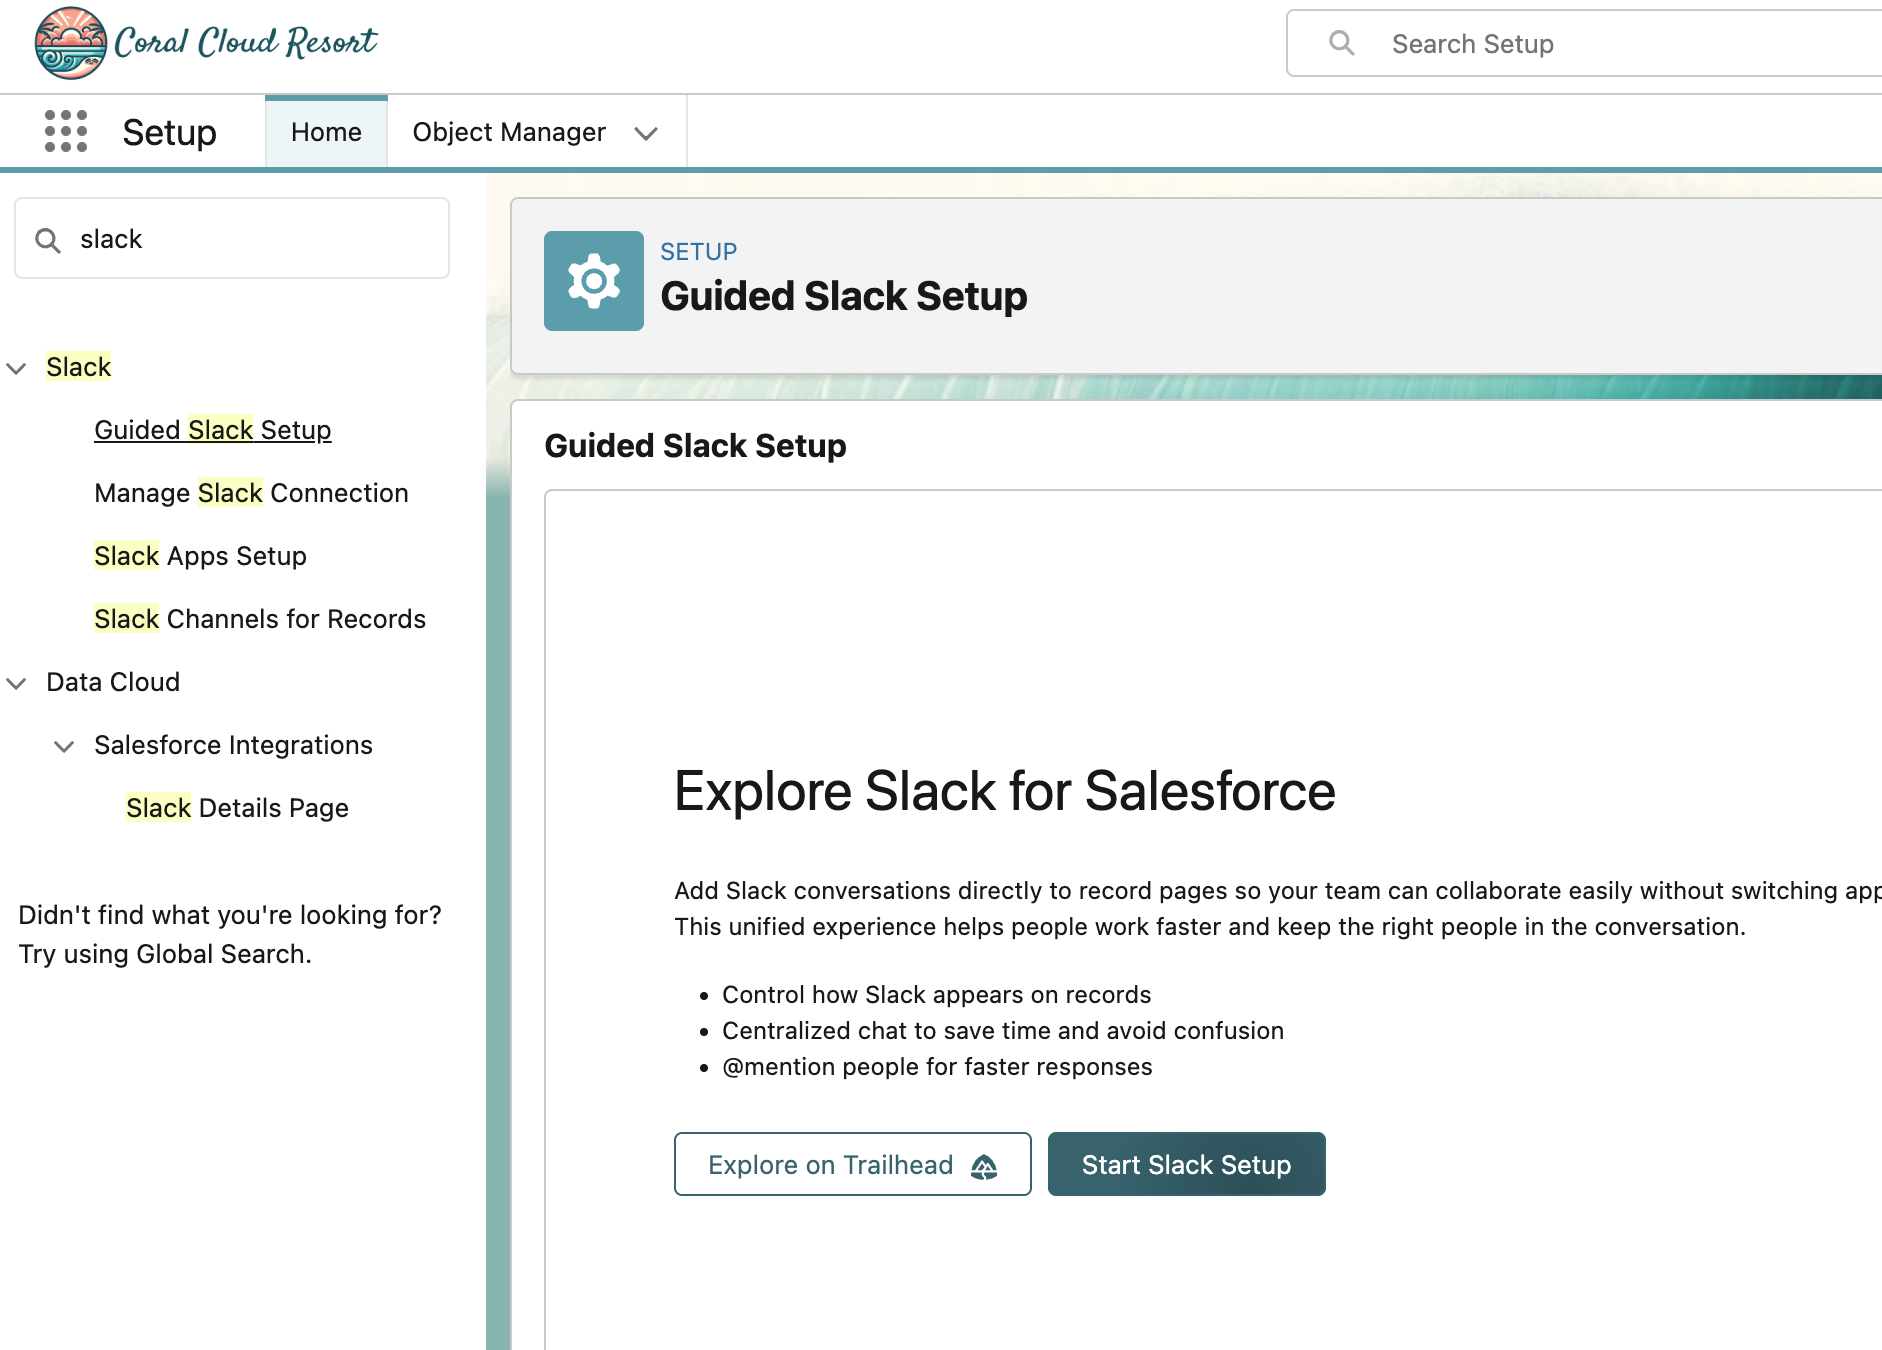
On the next screen, click the Start Slack Setup button
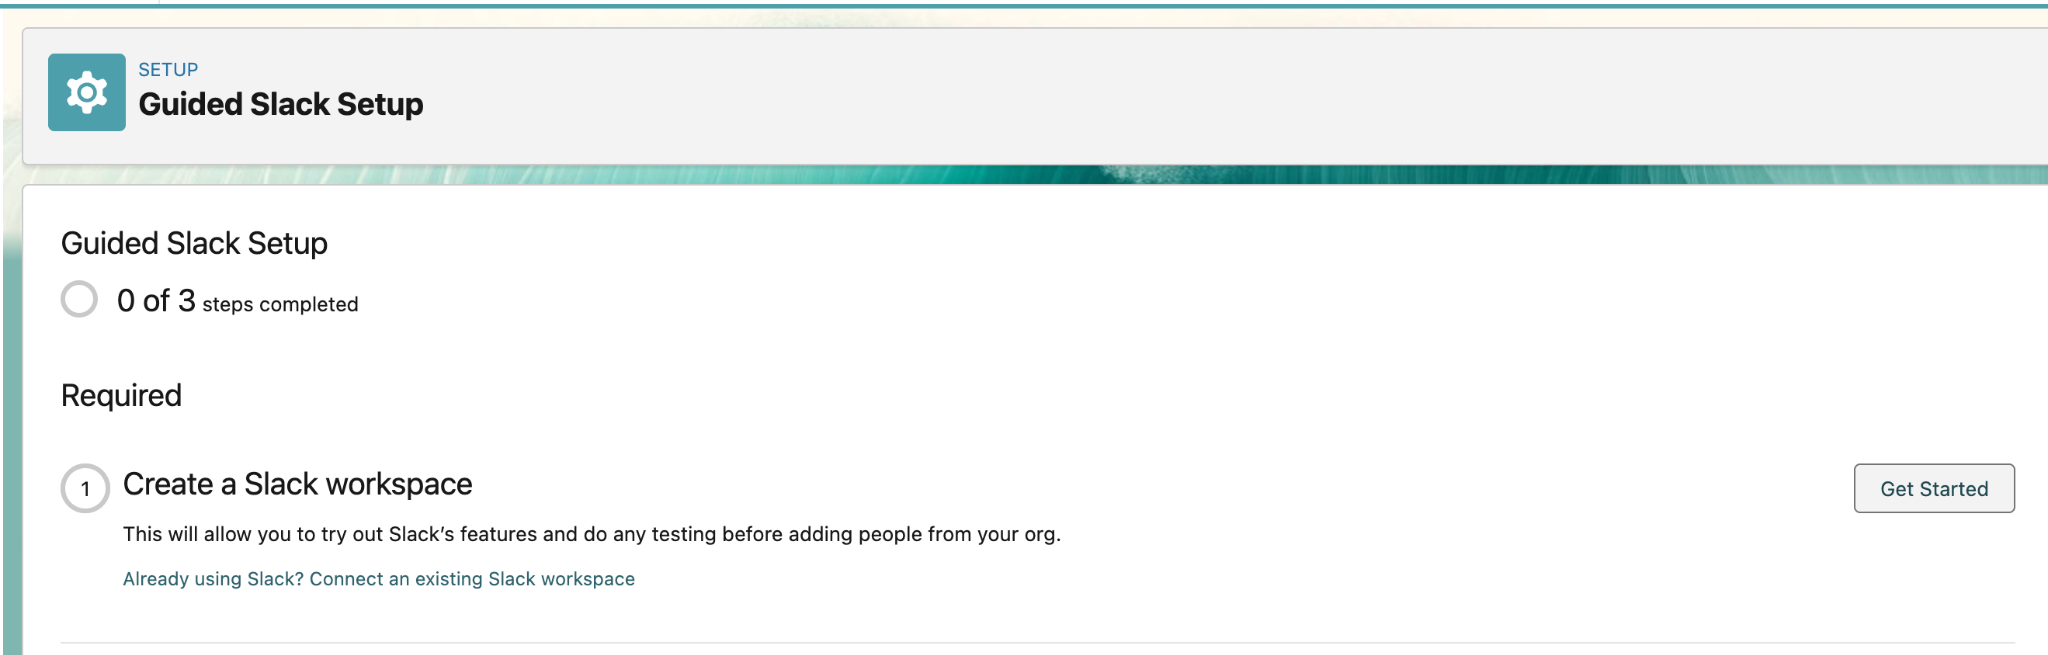
Next to Create a Slack workspace, click the Get Started button
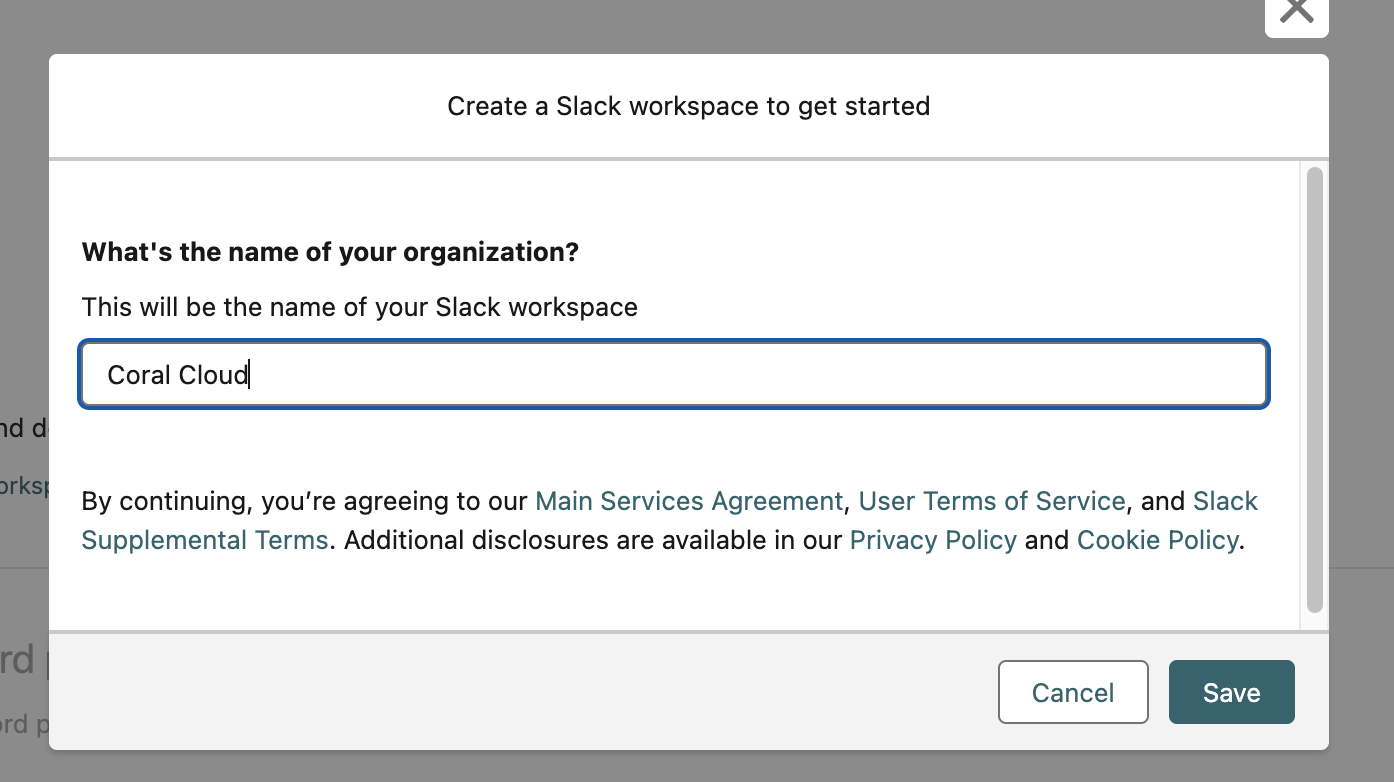
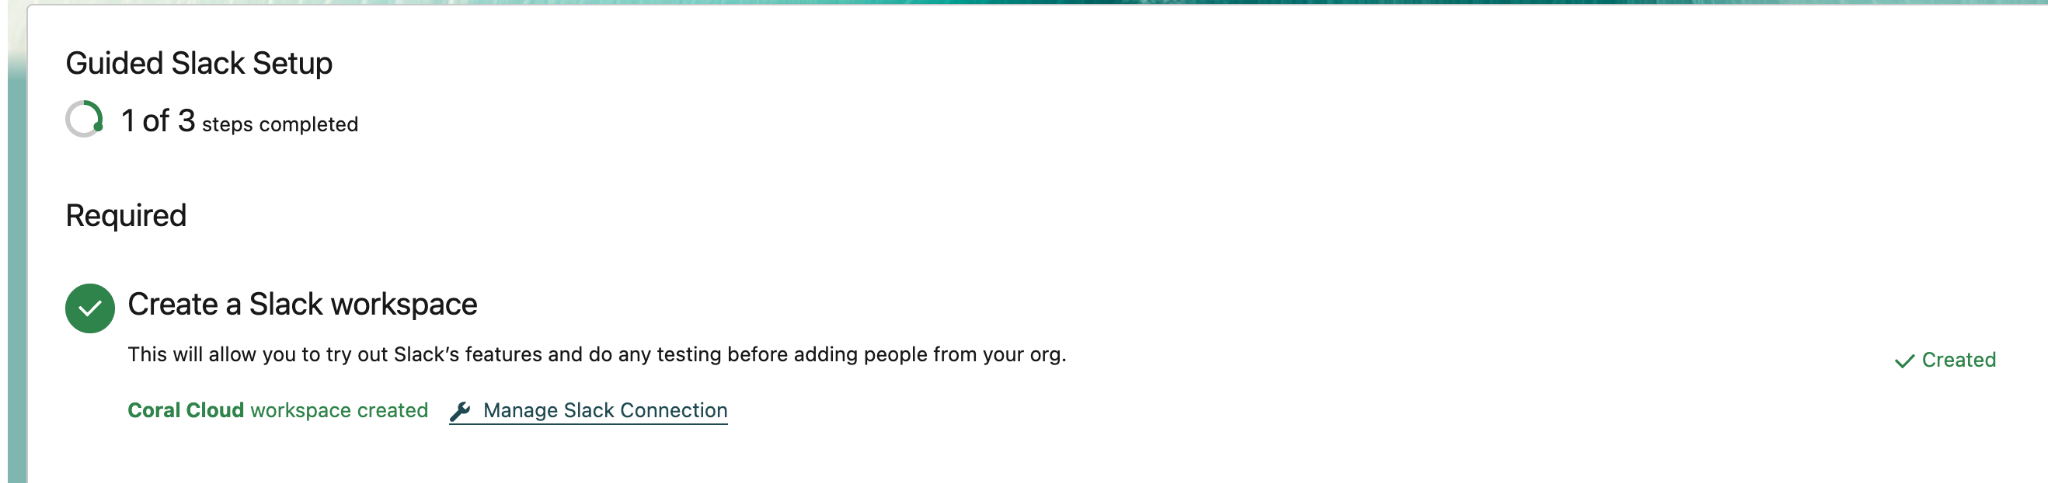
On the next pop-up, change the Slack workspace name to Coral Cloud and then click the Save button.
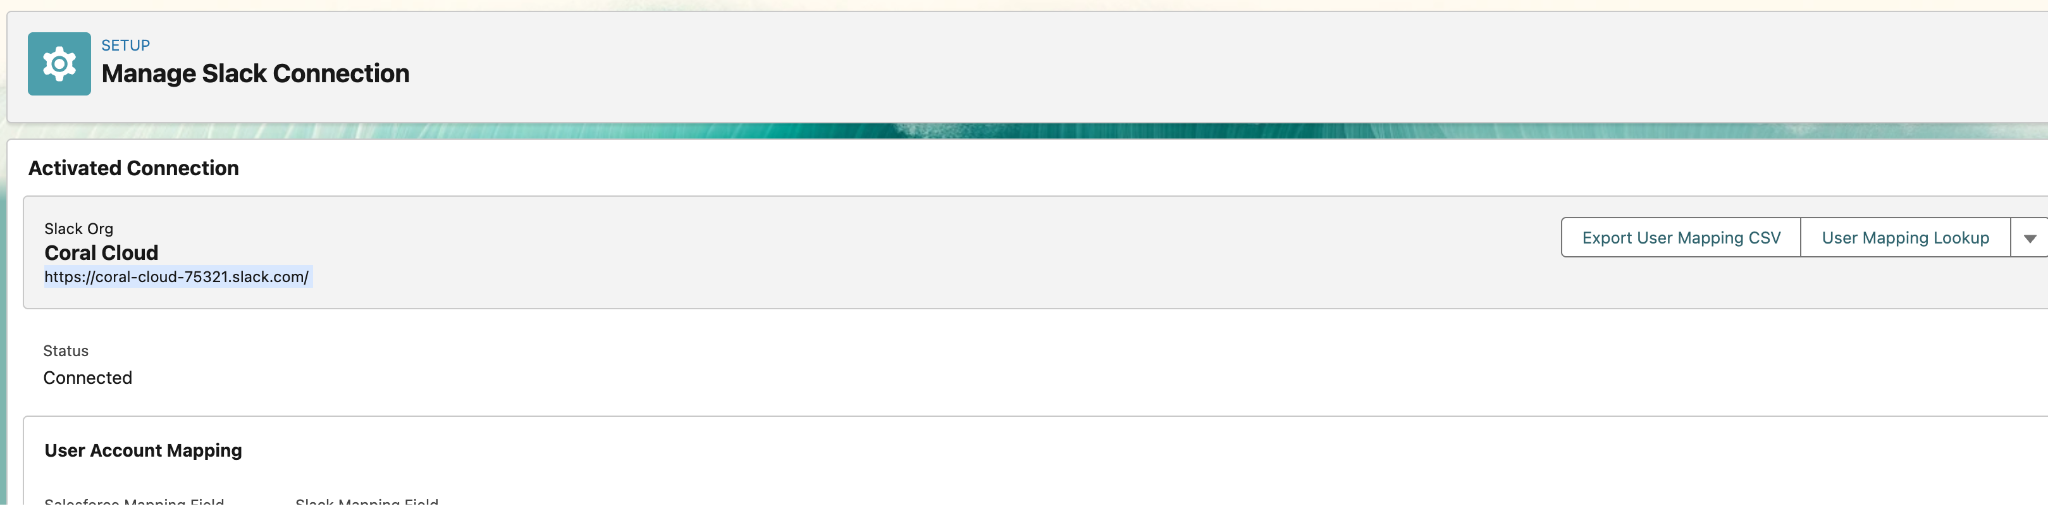
After the workspace is created, click the Manage Slack Connection hyperlink.
On the next screen, copy and paste your Slack instance URL into a new browser tab.
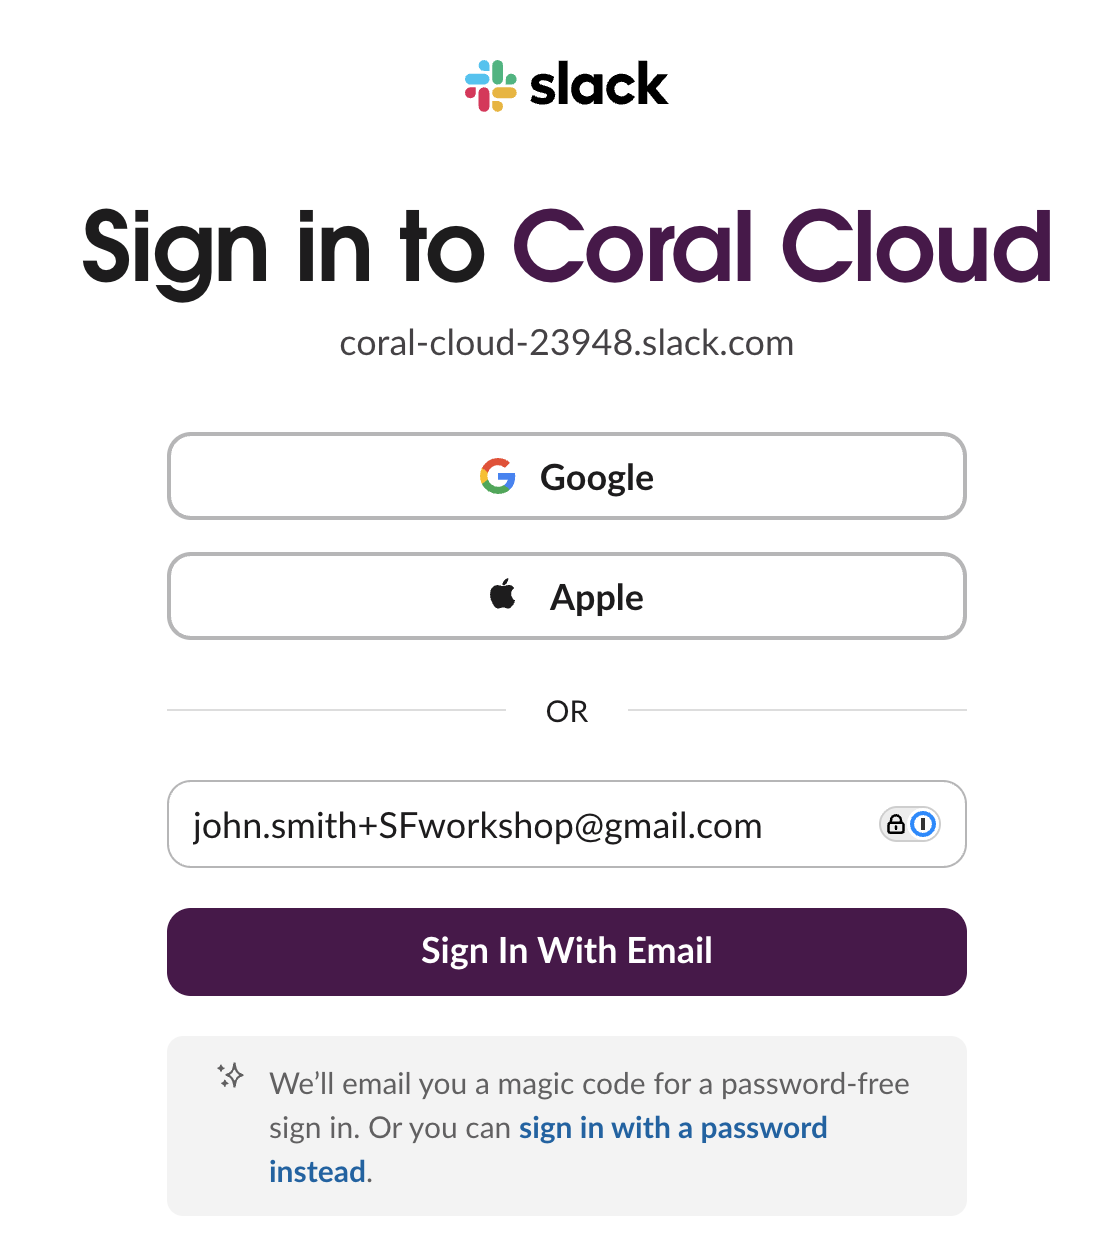
On the sign-in page, enter the personal e-mail address you used at the beginning of this workshop. Confirm that you are not a robot, and click the Sign In With Email button.
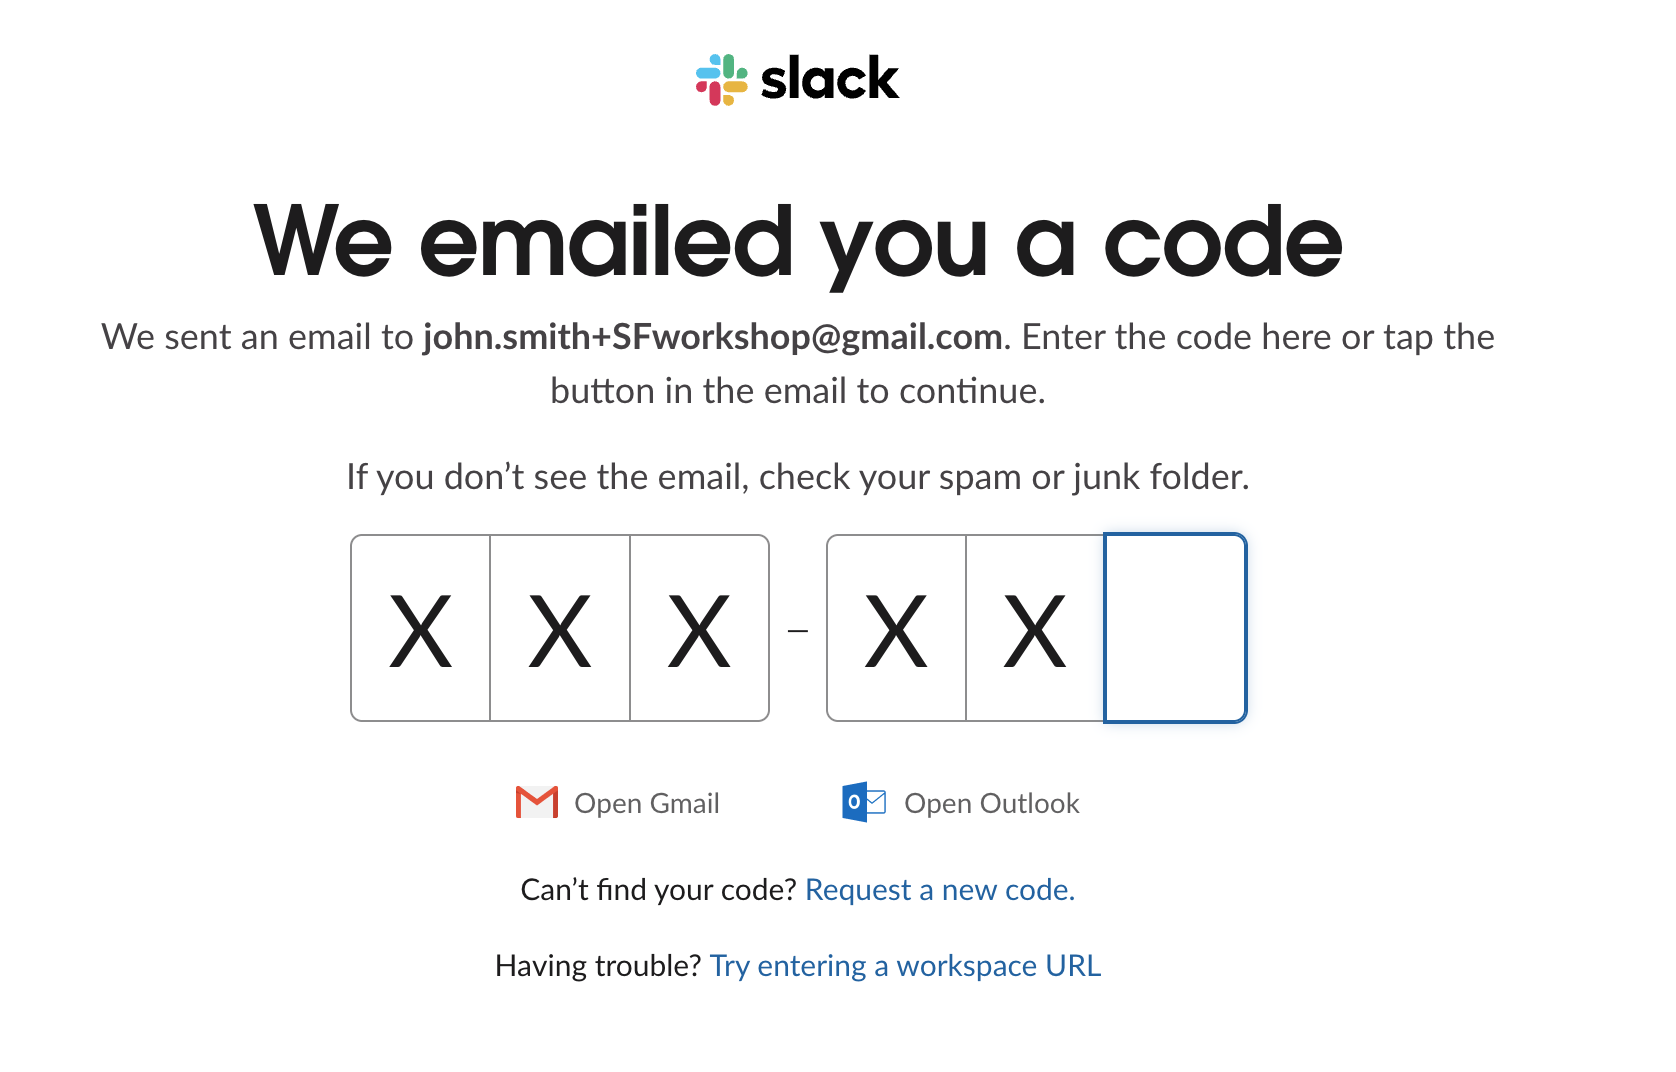
Go to your email inbox, find an email with a subject line starting with Slack confirmation code:
Copy the code and enter it in the browser (do not click the CONFIRM AND SIGN IN button).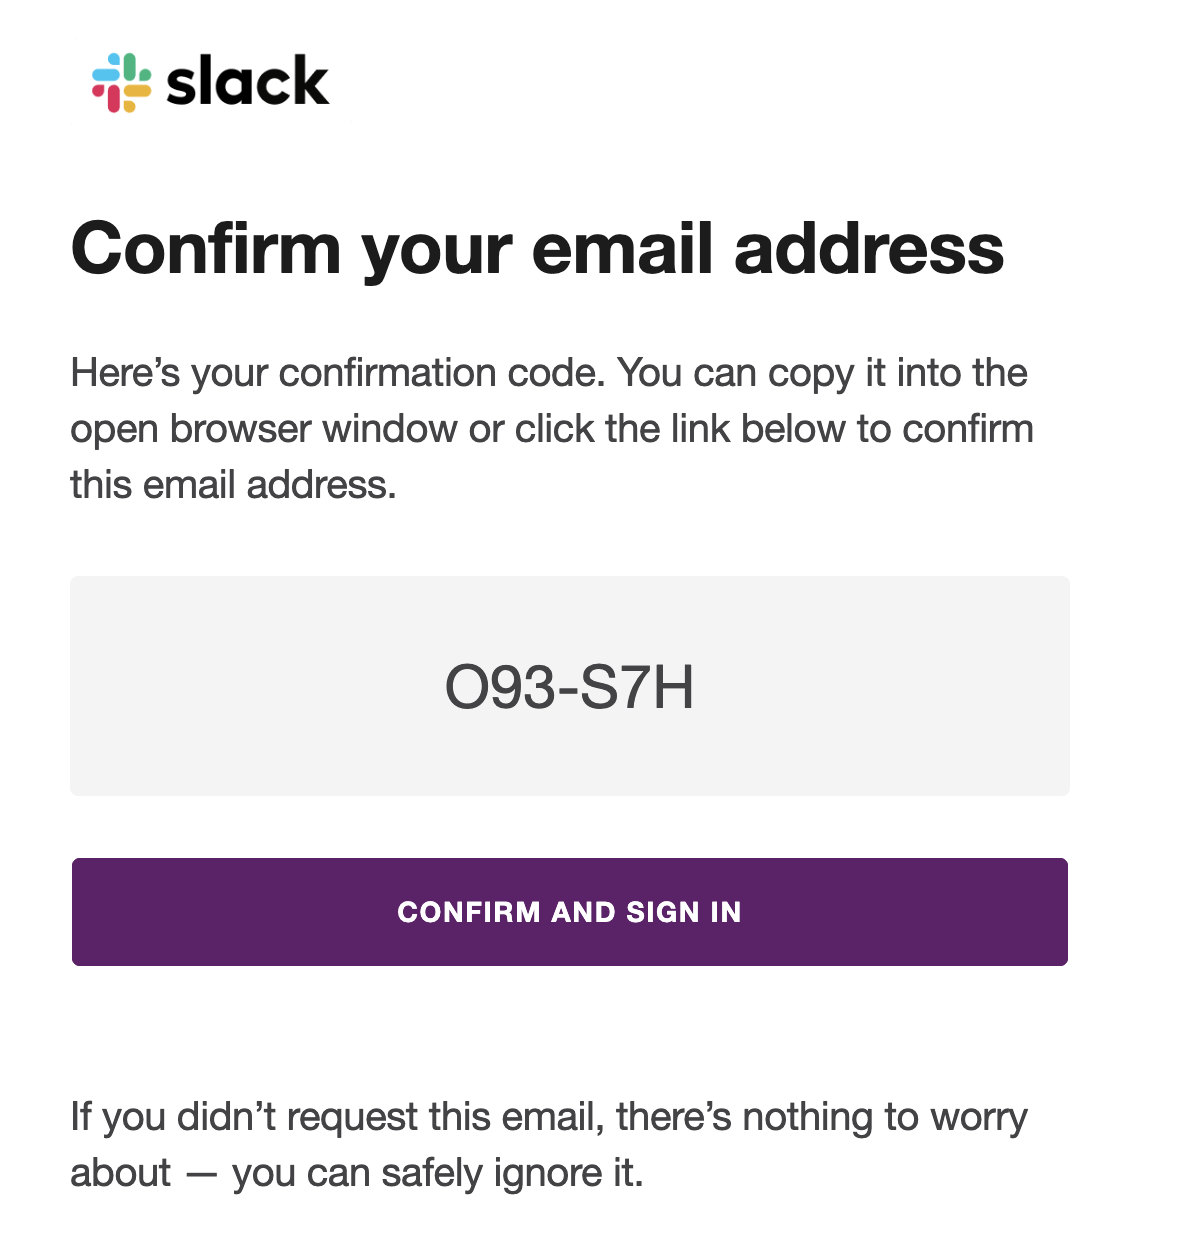
If you get a pop-up asking you to open in your pre-installed Slack App, click Cancel and then click the use Slack in your browser hyperlink on site.
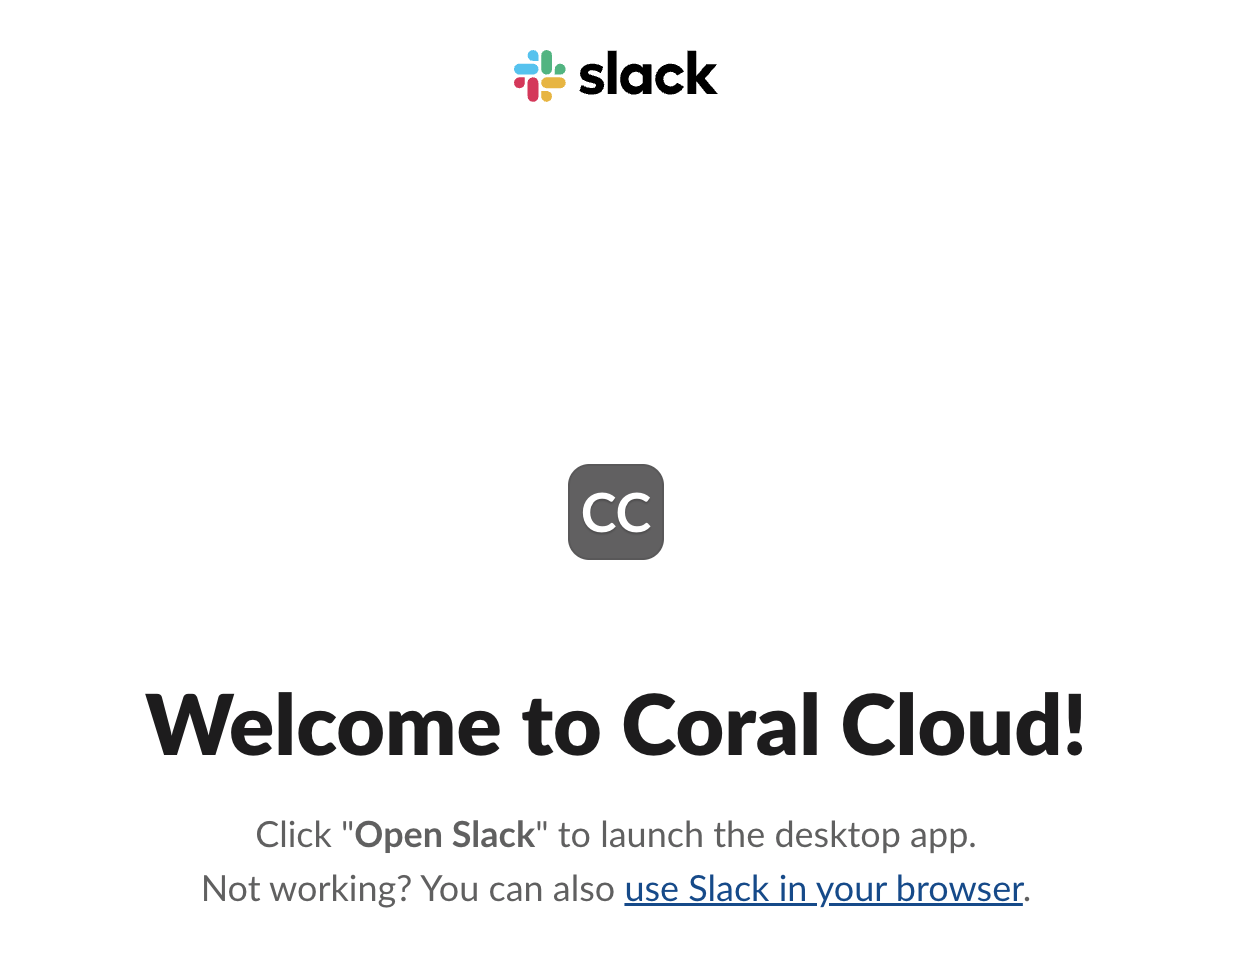
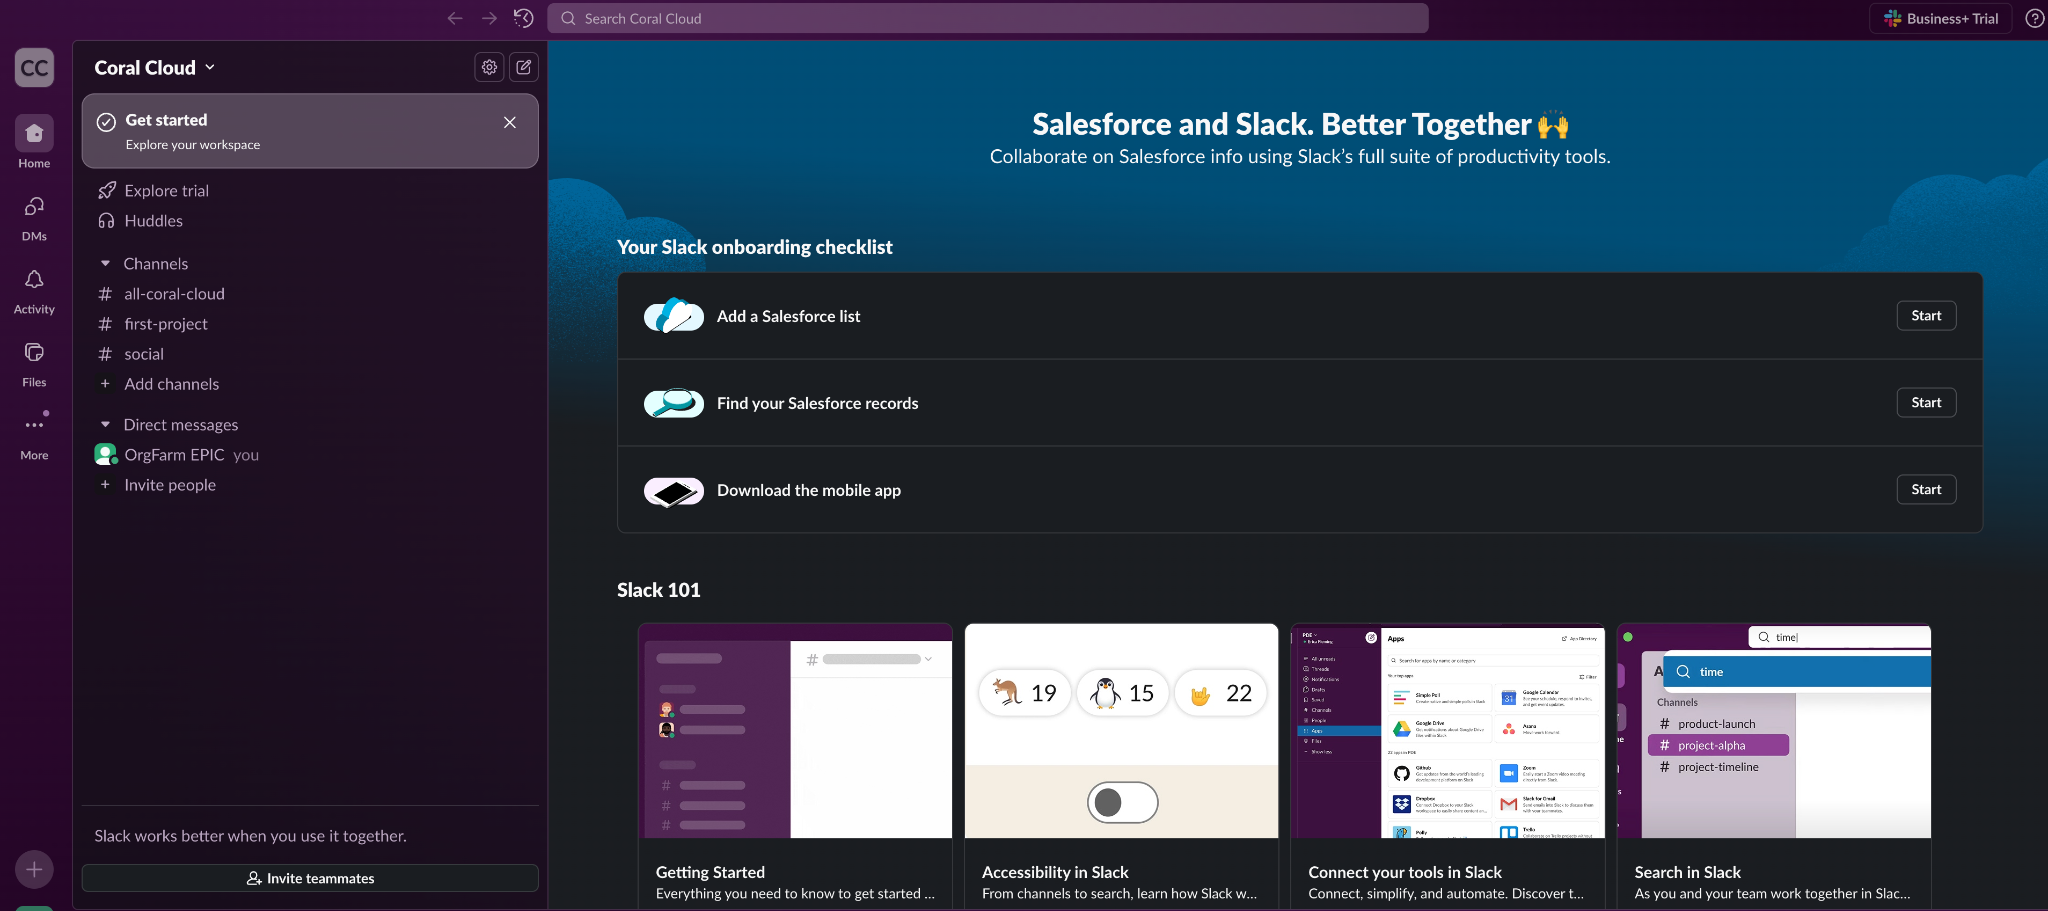
You are now logged into your new Slack Workspace! Please leave this tab open as we’ll be coming back to this in the next Exercise.
Step 2: Connect Agent to Slack
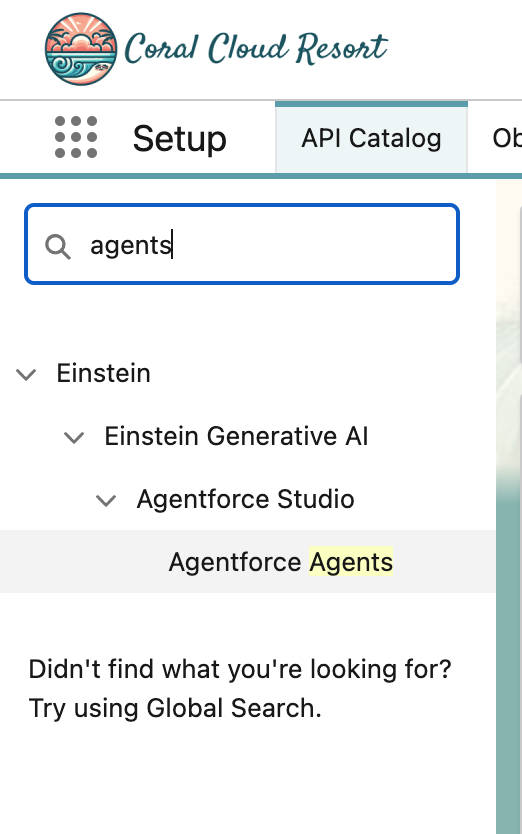
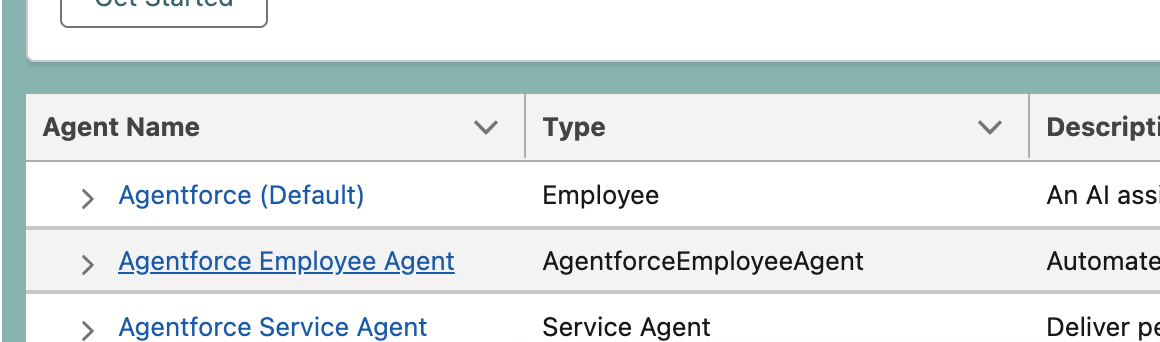
- Back in Salesforce Setup, search for Agents in the Quick Find box and then click Agentforce Agents.
- Scroll to the bottom of the page and click on Agentforce Employee Agent.
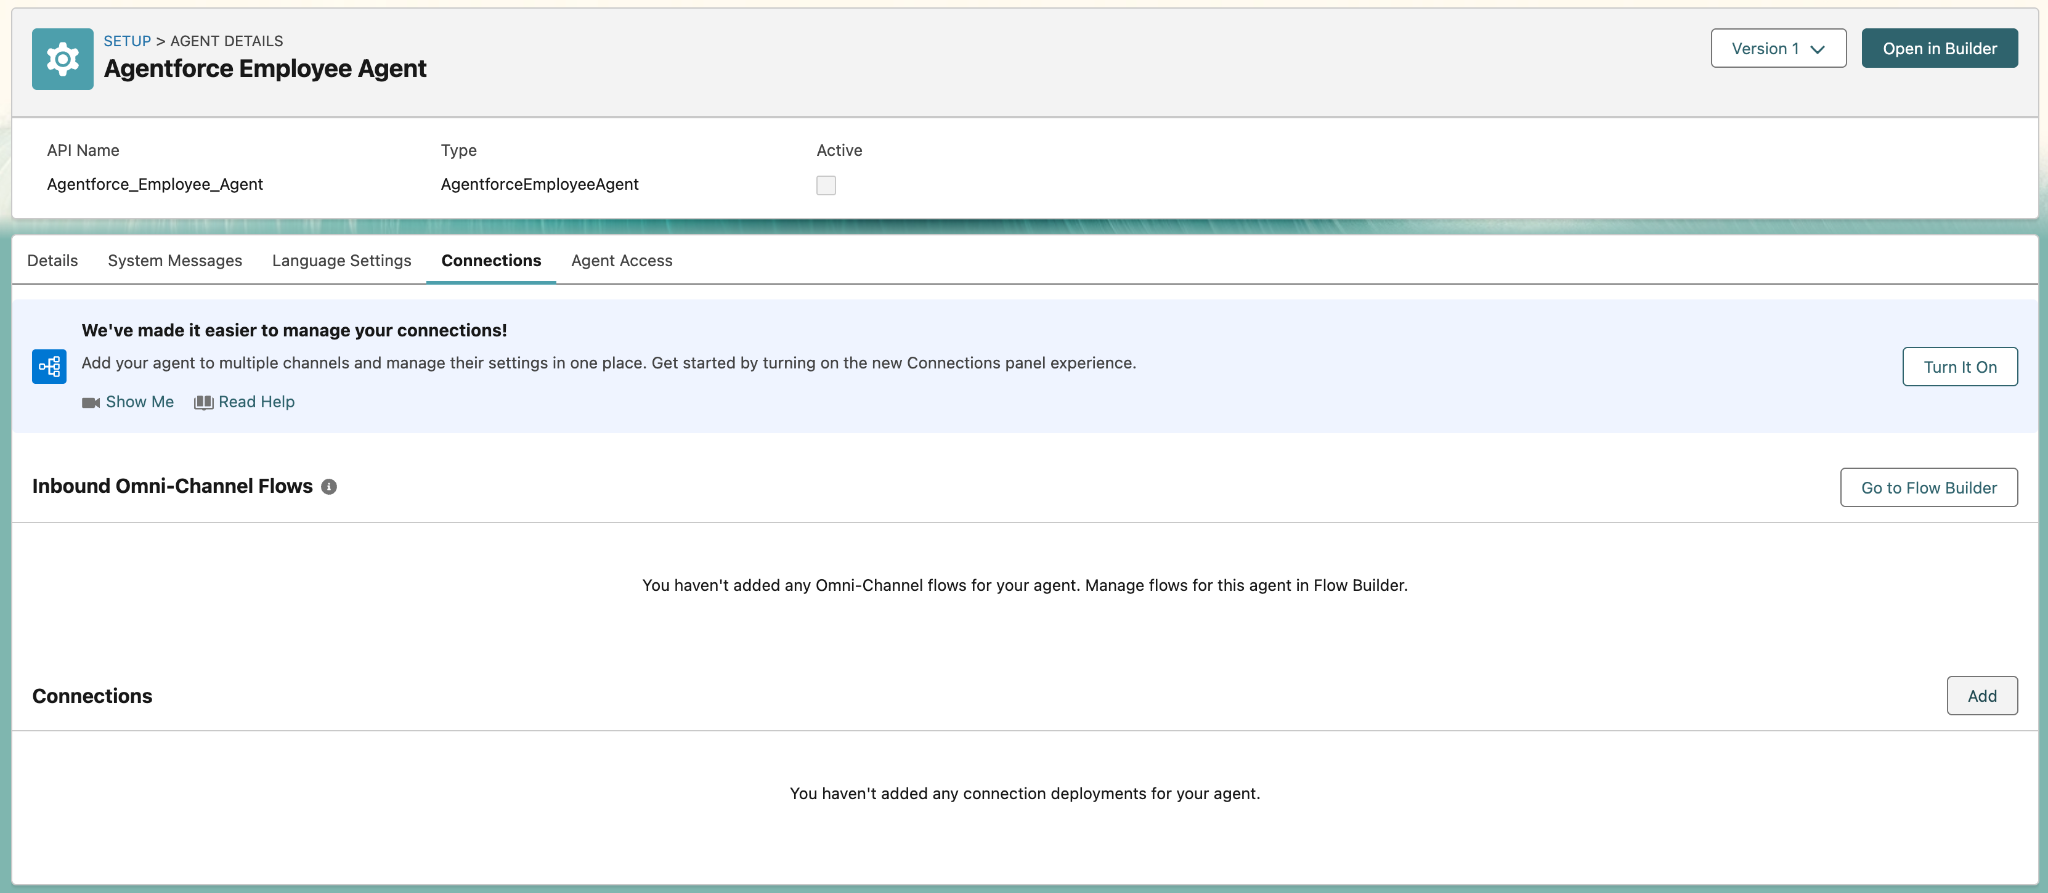
- On the tab that opens, click into the Connections tab and then click Add in the Connections section.
- For Connection Type, select API.
Once API is selected, two additional fields will appear.
For Integration Name, typeEmployee Agent
For Connected App, typeSlack
Then select Slack from the available options. If your screen looks like the image below, click Save.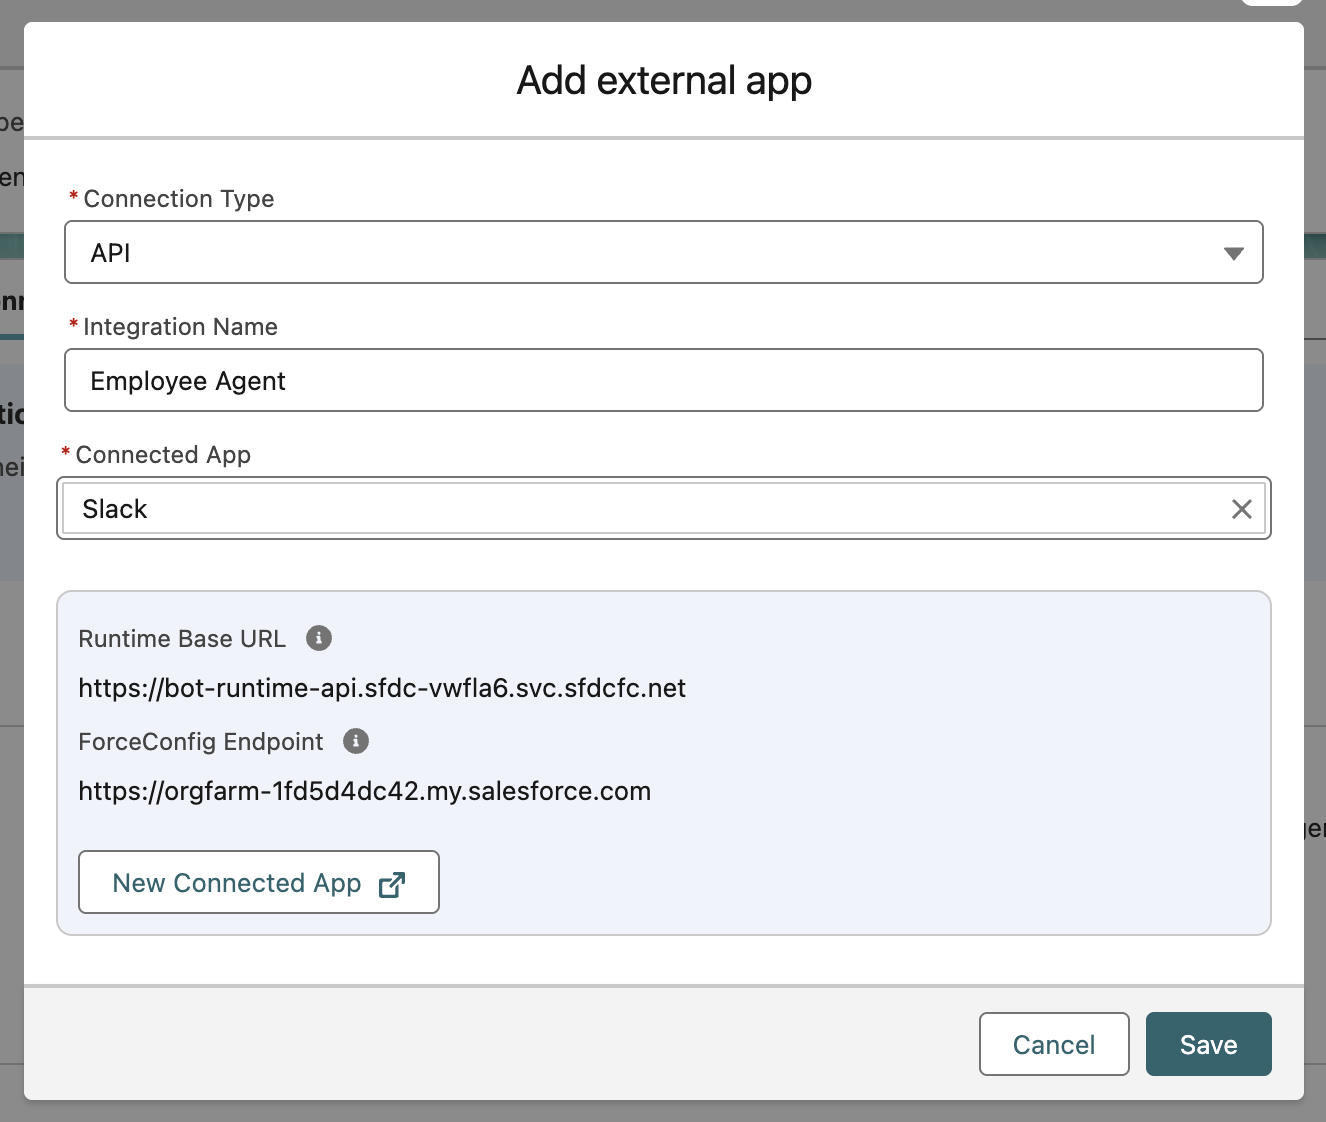
- At this point, your Agentforce Employee Agent is connected to your Slack Workspace, but it is not yet activated and deployed. We will be doing that in the next Exercise.
Step 3: Approve and Use an Agent in Slack
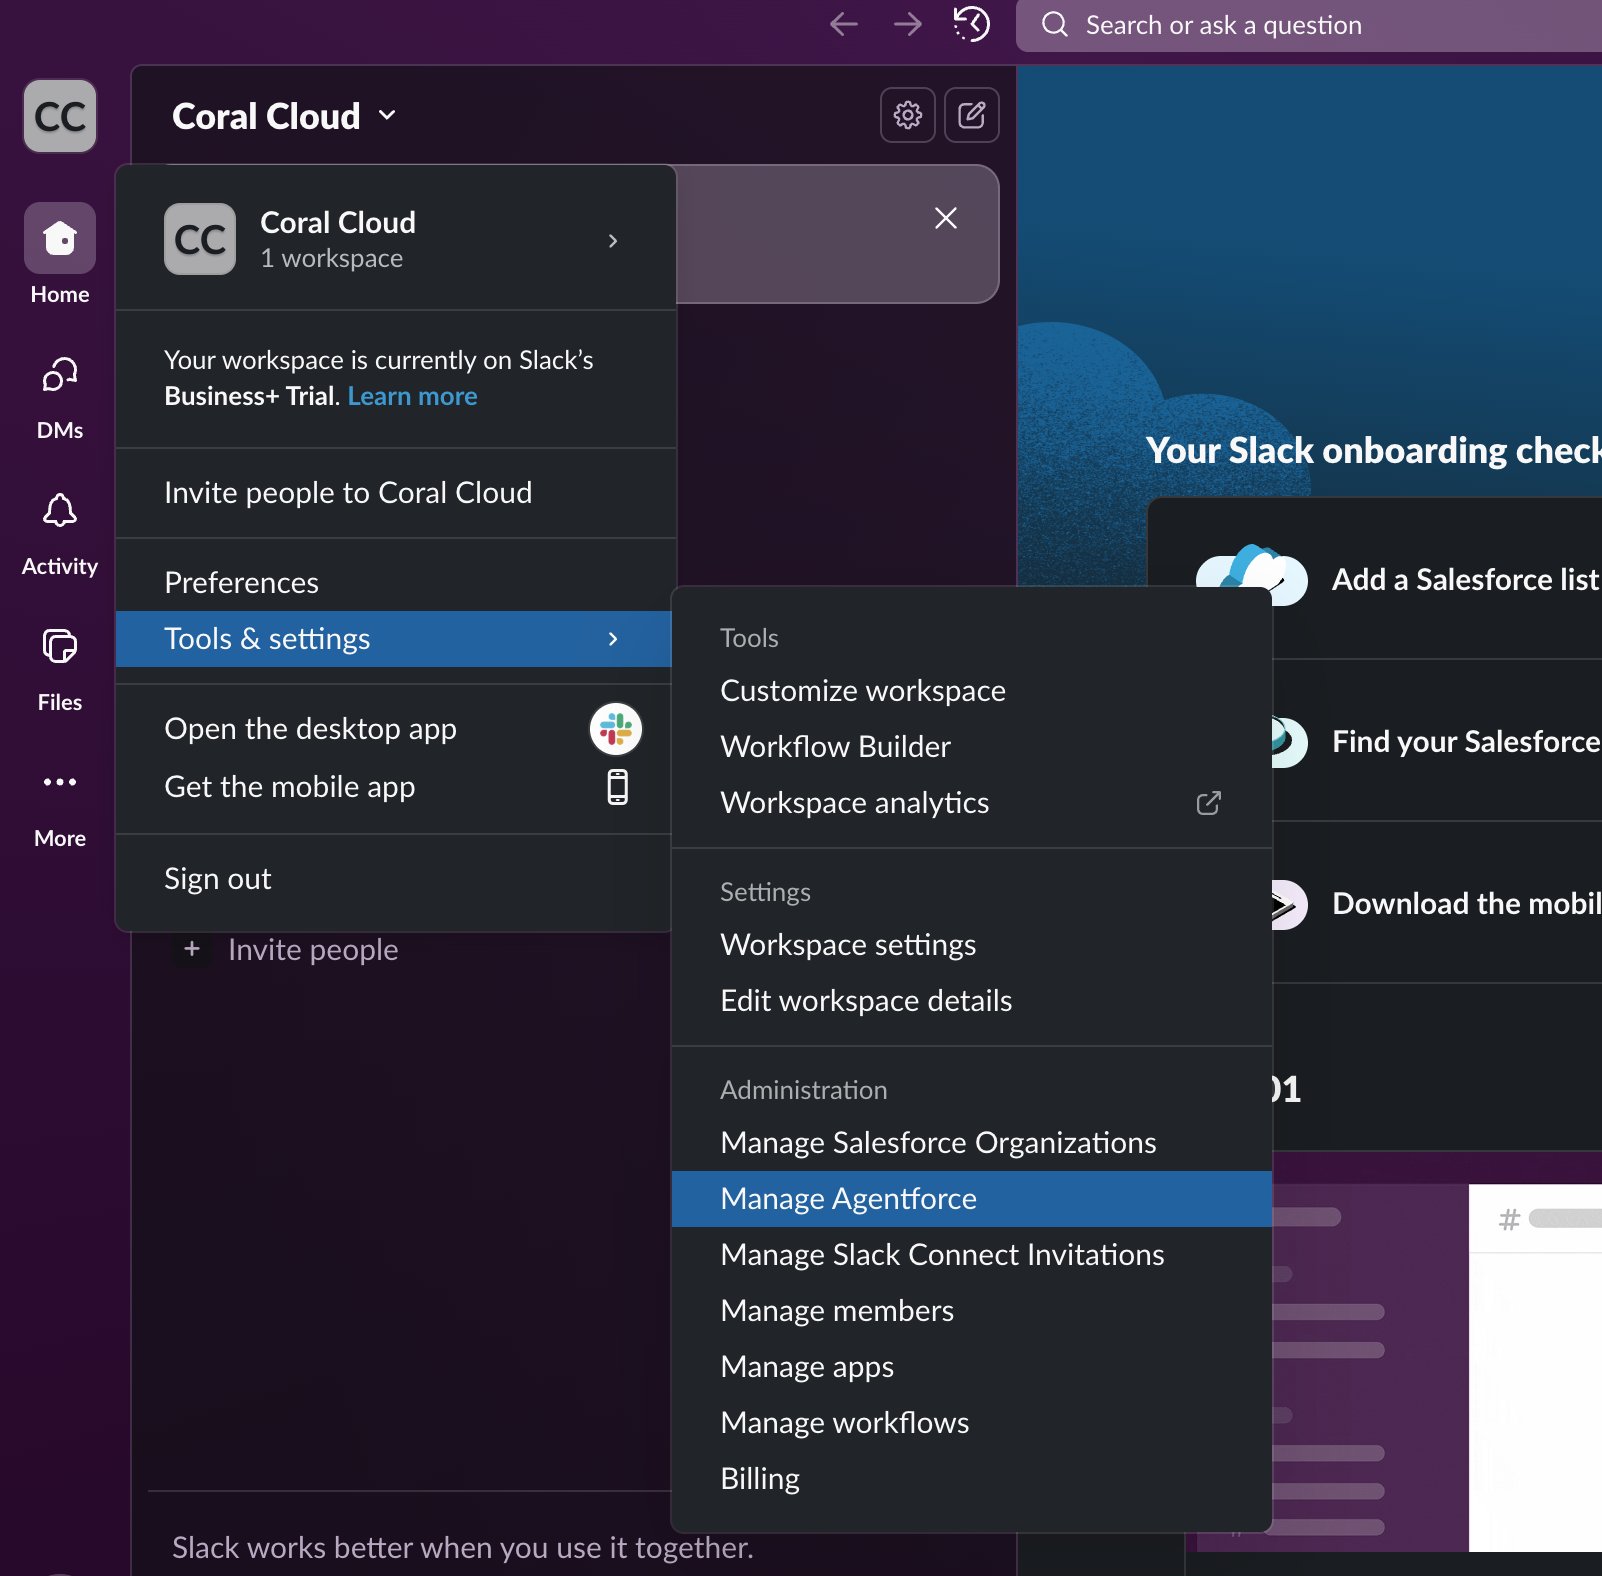
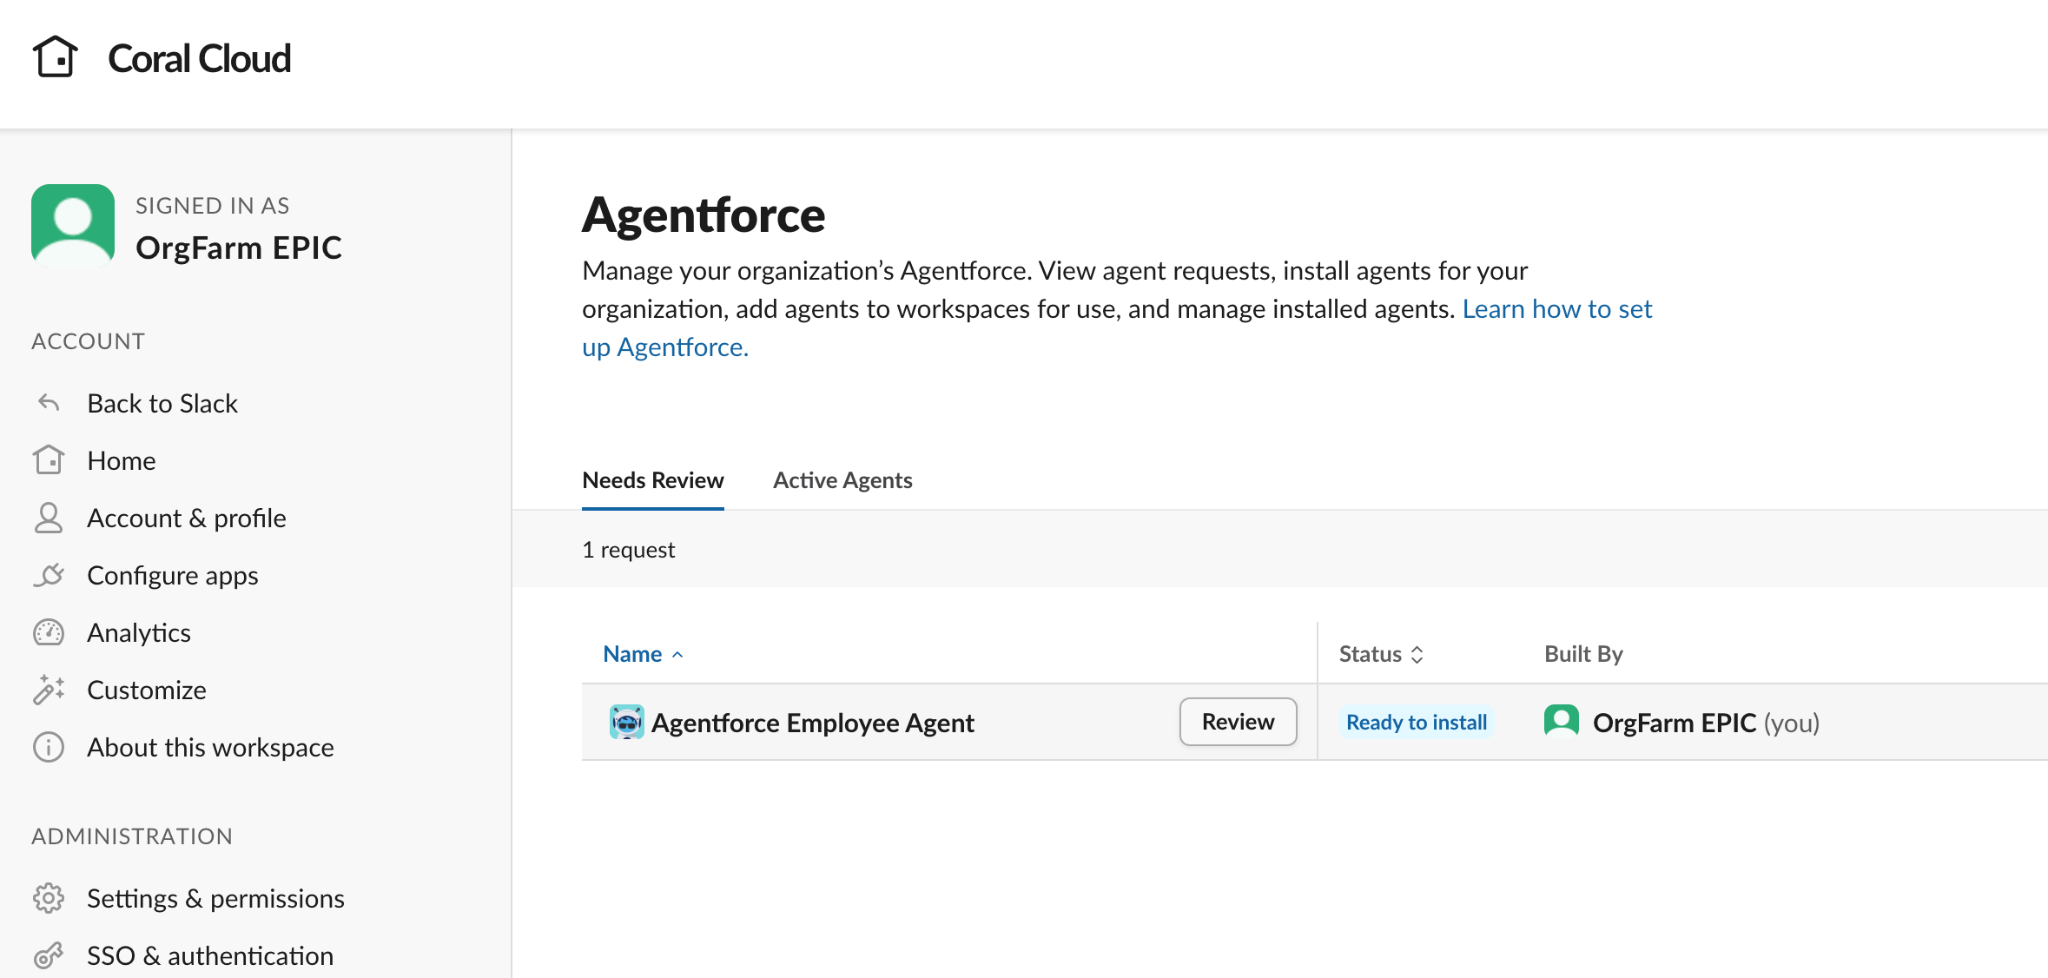
Go back to your Slack Workspace tab. Cick the Coral Cloud dropdown on the top left, and hover over Tools & Settings, and then select Manage Agentforce.
A new tab will open on the Agentforce Slack configuration screen, and you should see your Agentforce Employee Agent. Click the Review button.
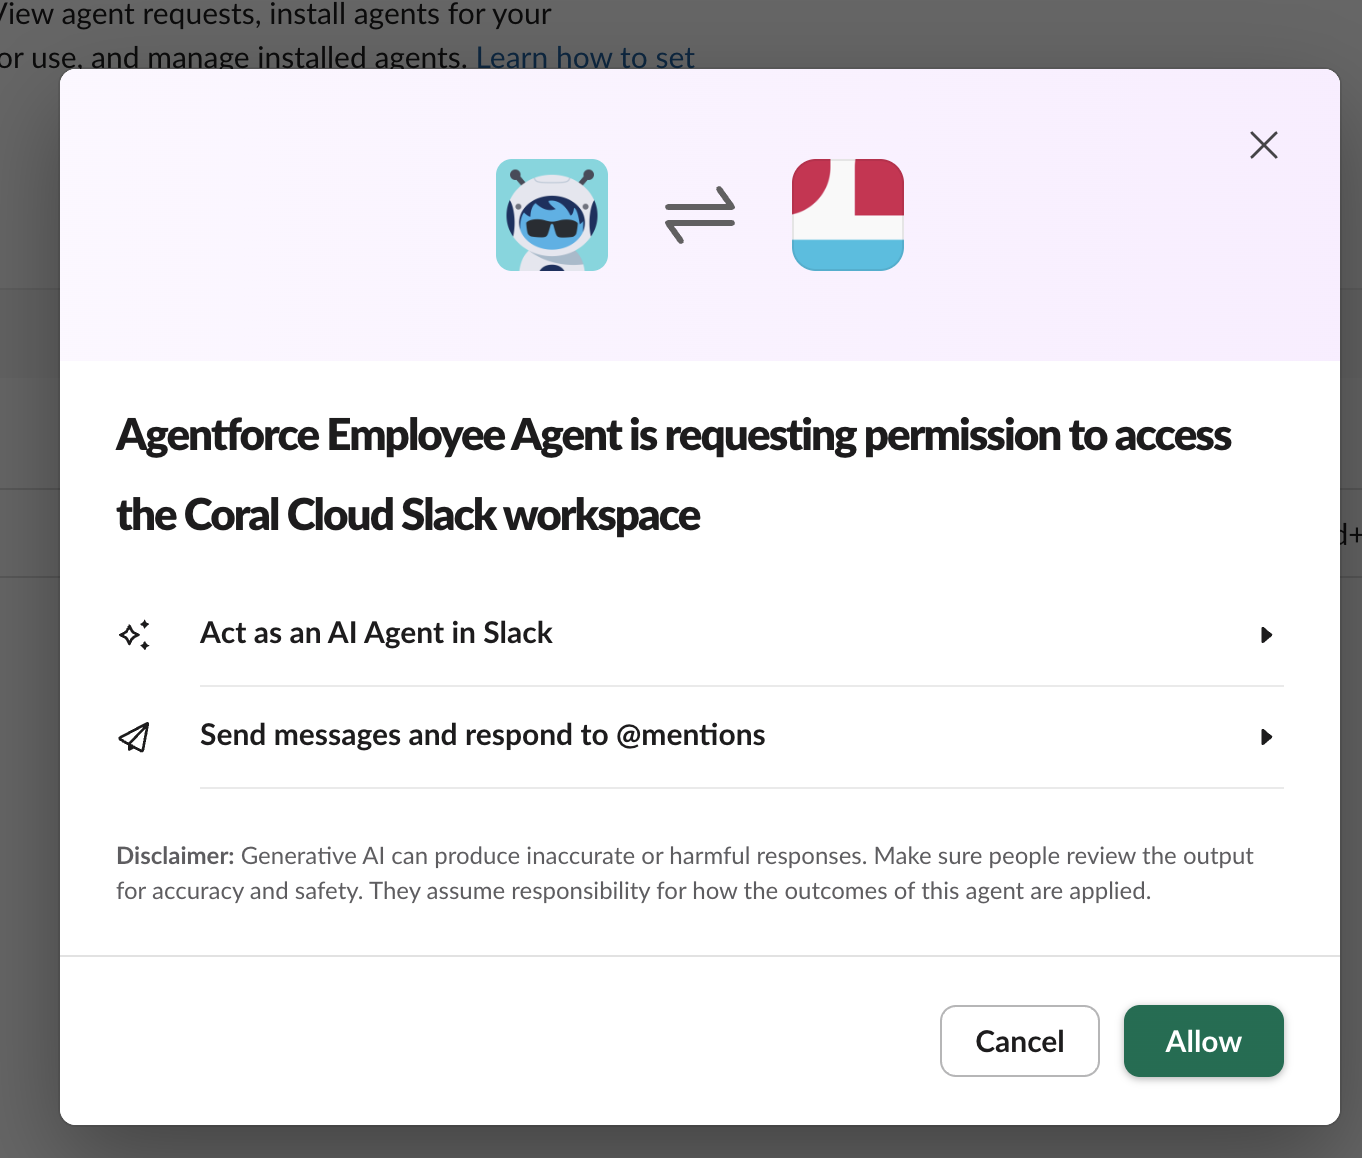
At the next pop-up, click the Allow button to give your Agentforce Employee Agent permission to access your Slack Workspace.
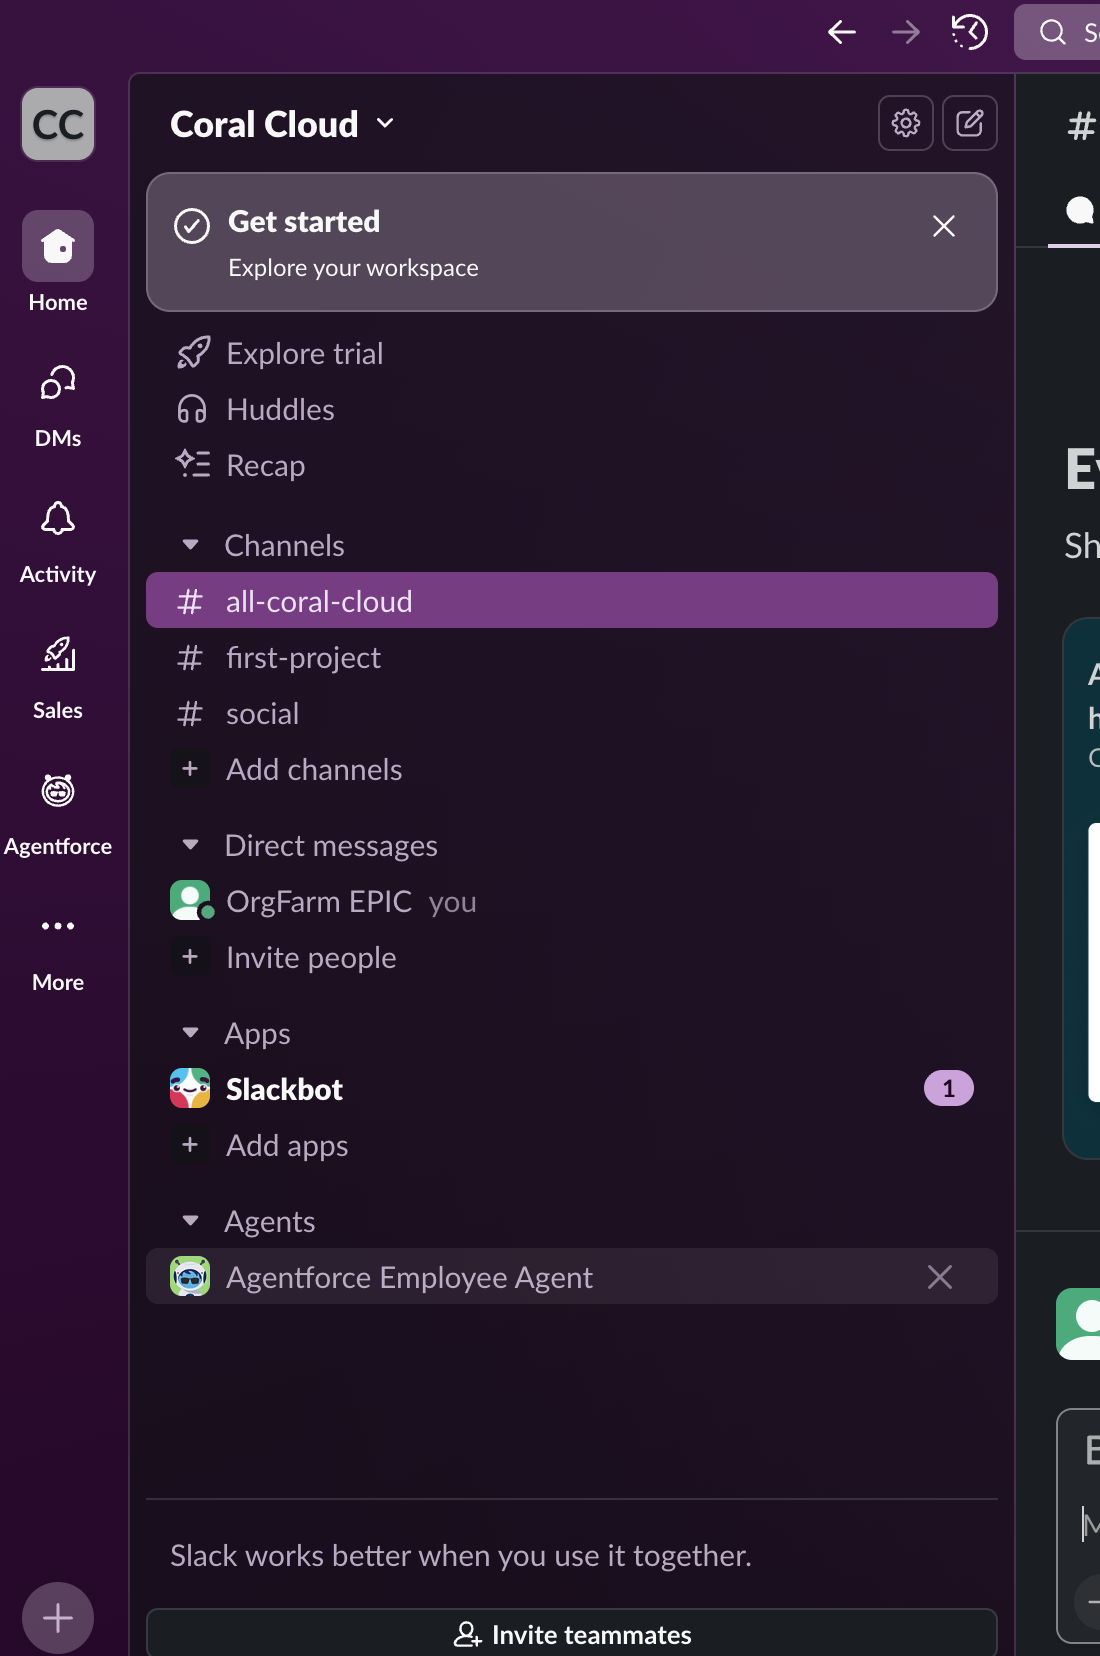
You can now close this tab and return to your Slack Workspace and refresh the page.
Now, you’ll find your newly deployed Agent under the Agents section. Click on it to start a conversation.
Now we can role play as a Coral Cloud Hotel Staff Member!
Here’s the scenario:
Sofia Rodriguez, a Platinum VIP member at Coral Cloud Resorts just checked into her room and there are no pillows!
She goes to complain at the front desk, now powered by Agentforce and we can simulate the interaction. In the conversation box, type:There are no pillows in Sofia Rodriguez’s room.The Agent is now leveraging the new actions powered by Mulesoft.
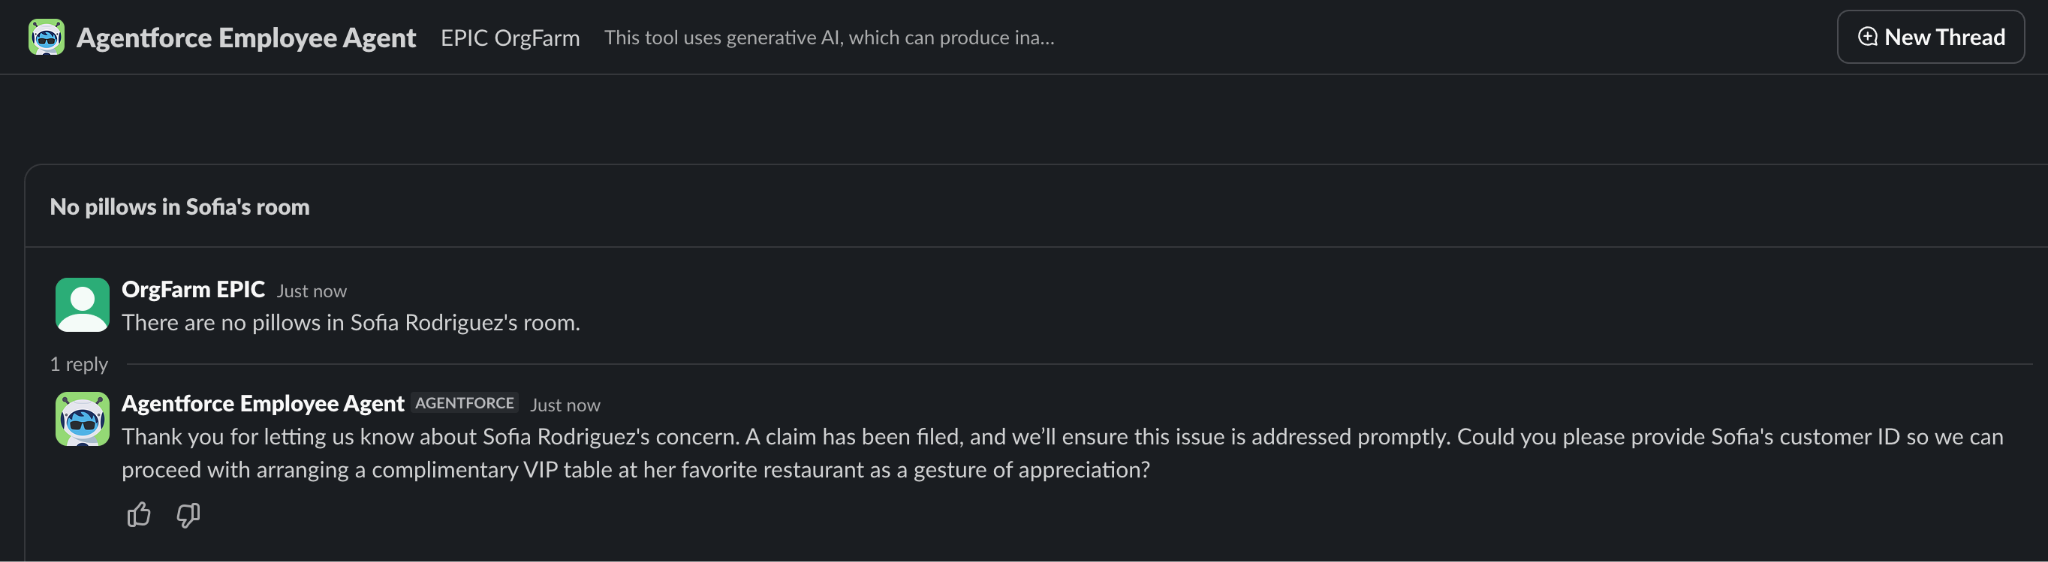
When prompted for her customer ID, enter
1234. Watch as the Agent understands her favorite restaurant and recommends we book her a complimentary VIP table. When prompted, say “yes”.
You’ll be presented with some options. Pick one and let the Agent handle the reservation!
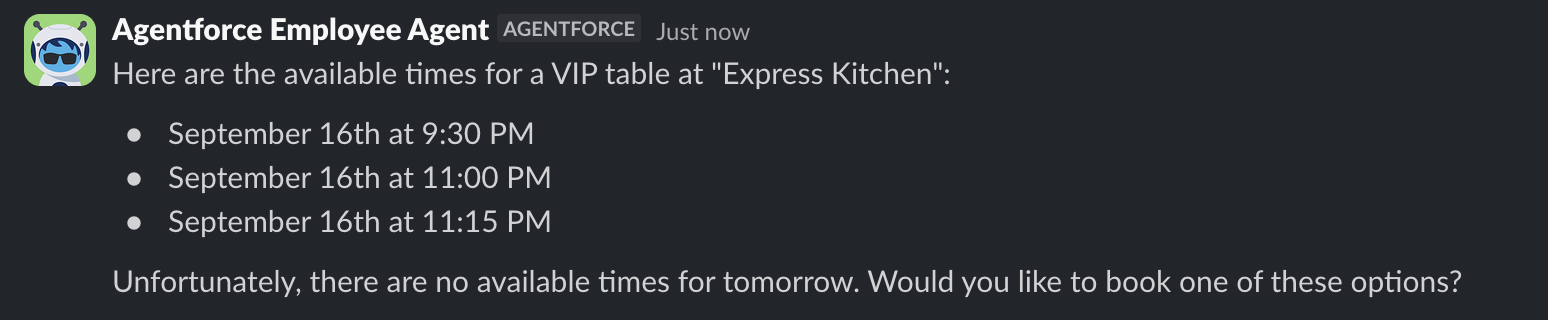
And there you have it! Using simple, natural language, the Coral Cloud Resorts staff was able to resolve the issue and treat their guests with the white glove service they’ve come to expect.

This completes Exercise 4.