Appearance
Exercise 3 - Mulesoft, Supercharge your Employee Agent
As resort employees we are swivel chairing between systems and manual processes. We want to be able to give our customers a VIP experience but seamlessly booking them reservations. We are going to create an external API to OpenTable to book our guests reservations quickly.
Step 1: Add New Topics to Employee Agent
Next, we will create an Agent Action for the imported API, so that Agents have access to the external OpenTable system. We will also give instructions for when and how to use this API.
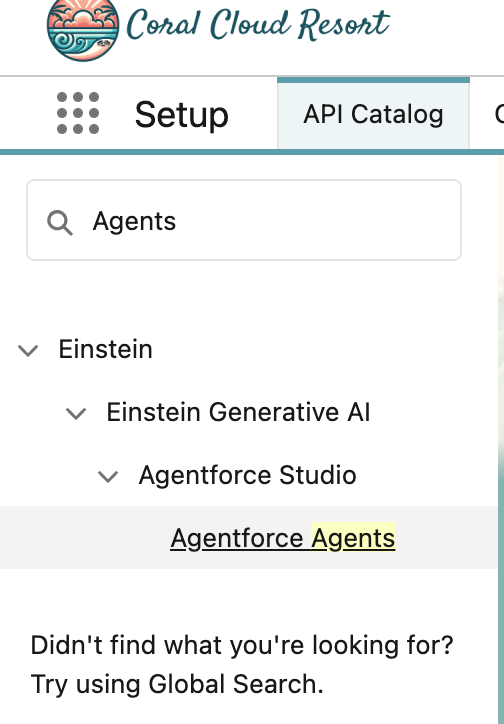
From Setup, in the Quick Find box, search for Agents and click into Agentforce Agents.
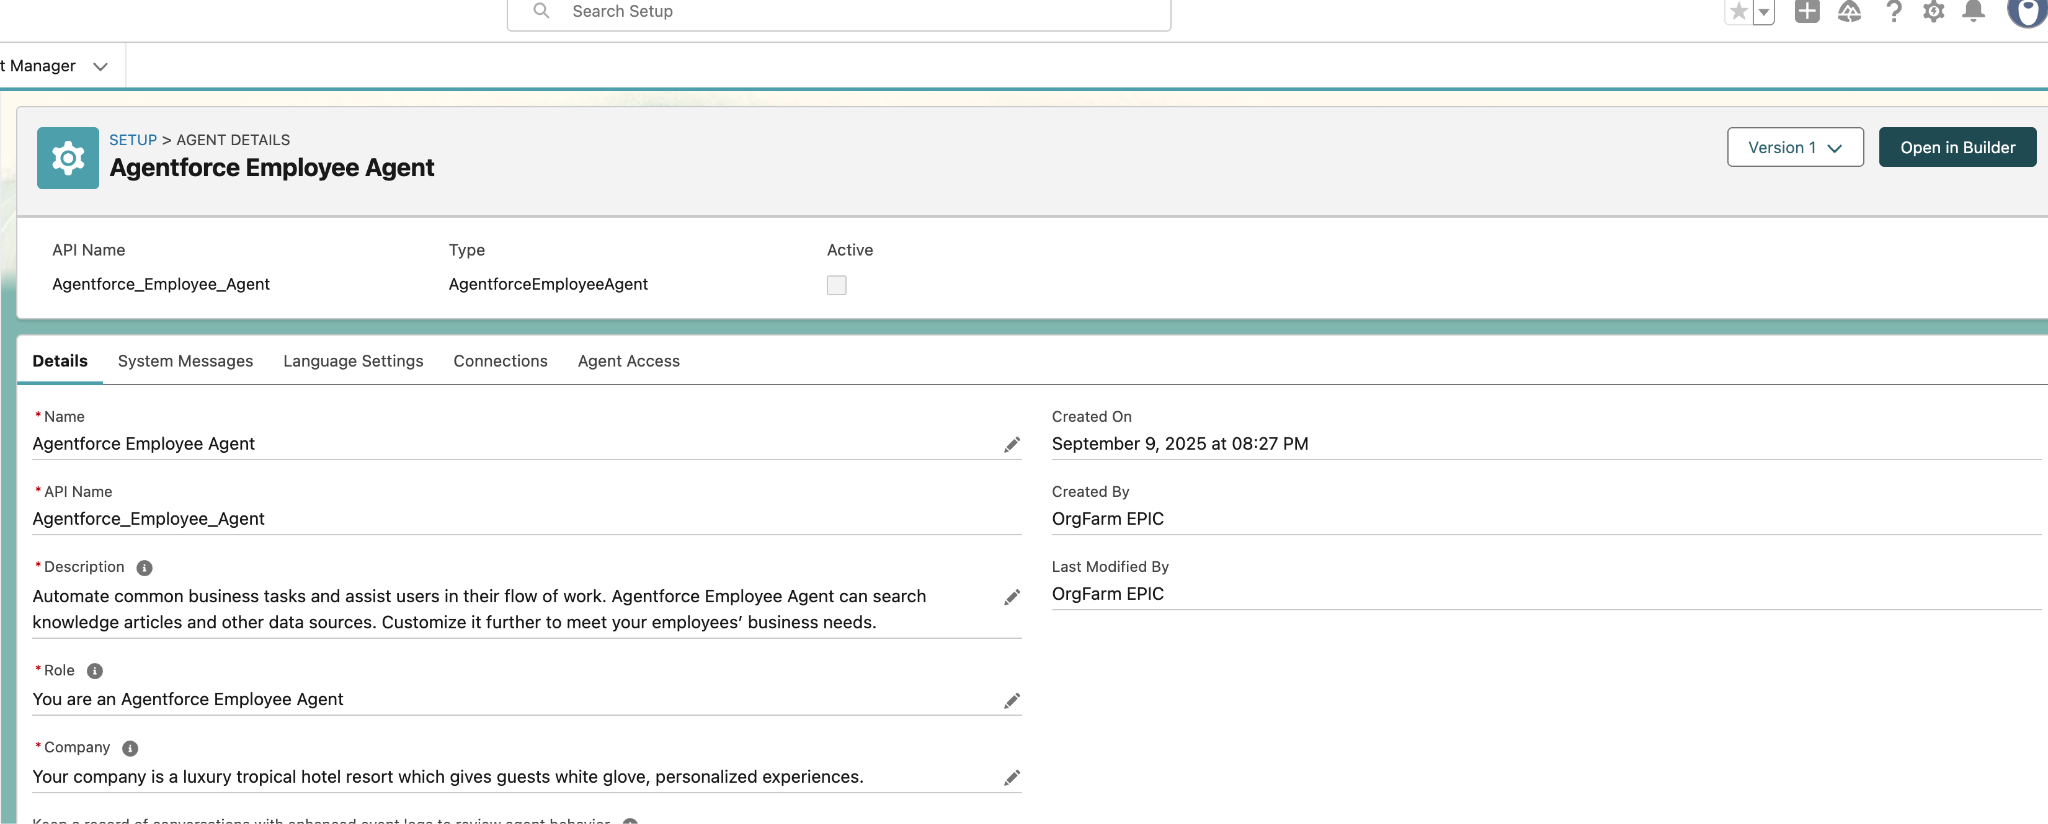
Again, we’re going to scroll down and click on Agentforce Employee Agent.
On the next tab that opens, click the Open in Builder button.
You should see a screen like this:
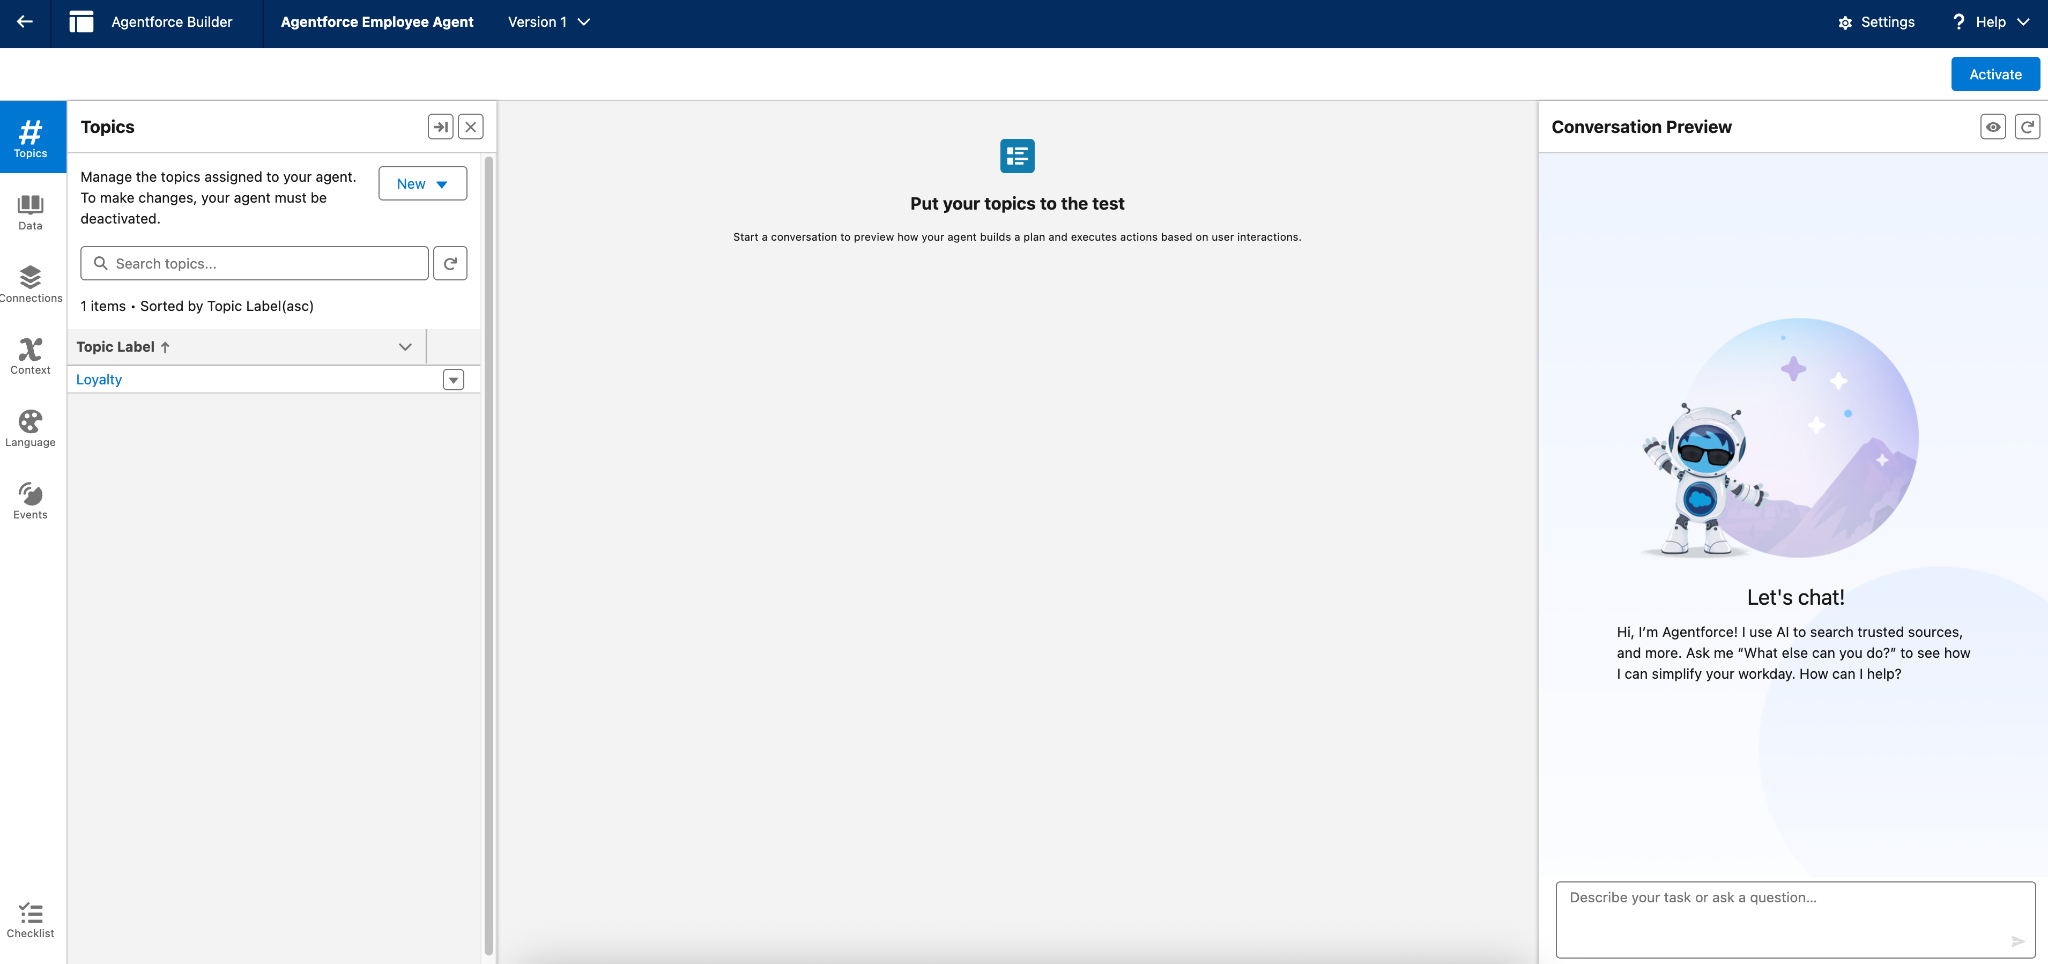
In the left-most panel, is where you work with Topics, Actions, Knowledge, Language Settings and Event Logs
In the right-most panel, you can start a conversation as a user and interact with the Agentforce Agent to test your work
In the center, you can review how your Agentforce Agent selects topics and executes actions based on user interactions.
We will see this in action as we enhance our Agentforce Employee Agent.
Currently, there is only one Topic that this Agent can handle. Since we just connected to Mulesoft Anypoint’s API Catalog, let’s get that functionality added into our Agent.
Underneath Topics, click the New button and then select Add from Asset Library.
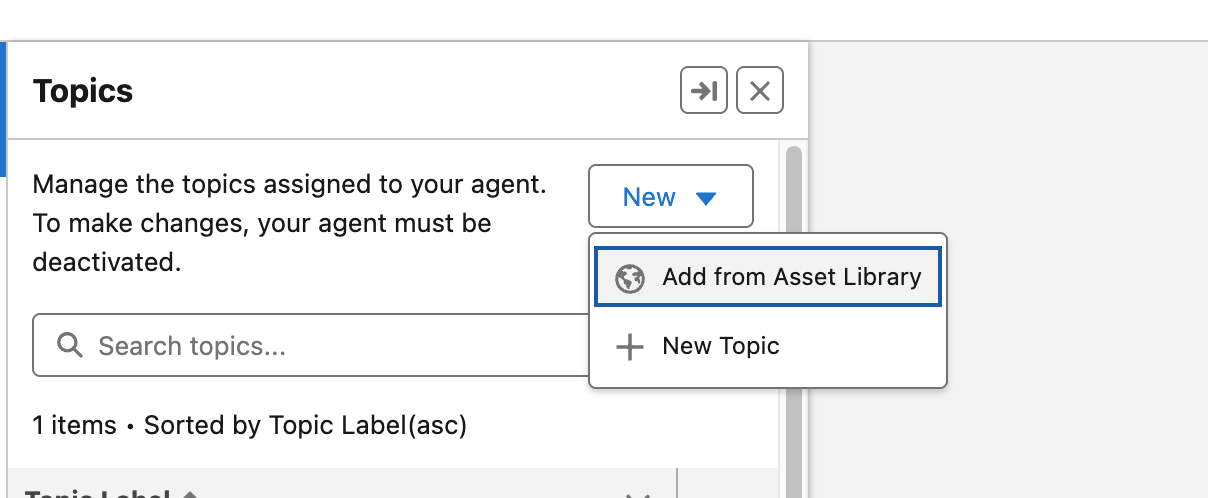
Here, you’ll see a list of pre-created Topics (with associated Actions included) that you can add to your Agent.
For our exercise, we’re going to search for Customer Complaint in the search box.
You should* see Customer Complaint v1. Check the box to the left of that Topic and then click the Finish button.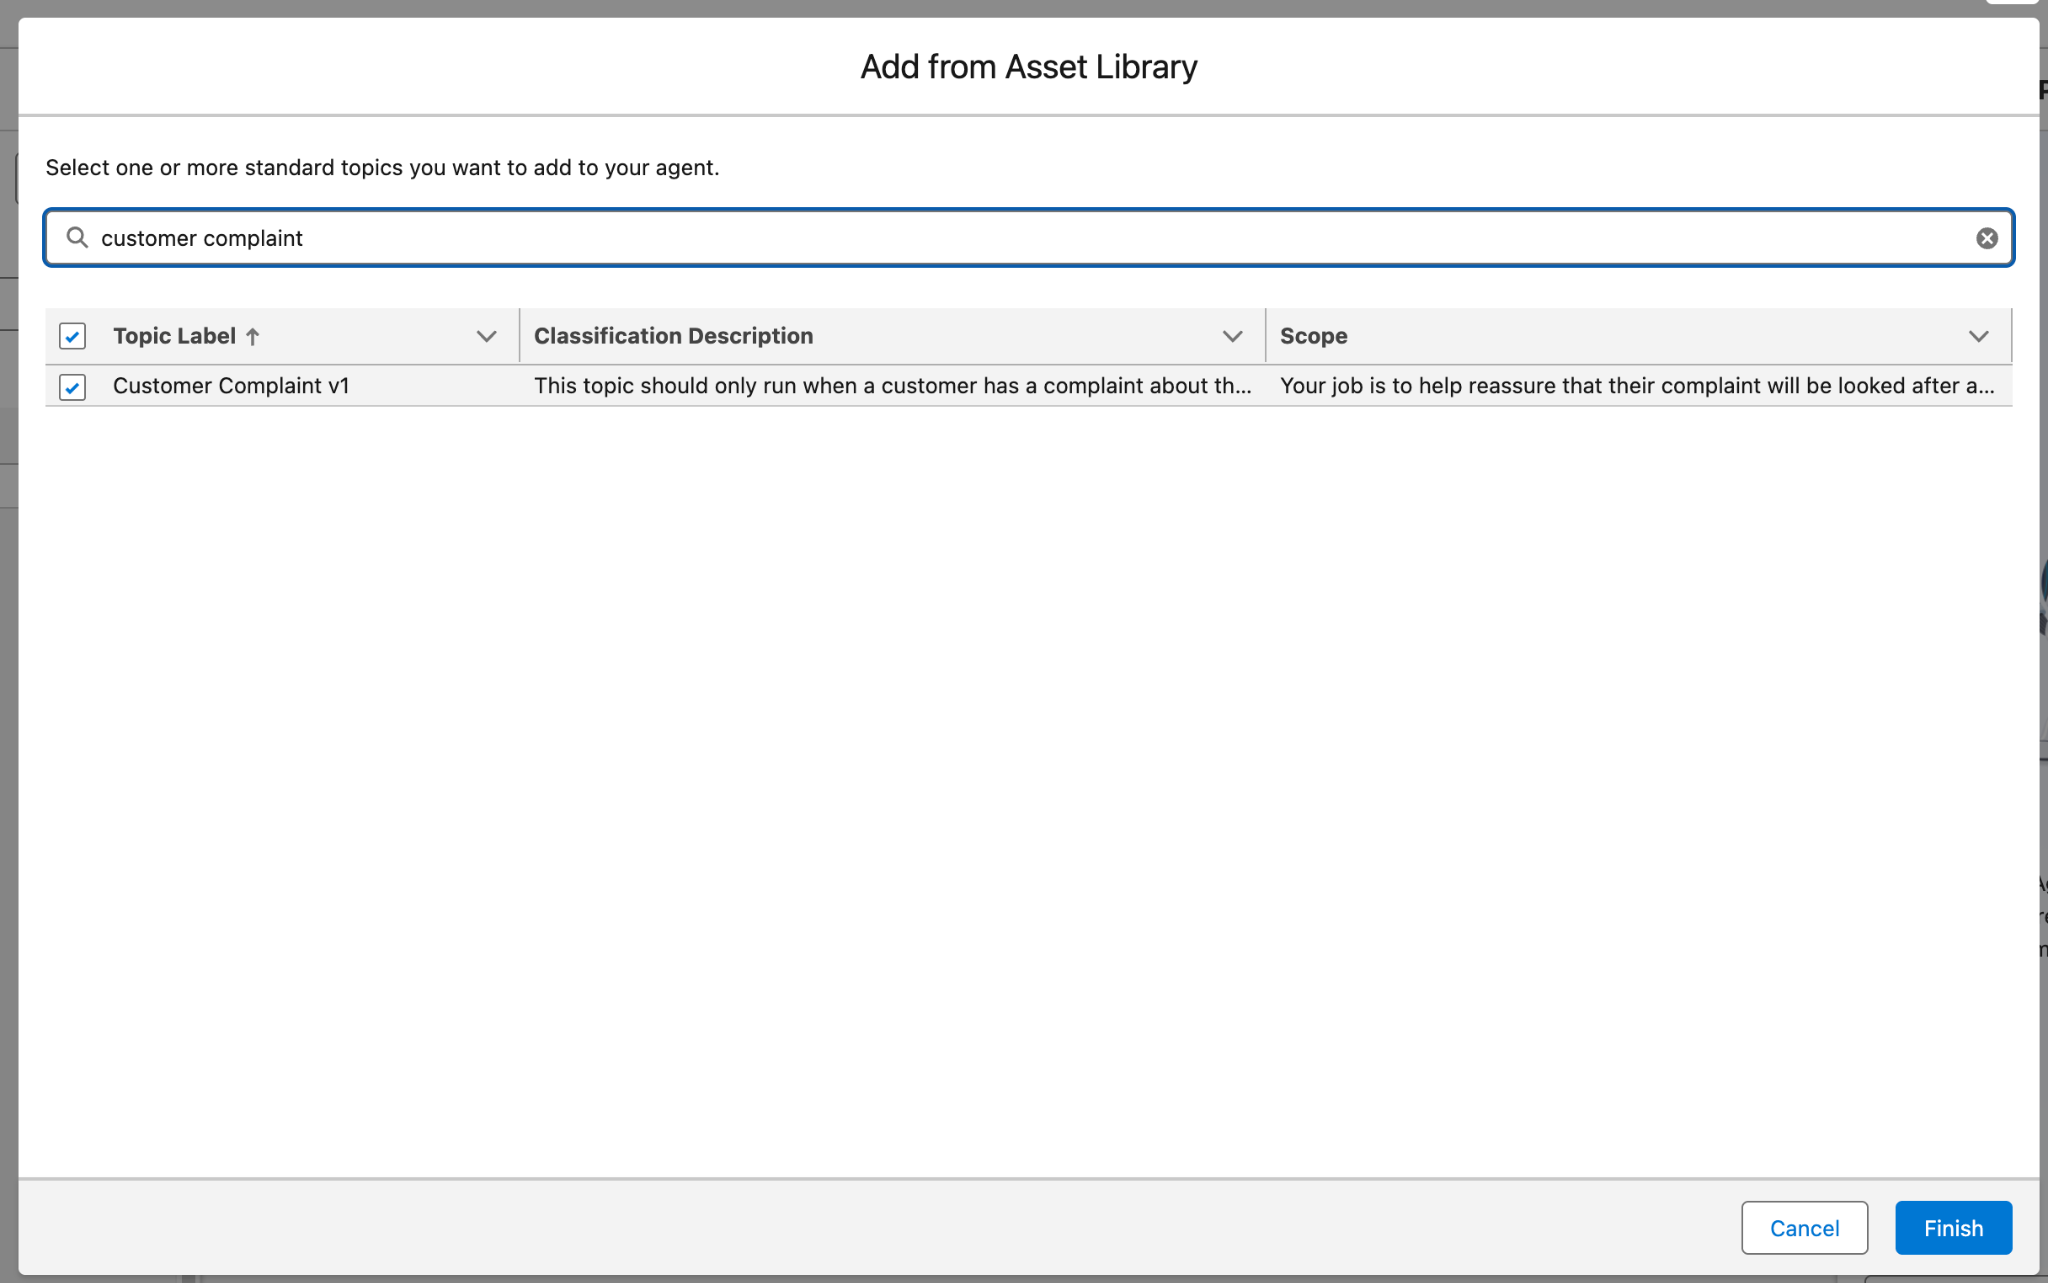
You should now see the Customer Complaint v1 topic in the list of Agent topics. Click into it so we can review.
If you scroll down on the Topic Configuration panel, you’ll see things like:
Classification Description (which helps the Atlas Reasoning Engine decide which topic to select based on the user’s interaction)
Scope (which tells an agent what it's able to do within this topic)
Instructions (help an agent make decisions about how to use the actions in a topic for different use cases).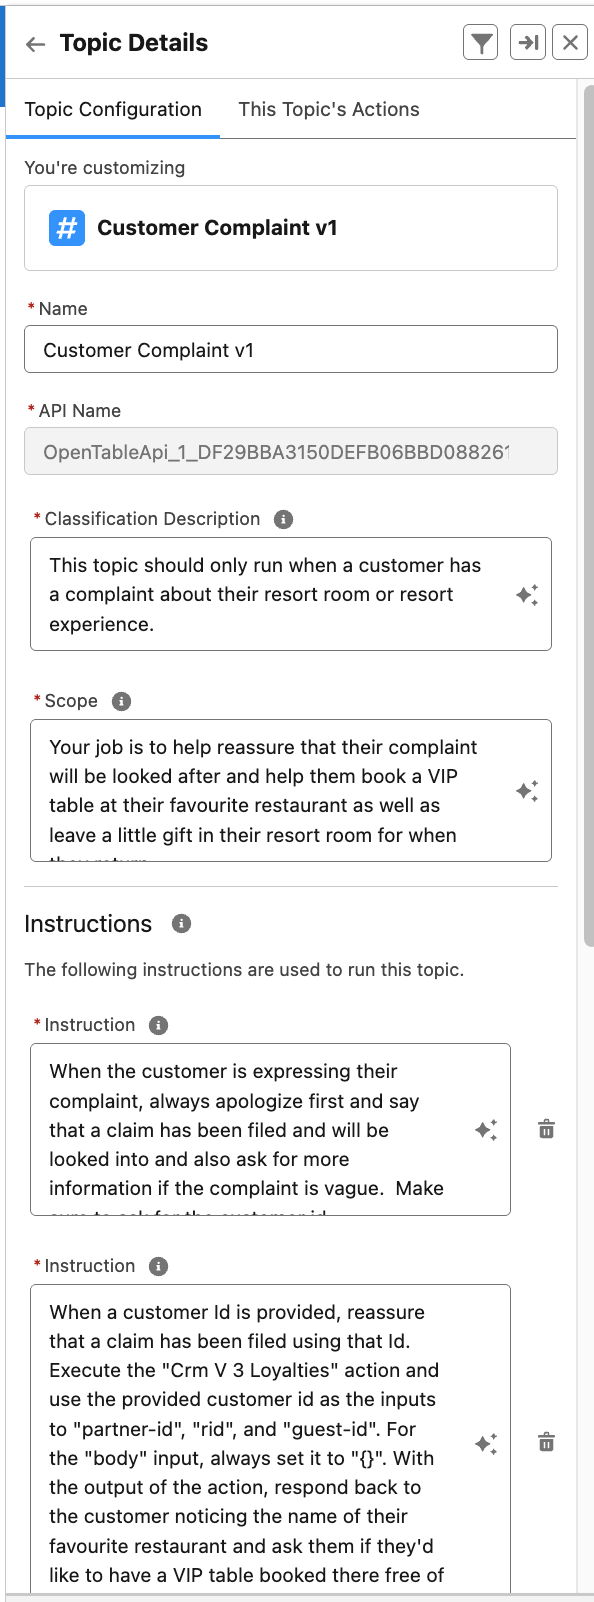
Next let’s review this Topic’s Actions by clicking on the This Topic’s Actions tab next to Topic Configuration.
Here, you’ll find the three pre-configured Actions associated with this topic:
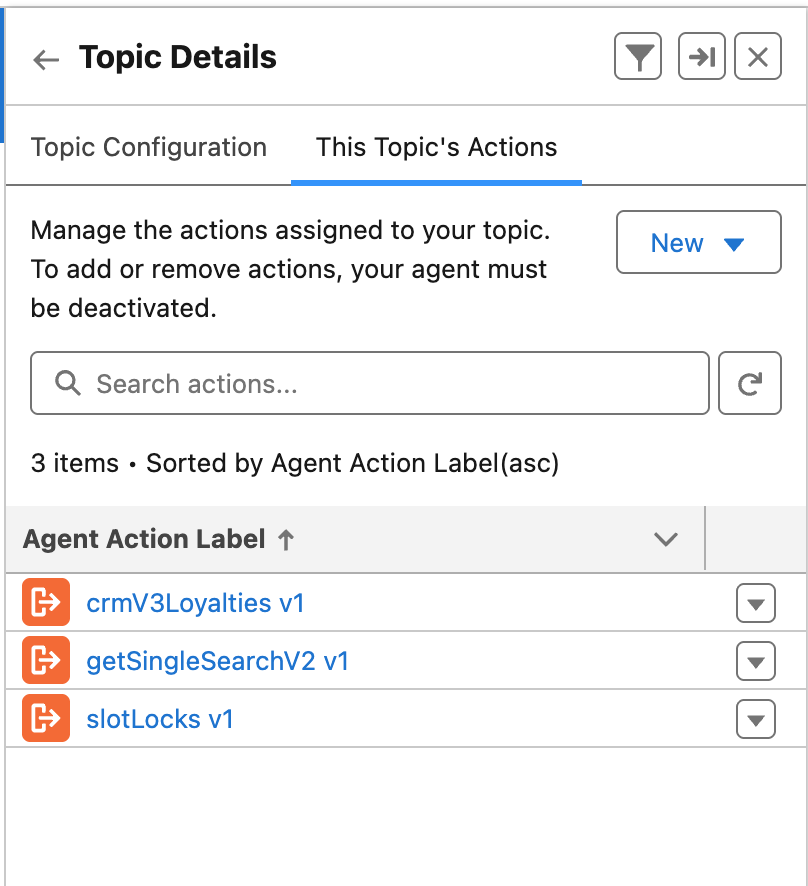 crmV3Loyalties retrieves the loyalty details for a specific guest in a restaurant
getSingleSearch gets restaurant availability using a Restaurant ID
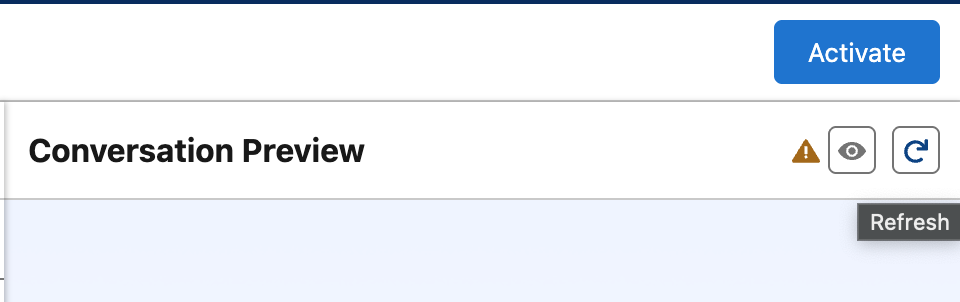
slowLocks creates, manages, and retrieves reservations for a restaurantLet’s test out this new Topic! In the Conversation Preview panel, at the top, click the Refresh button.
Now, in the Conversation window, let’s play the role of a customer by typing:
My room is missing pillows.Now press Enter/Return
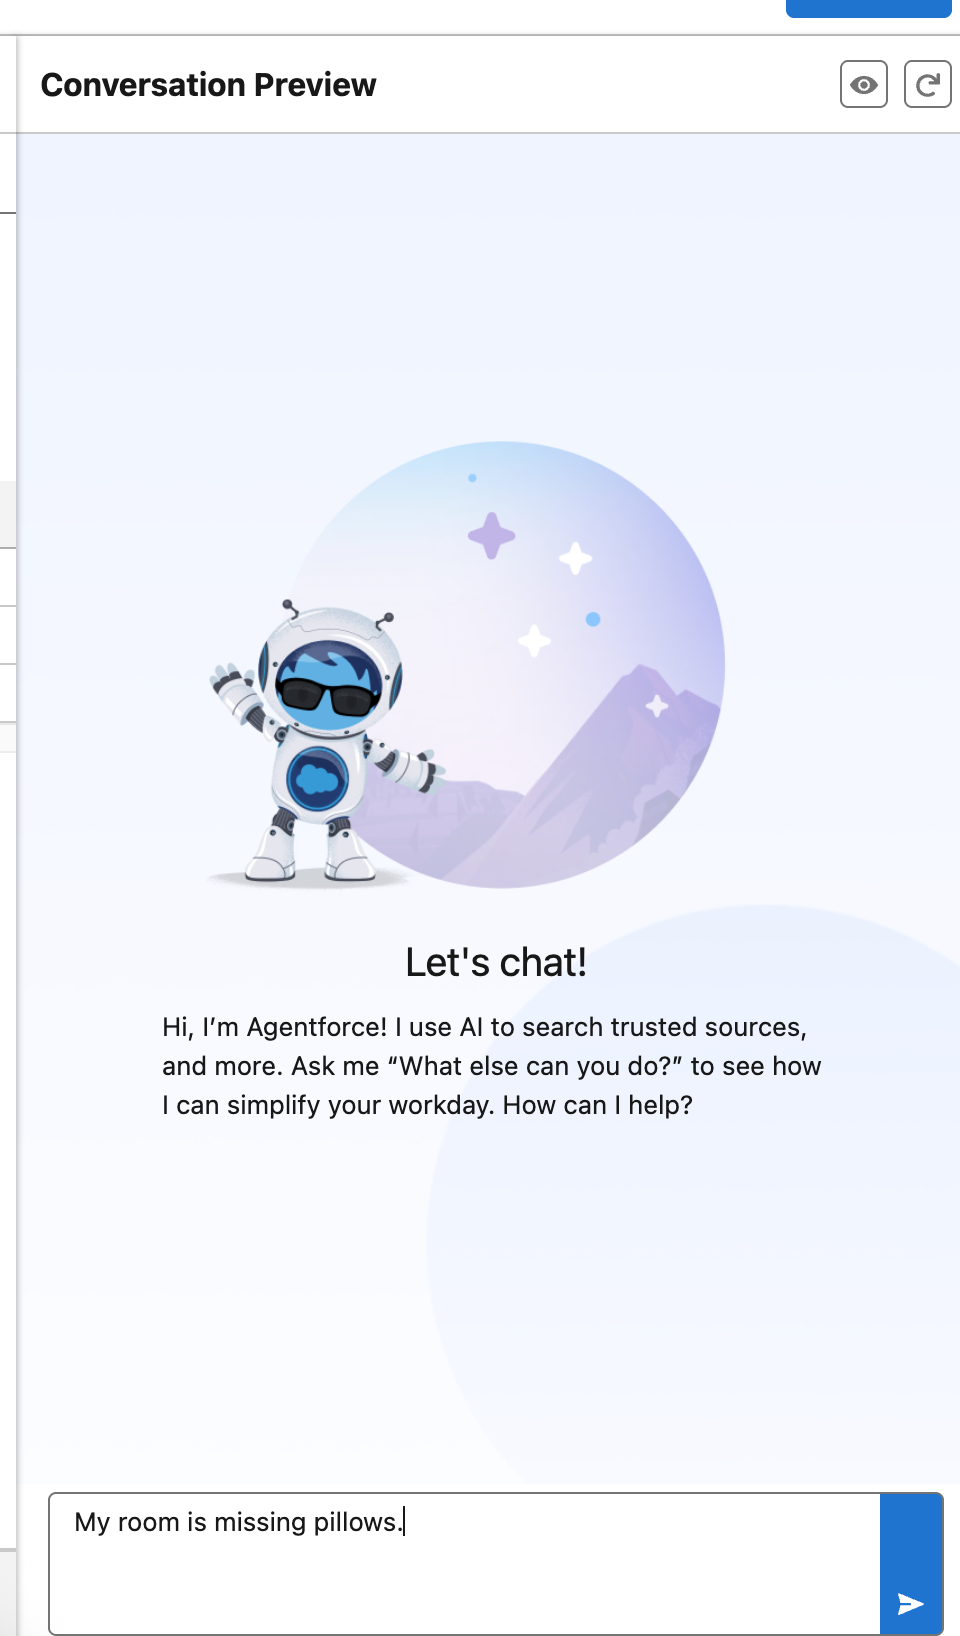
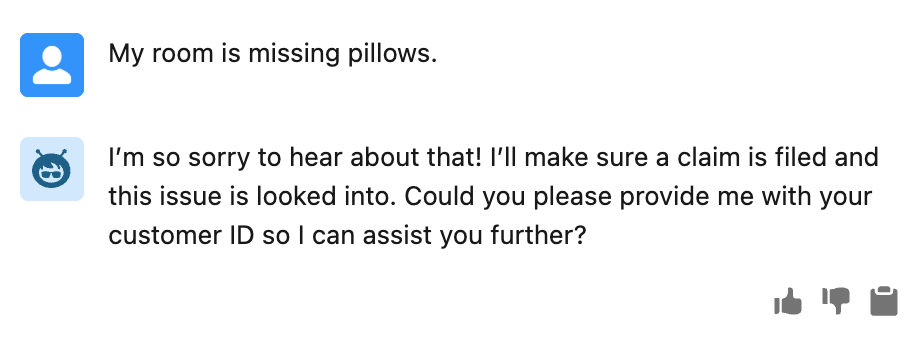
You should see that the Agent responded appropriately and asked if it should take further action.
You’ll also notice that the middle panel is no longer blank.
The middle panel shows the user’s intent, the topics the agent chose, and the actions taken to complete the user’s request.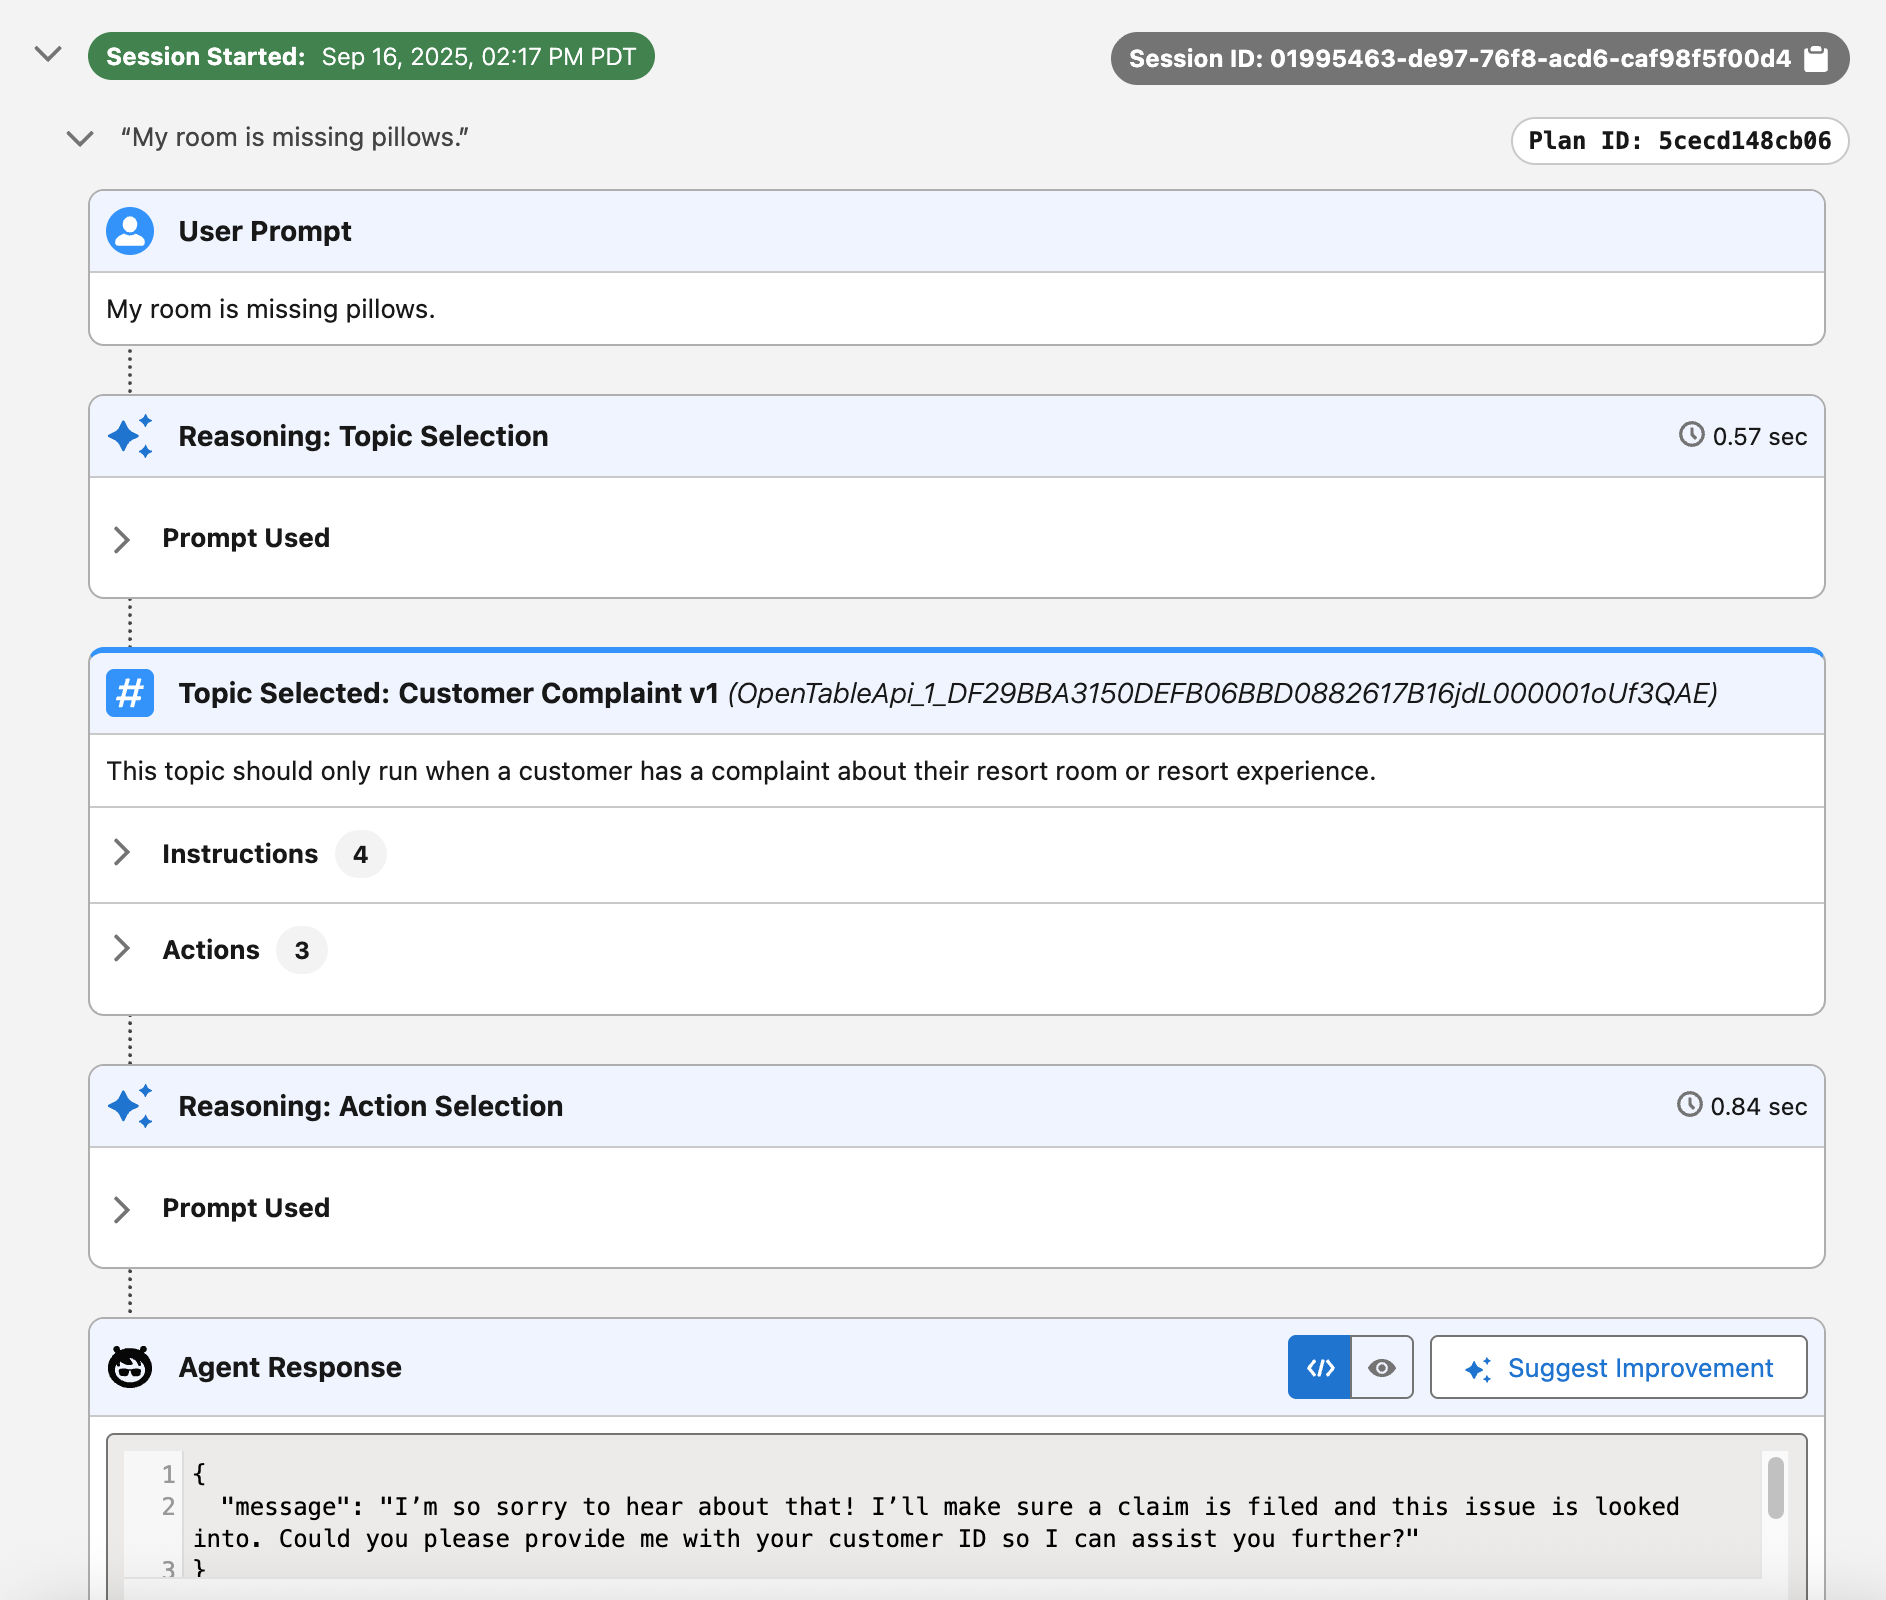
The agent should respond asking for your customer number. Respond with 1234, and notice the agent using additional Mulesoft API actions to obtain customer preferences.
Finish the conversation by accepting the Agent’s offer for a restaurant reservation, and choose a reservation time. Pay attention to the various Mulesoft APIs interfacing with Opentable and Back-end Loyalty Databases to respond to the user appropriately.
Let’s review! We can see that based on the user’s interaction, the Agent appropriately selected the correct Topic (Customer Complaint v1) and associated actions.
However, Coral Cloud Resorts is not intending to deploy this functionality to their customer base just yet. Instead, they want this Agent to be a tool used by their Hotel Staff via Slack. In order to do that, let’s adjust the Topic Configuration, Activate our Agent, and deploy it to Slack.
Step 2: Adjust Agent and Deploy to Slack
In the Topic Details, click on the Topic Configuration tab.
 Paste the following values to shift this from a customer facing topic to an employee facing topic:
Classification Description:This topic should only be used by an employee when a customer has a complaint about their resort room or resort experience.
Scope:Your job is to assist the employee in reassuring the customer that their complaint will be handled. You will help them book a VIP table at the customer's favorite restaurant and arrange for a small gift to be left in their resort room.
Instruction:When an employee enters a customer's complaint, acknowledge it by stating that a claim has been filed and is being looked into. If the complaint is vague, ask the employee to provide more specific details. Always ask for the customer's ID.
Instruction:Once the employee provides a customer ID, confirm that a claim has been filed using that ID. Execute the "Crm V 3 Loyalties" action using the provided customer ID as the inputs for "partner-id", "rid", and "guest-id". For the "body" input, always set it to "{}". Use the output of this action to identify the customer's favorite restaurant. Present this to the employee and ask if the customer would like to have a complimentary VIP table booked there as a gesture of appreciation.
Instruction:If the employee confirms the customer wants to book a VIP table, execute the "Get Single Search V 2" action. Use the value of the "Favourite Restaurant ID" from the output of the "Crm V 3 Loyalties" action as the "rid3" input. From the output, present the "times" array to the employee, using the format "February 2nd at 3:30 PM" as an example.
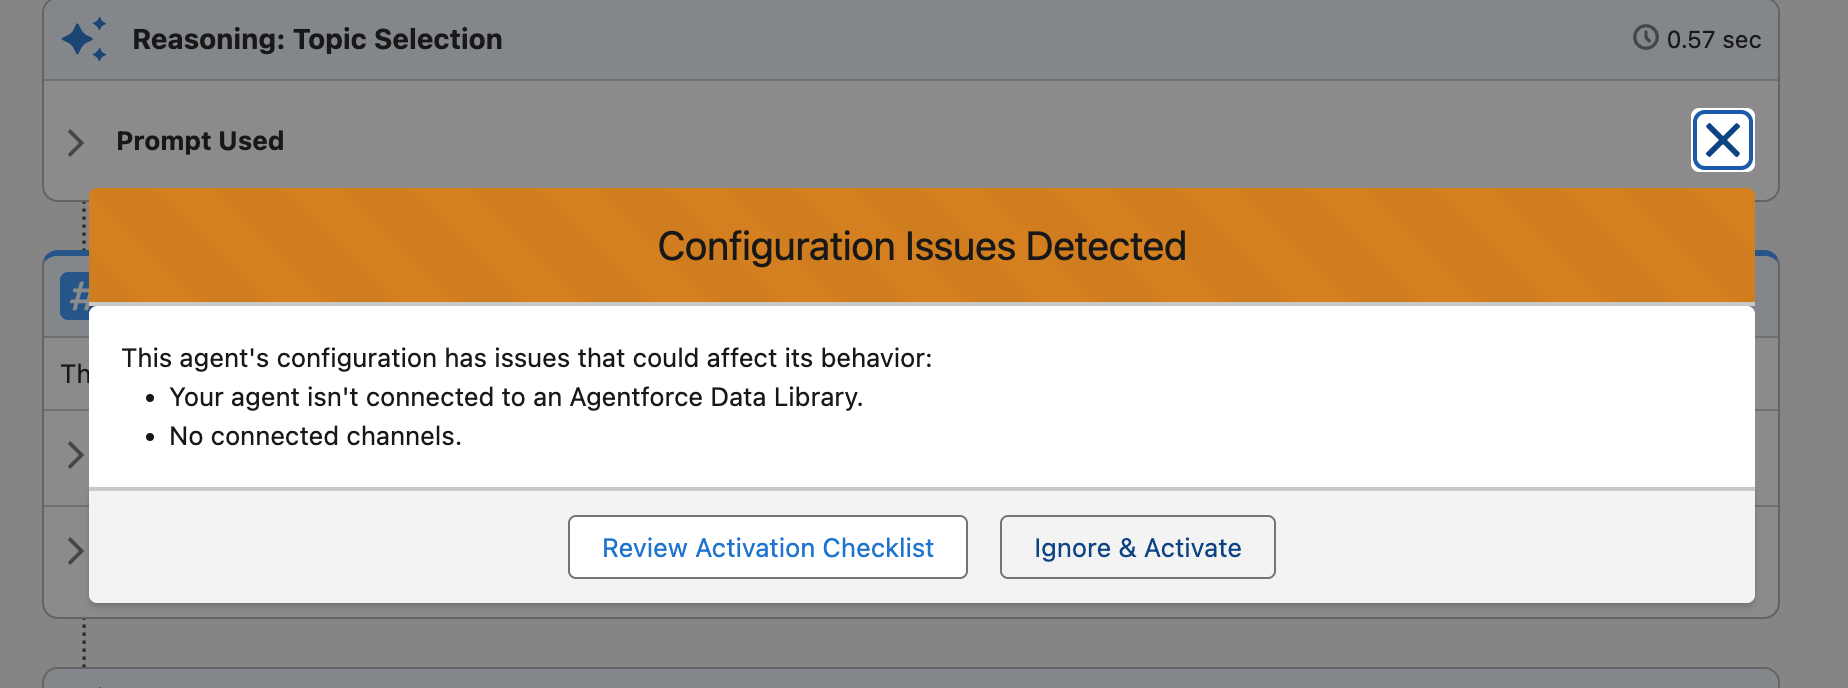
Instruction:When a valid time is selected, execute the "Slot Locks" action. In the body format, ensure you replace the "value" with the customer's selected time.Click the Save button at the bottom left and then the Activate button at the top right.
You will get a Configuration Issues Detected pop-up, but you can safely click the Ignore & Activate button.
 This completes Exercise 3.
Troubleshooting
If your Agent Topics and Actions aren't yet present, these steps may help: 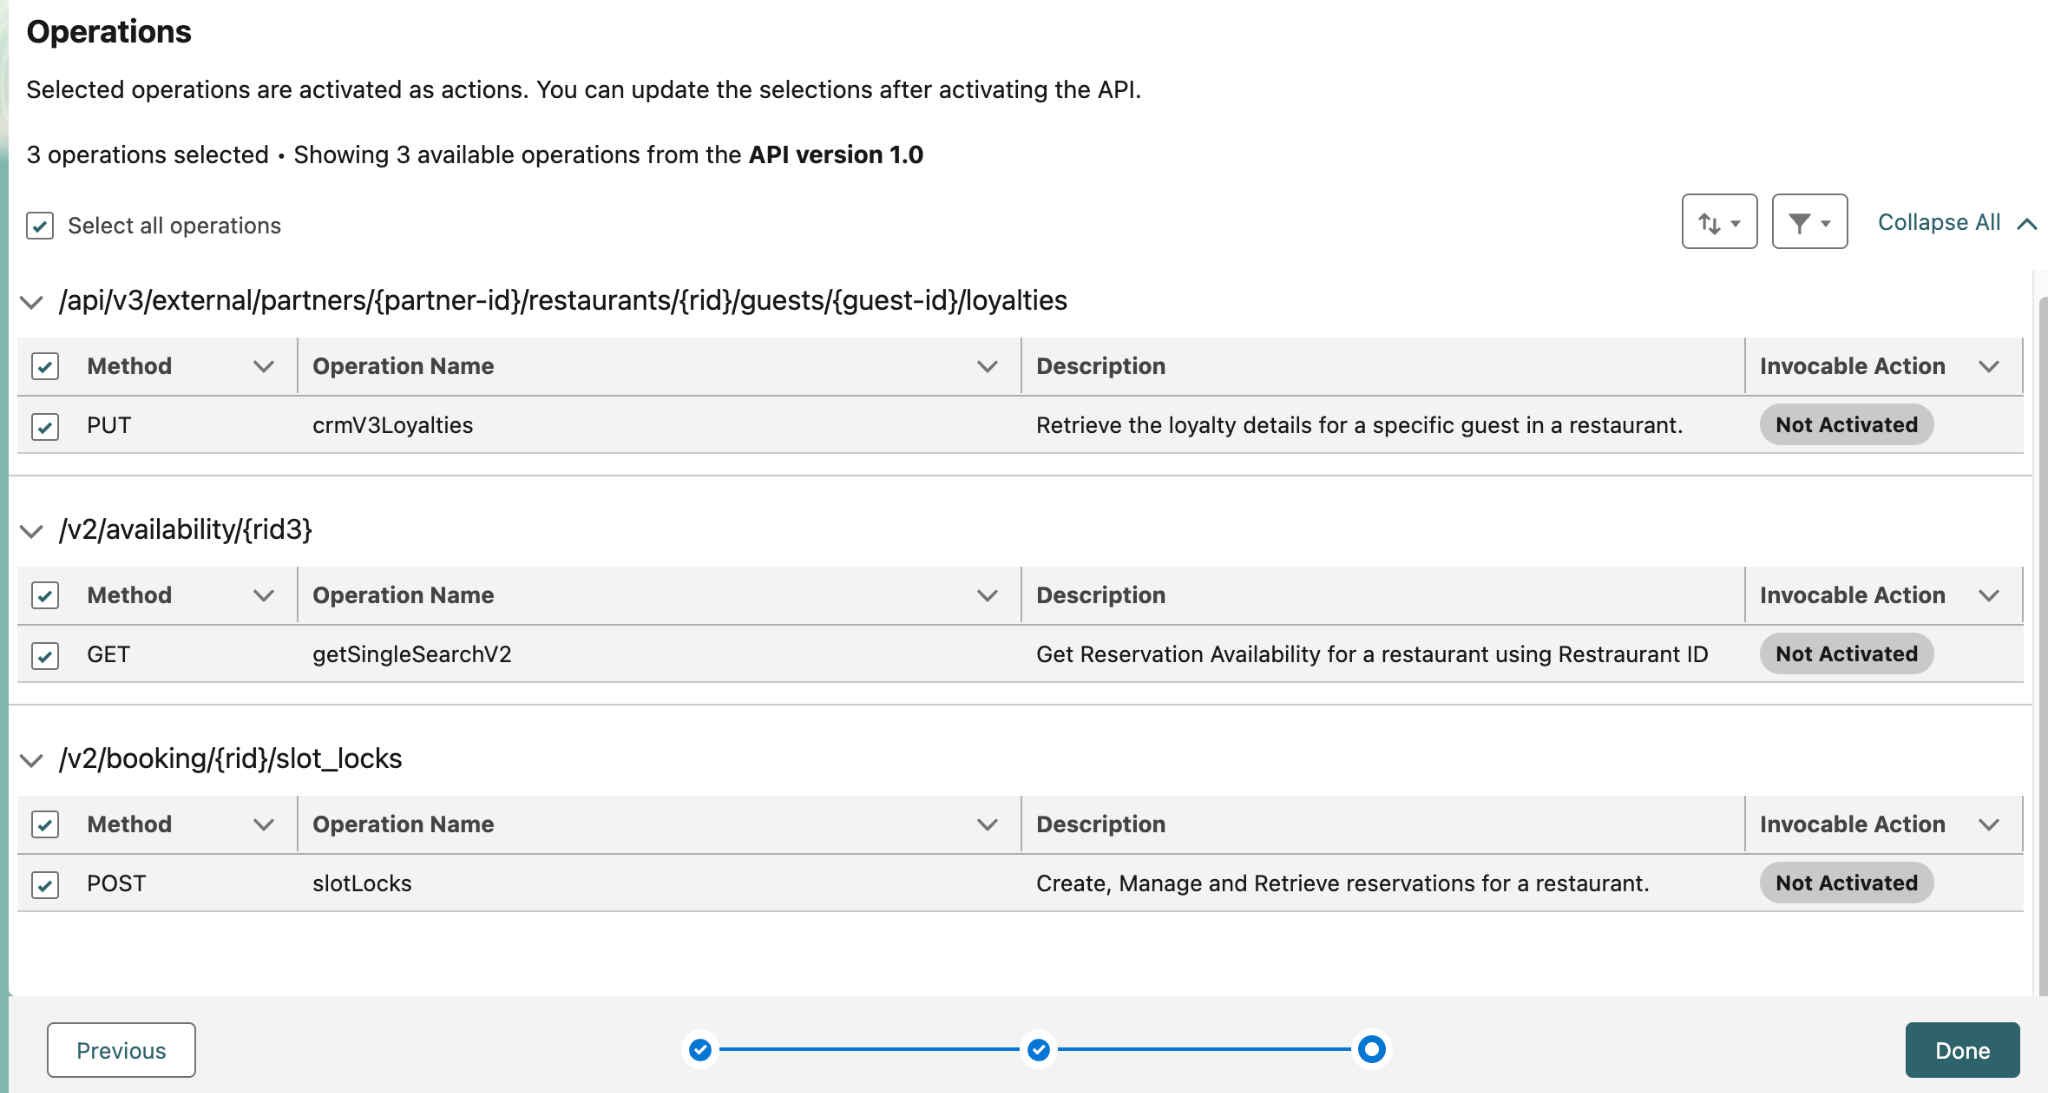

Normally, it takes about 30 minutes for the mulesoft operations to appear. To make the mulesoft operations appear quicker for this workshop, we need to perform the following actions to activate them immediately.
- Click on the App Launcher and type Background in the search bar. Click on the Background Operations app.

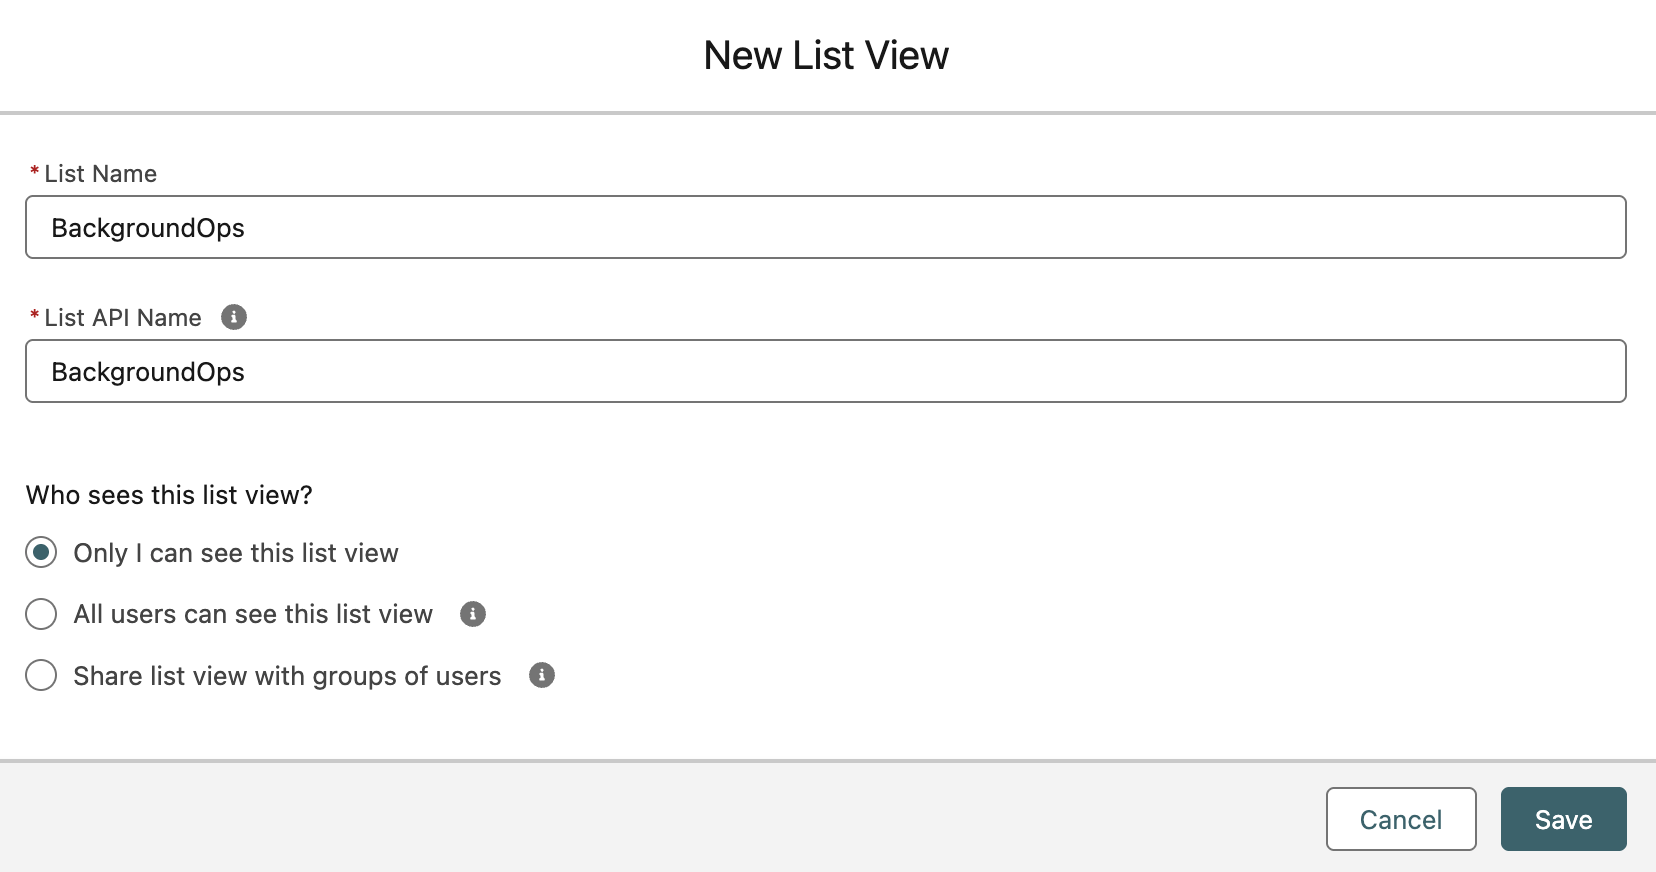
- Create a new list view by clicking the Listview Controls Button and click New.
- Label the List Name as BackgroundOps. Do not change the default List API Name. Click Save.
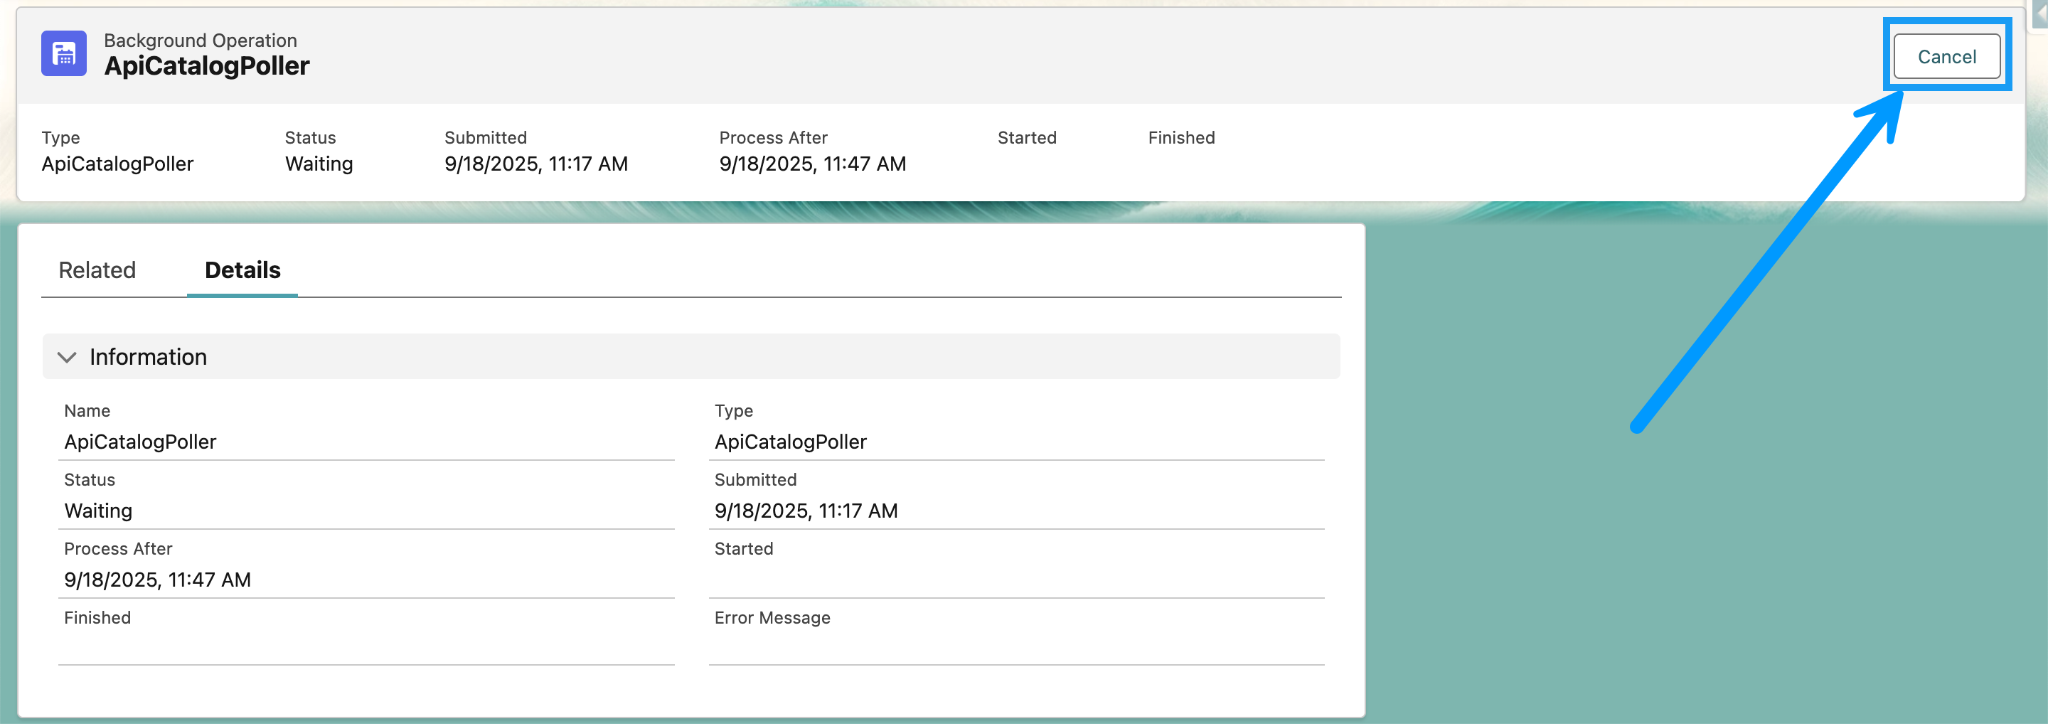
- Click on the ApiCatalogPoller record. If there are multiple, select the record that has a status of ‘Waiting’.
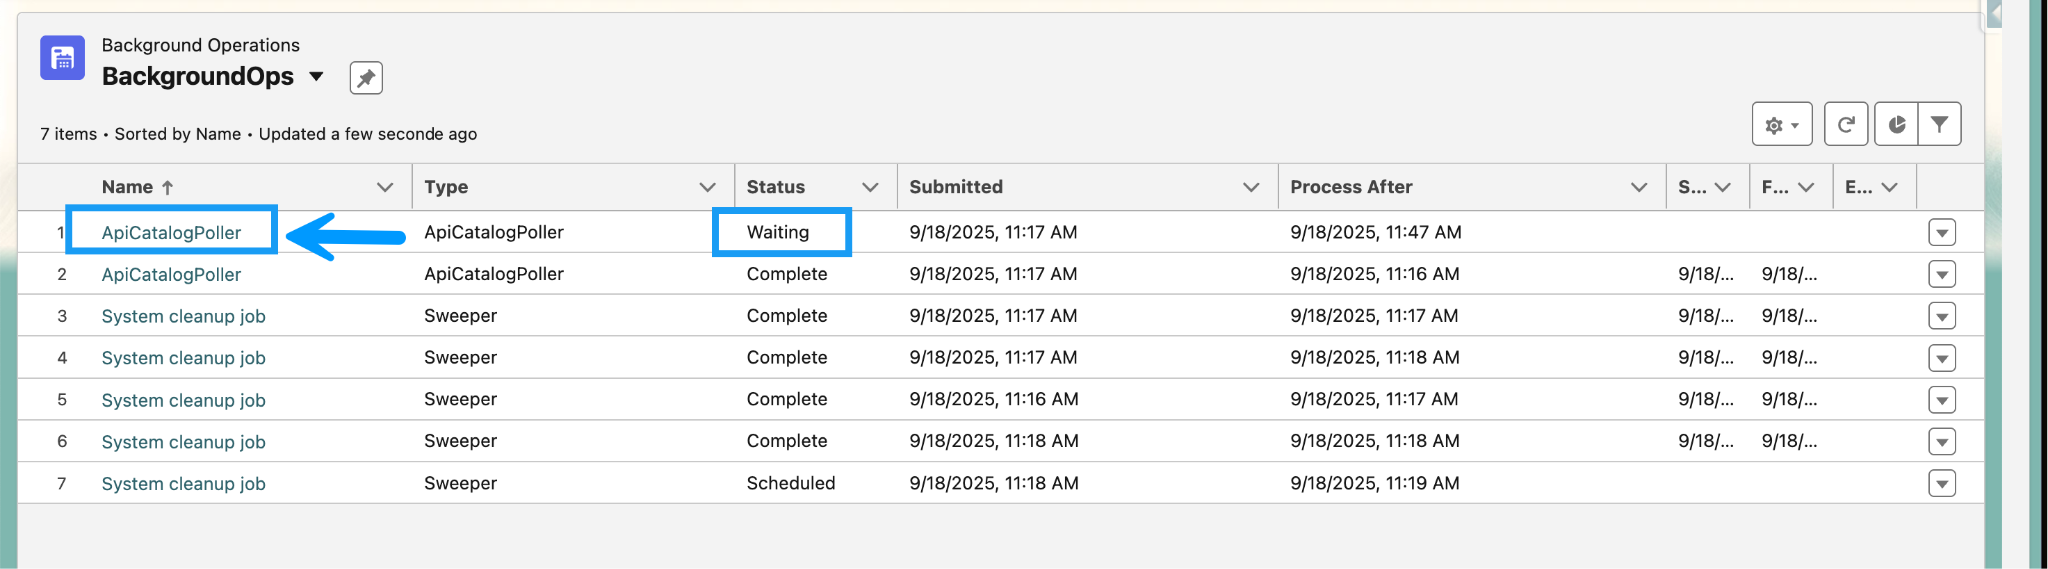
- Click the Cancel button.
- Click the Setup button to get back to Salesforce Setup. Use the Quick Find Search to find the API Catalog, and click on it.

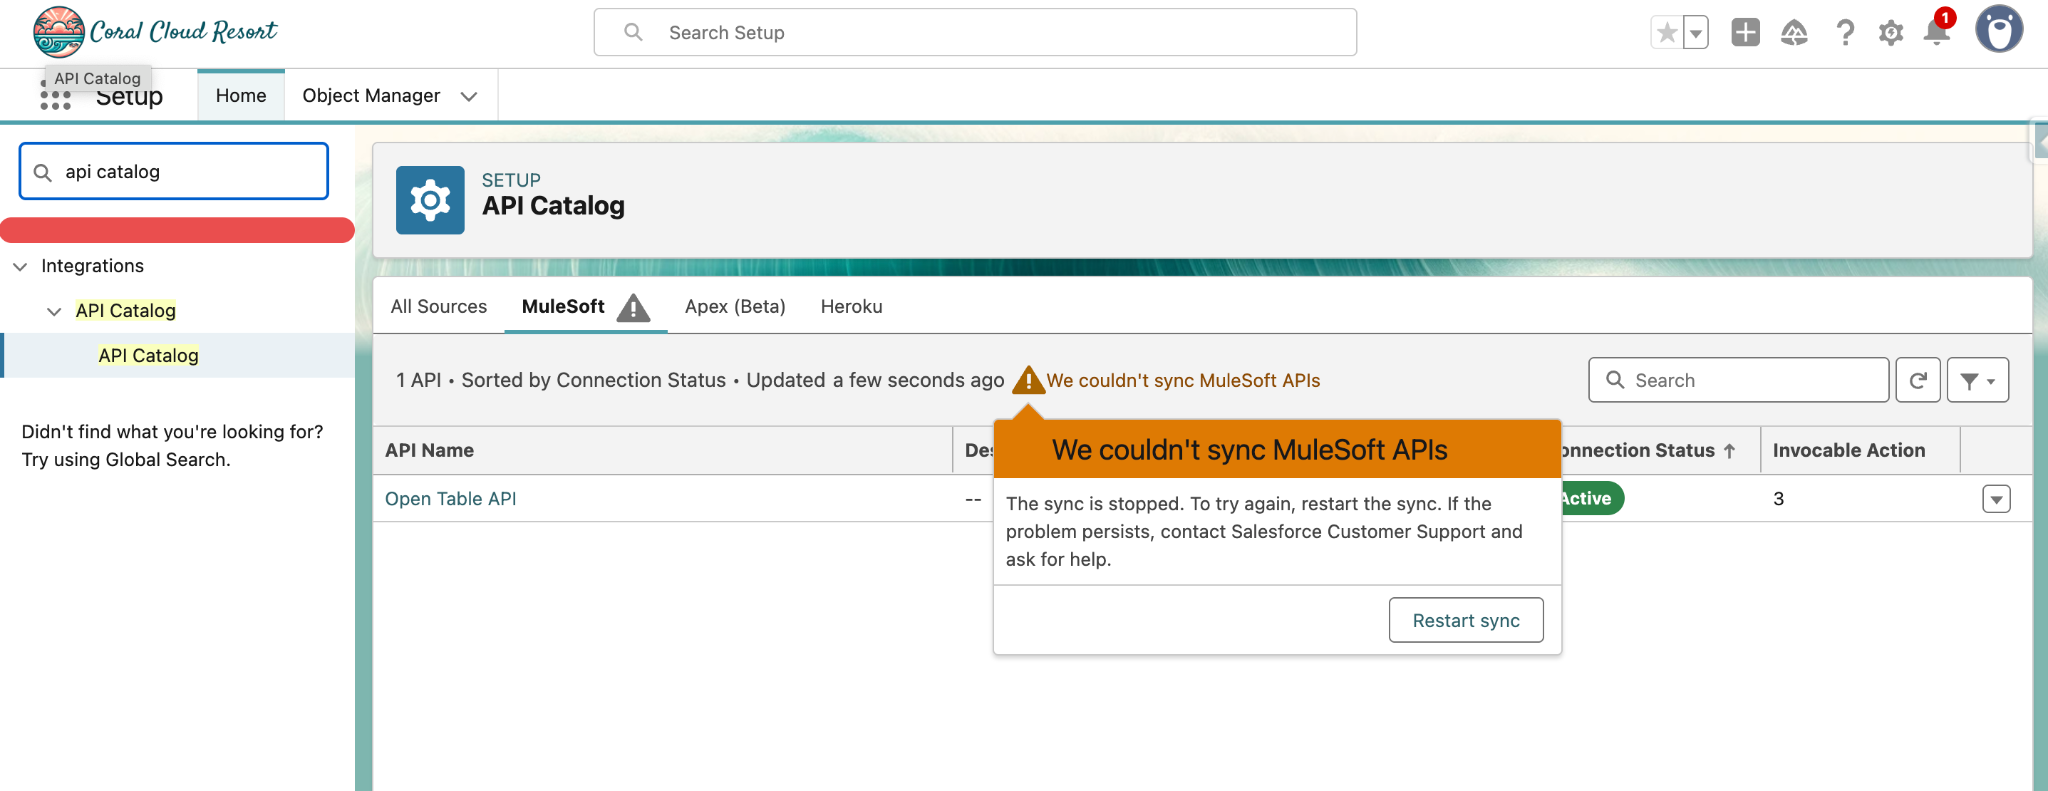
- Click the Mulesoft tab
- Click the Restart sync button.