
Appearance
Exercise 2 - Enhance an Employee Agent with Loyalty Actions
The goal of this exercise is to review the Platinum status tier in the Coral Cloud Rewards loyalty program, and then add custom action to an Agentforce Employee Agent, allowing it to automate the task of:
- Summarizing a loyalty member’s tier-related benefits
- Create a Booking record based on the loyalty benefit selected
In this exercise you will see Salesforce Loyalty Management, a customer engagement platform that helps businesses design, manage, and optimize loyalty programs directly within Salesforce. It enables personalized rewards, tiering, and engagement journeys powered by real-time customer data. The product integrates with Marketing Cloud, Service Cloud, Data Cloud, and Agentforce to deliver seamless loyalty experiences across all touchpoints.
Step 1: Review Benefits of the Coral Cloud Rewards Loyalty Program
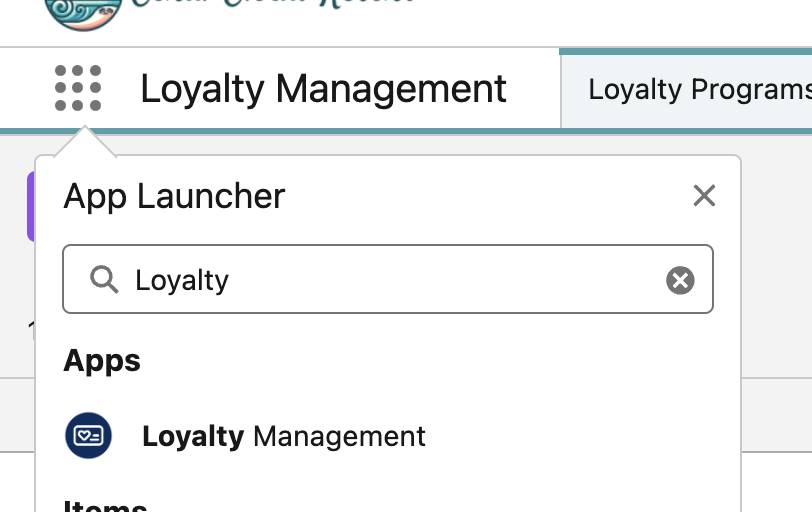
To begin, we'll explore the Loyalty Management app in Salesforce by examining the Coral Cloud Rewards loyalty tiers. Open the Loyalty Management app from the App Launcher.
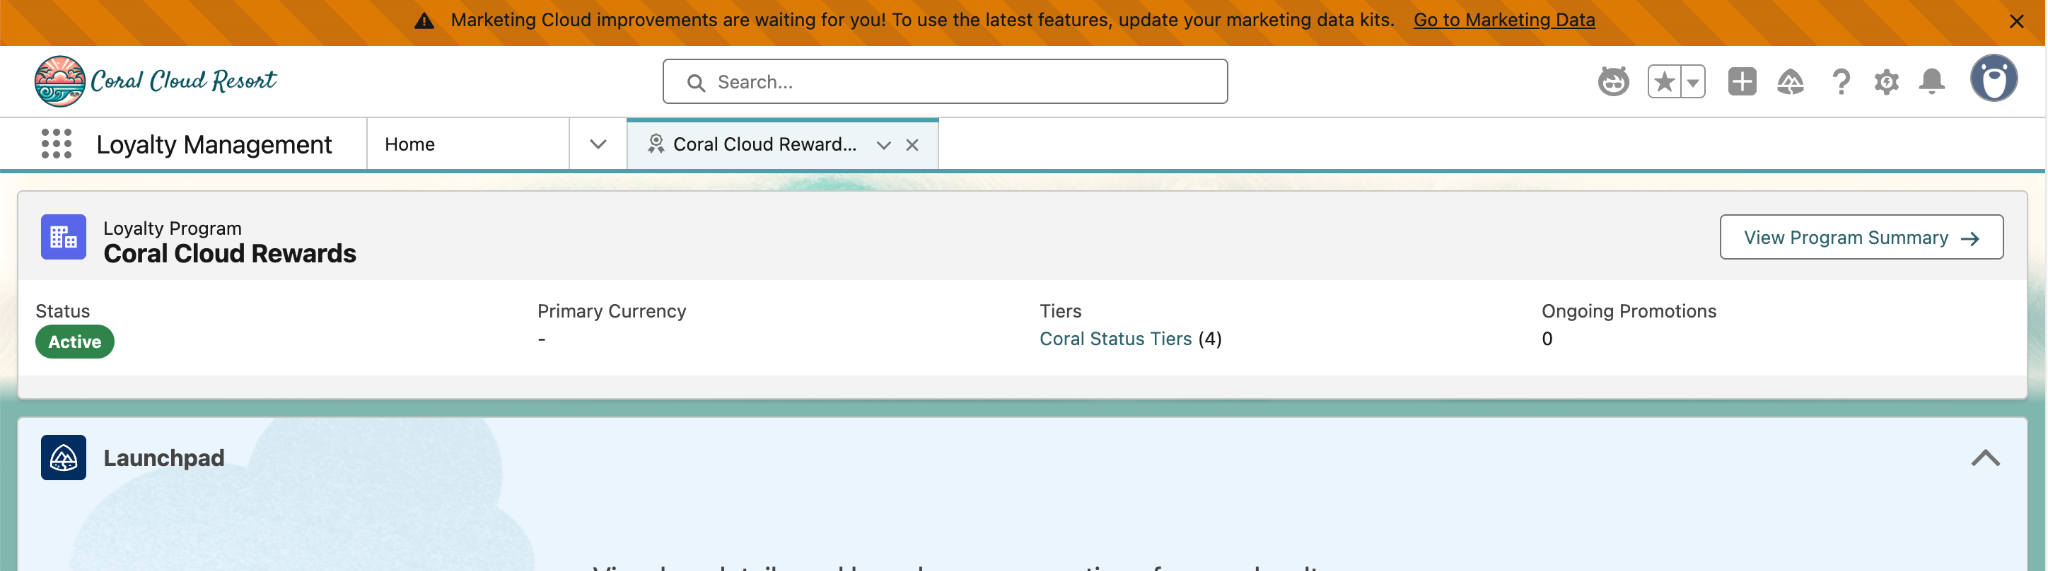
In the Home tab, find and click the View Program Summary button on the right hand side of your screen in the Coral Cloud Rewards Loyalty Program.
Scroll down and click the arrow to expand Tiers and Benefits.
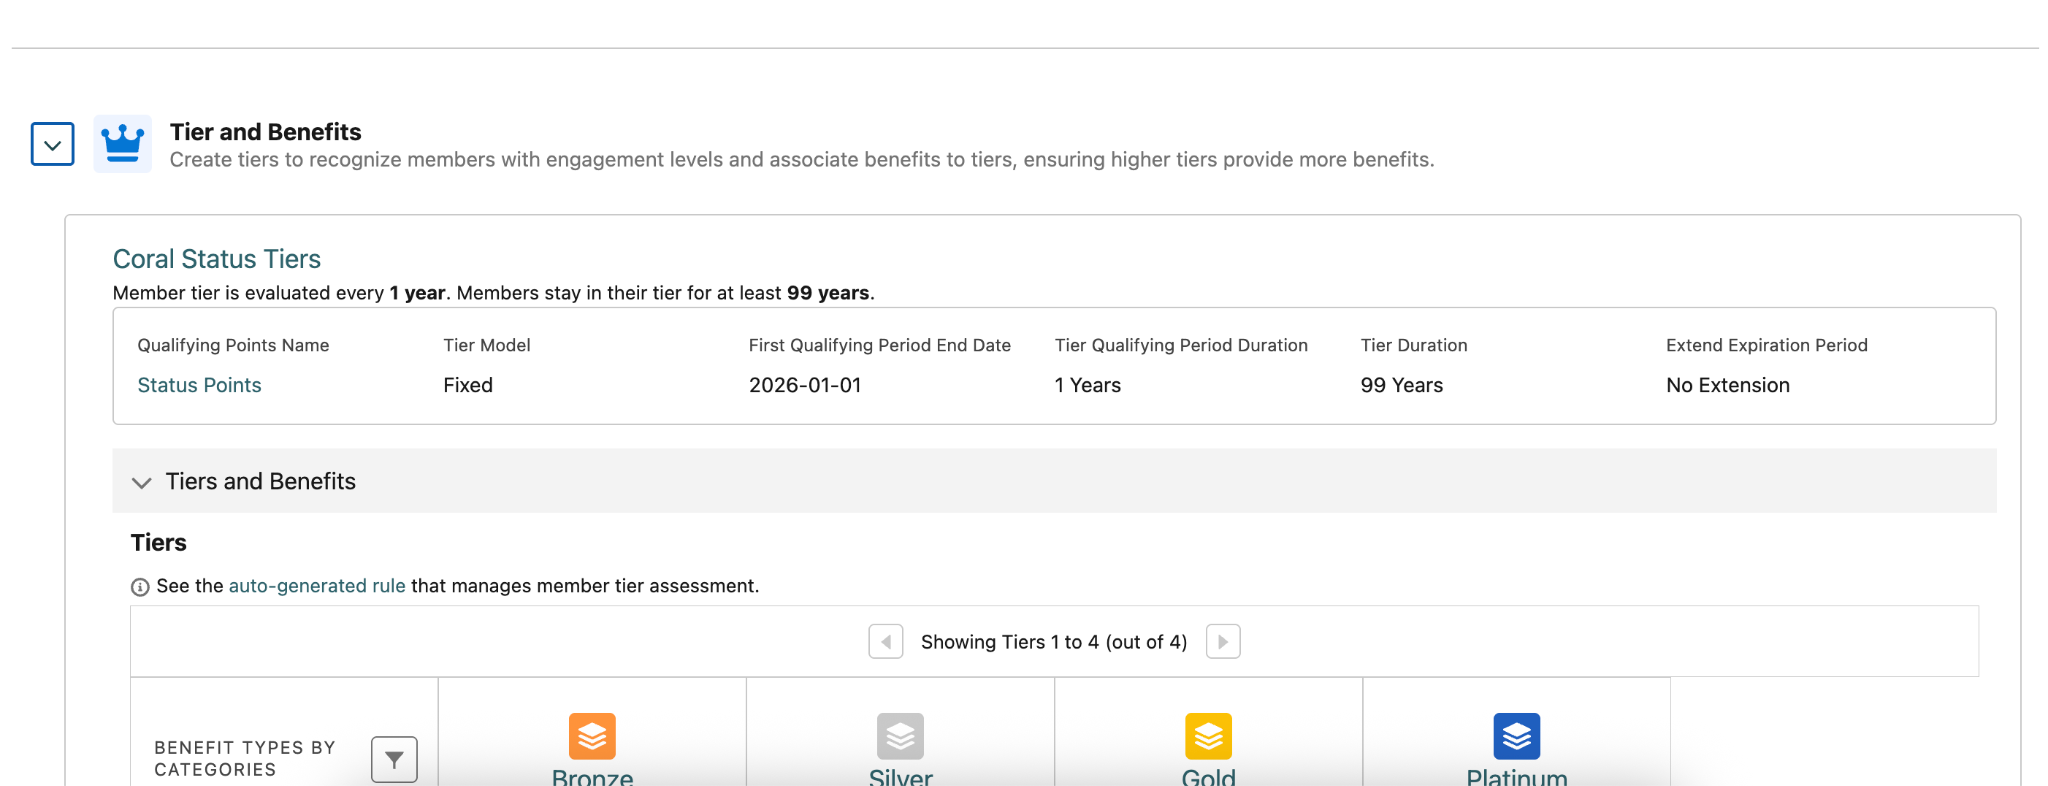
Here, you will see all benefits available at Coral Cloud Resorts based on tier.
These benefits have been precreated for Coral Cloud for this workshop, but they are fully customizable.
Step 2: Add Custom Loyalty Agentforce Actions to Employee Agent
Now that we are familiar with the benefits of the Coral Cloud Rewards Loyalty Program, let’s configure an Agentforce Agent to be able to access and book this benefit for a loyalty member like Sofia.
At the top-right, click the gear icon and then click Setup.
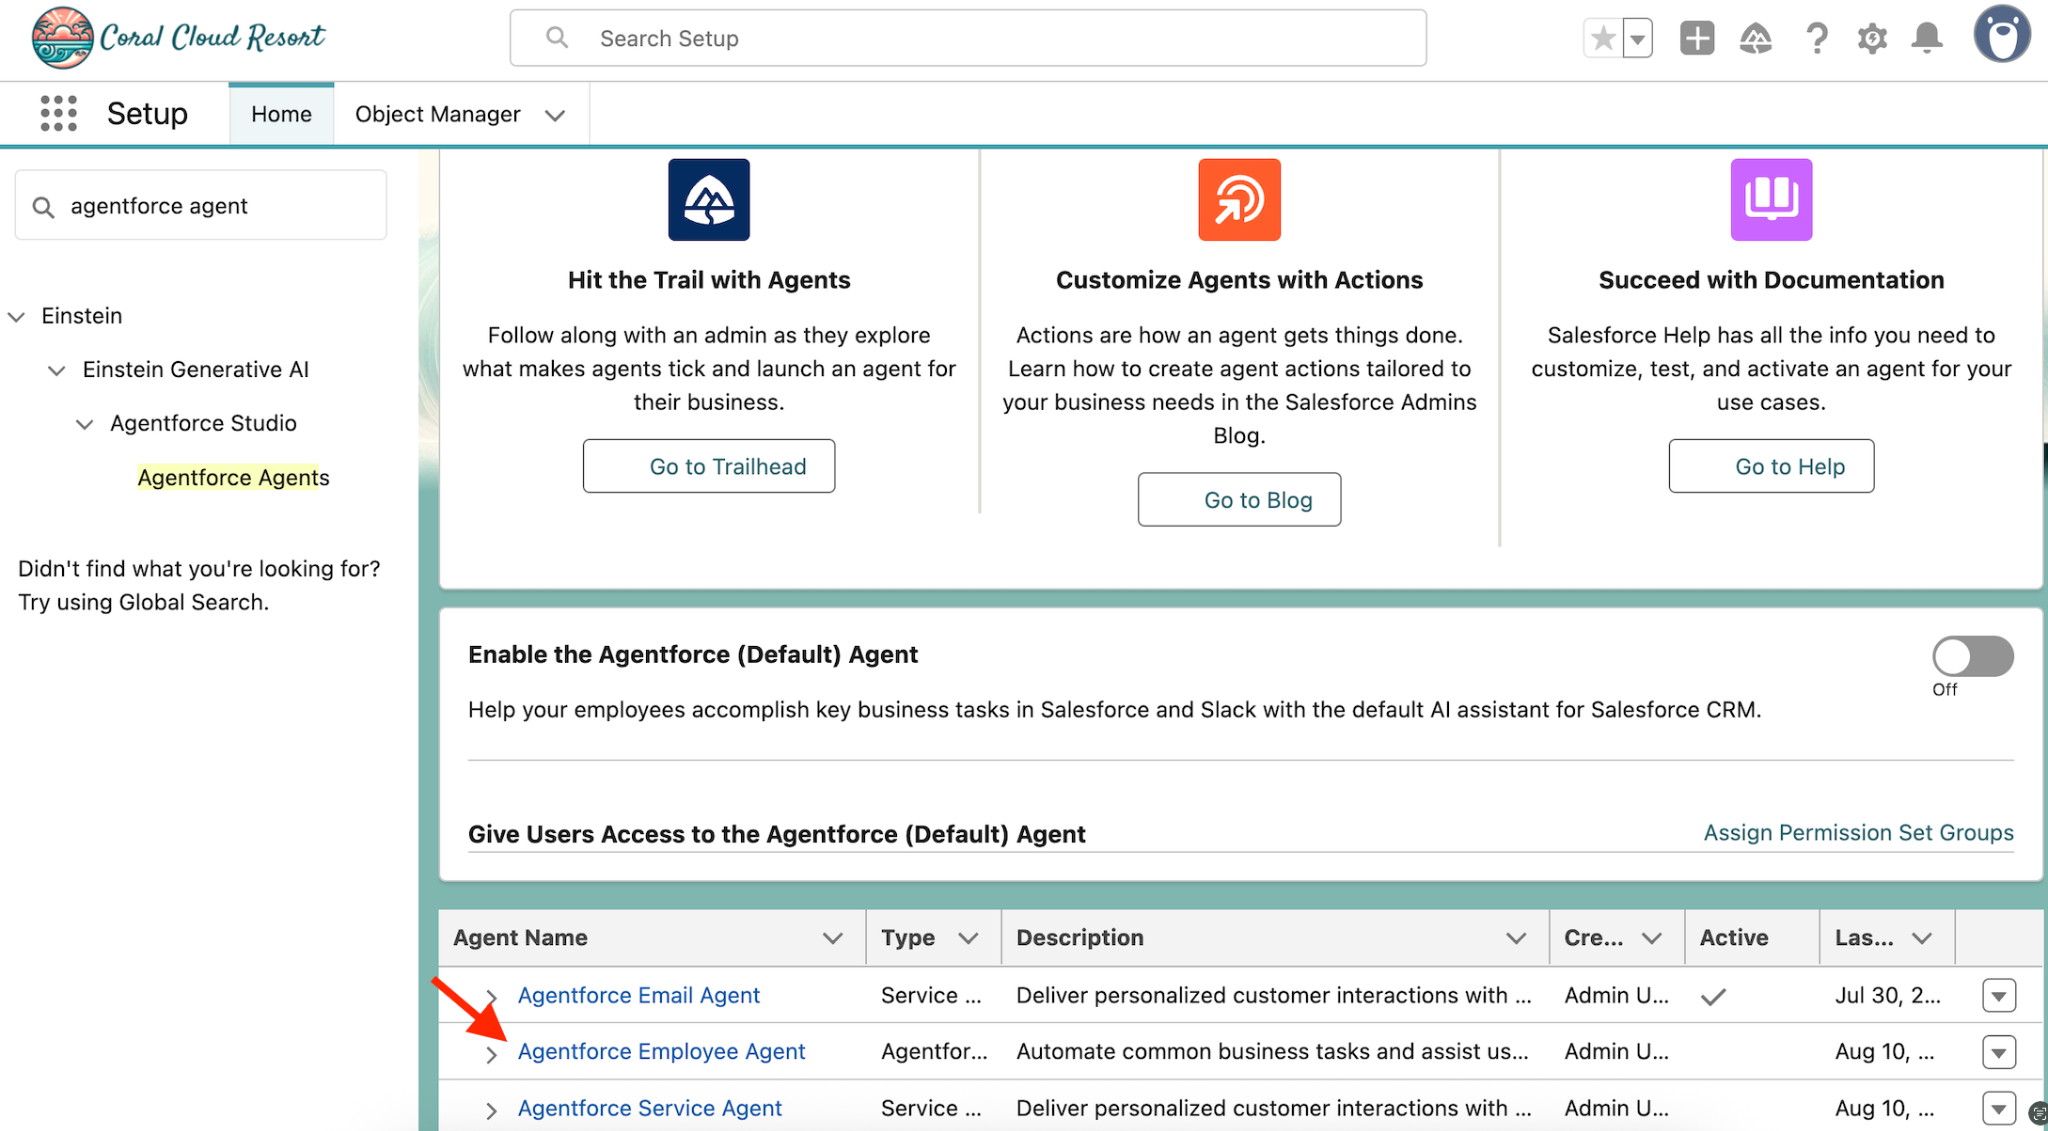
In the Quick Find box, search for Agents, then select Agentforce Agents.
Scroll to the bottom of the page and click Agentforce Employee Agent from the list.
On the next tab that opens, click the Open in Builder button.
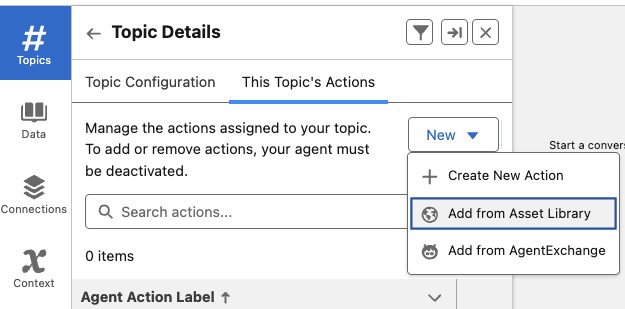
On the left, you’ll see the Topics panel. Click the Loyalty topic and then navigate to the This Topic’s Actions tab.
Click the New button, and then select Add from Asset Library.
Search for and add the following actions:
- Summarize Member Benefits
- Create Booking Record
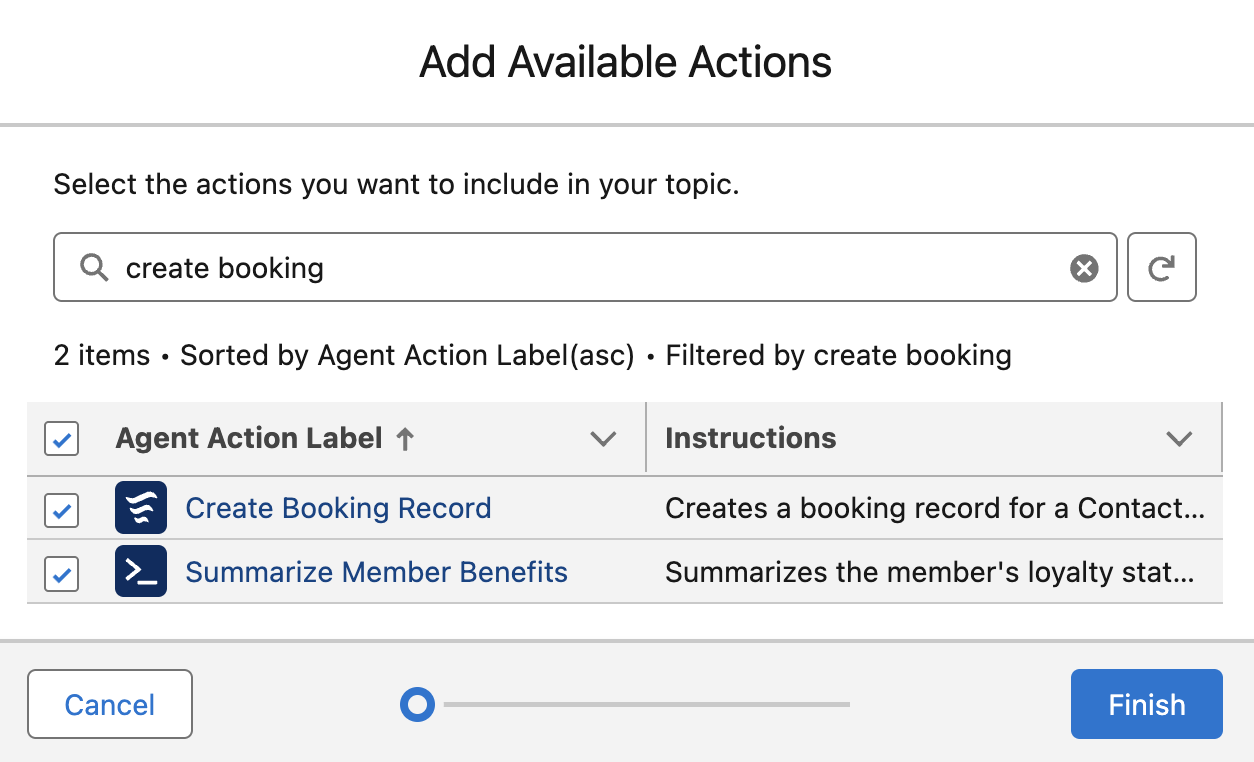
Click the Finish button.
Note how the actions are referenced directly by the two Instruction blocks in the Topic Configuration tab.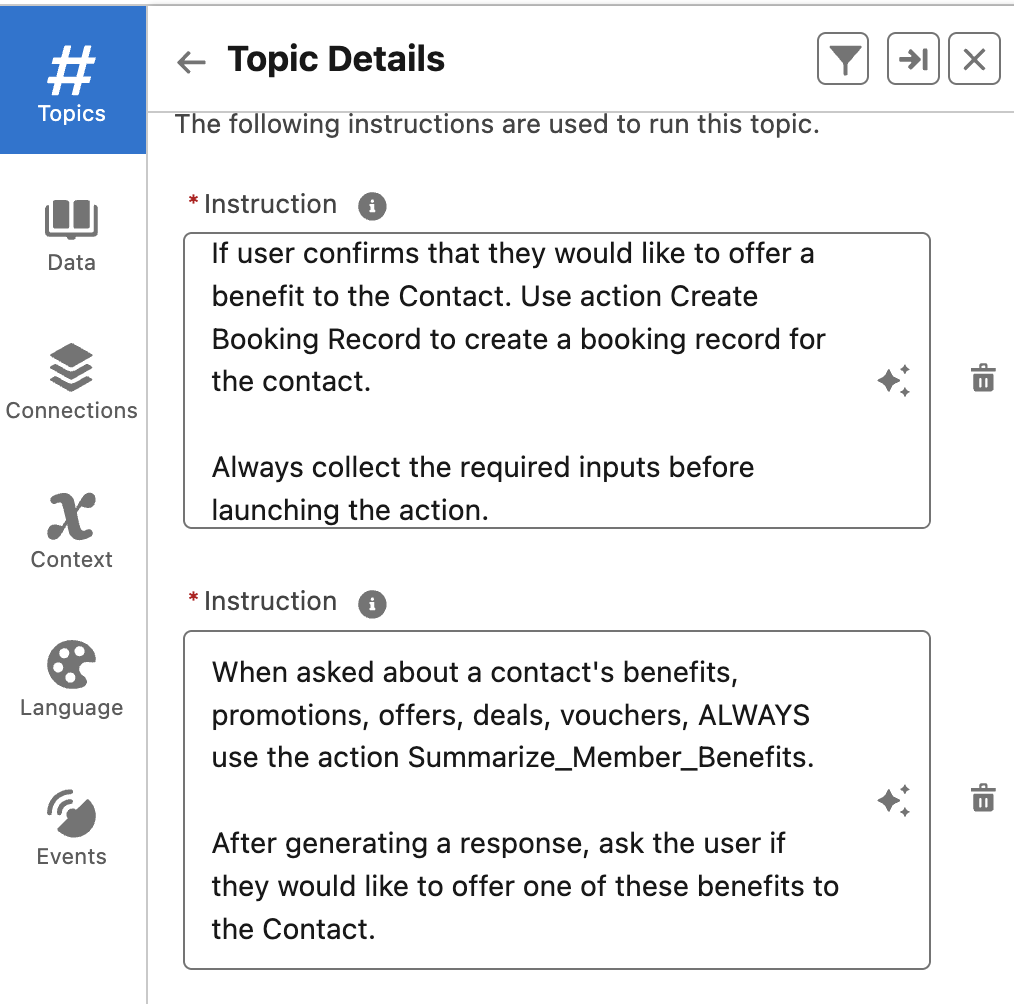
Activate the Agent by clicking the button in the top right corner of your screen.
You will get a warning saying Configuration Issues Detected. Click the Ignore & Activate button to proceed with activation.
This concludes Exercise 2