
Appearance
Exercise 4: Customizing an Employee Agent
We’ve created a flow that can create new opportunities with Welo products for specific accounts, and an agent action that allows Agentforce to be able to use that flow. Here, we’ll go through the process of getting that action added to our default agent and showing how it can be used by your Sales team directly in the flow of work.
From Setup, search for Salesforce Go.
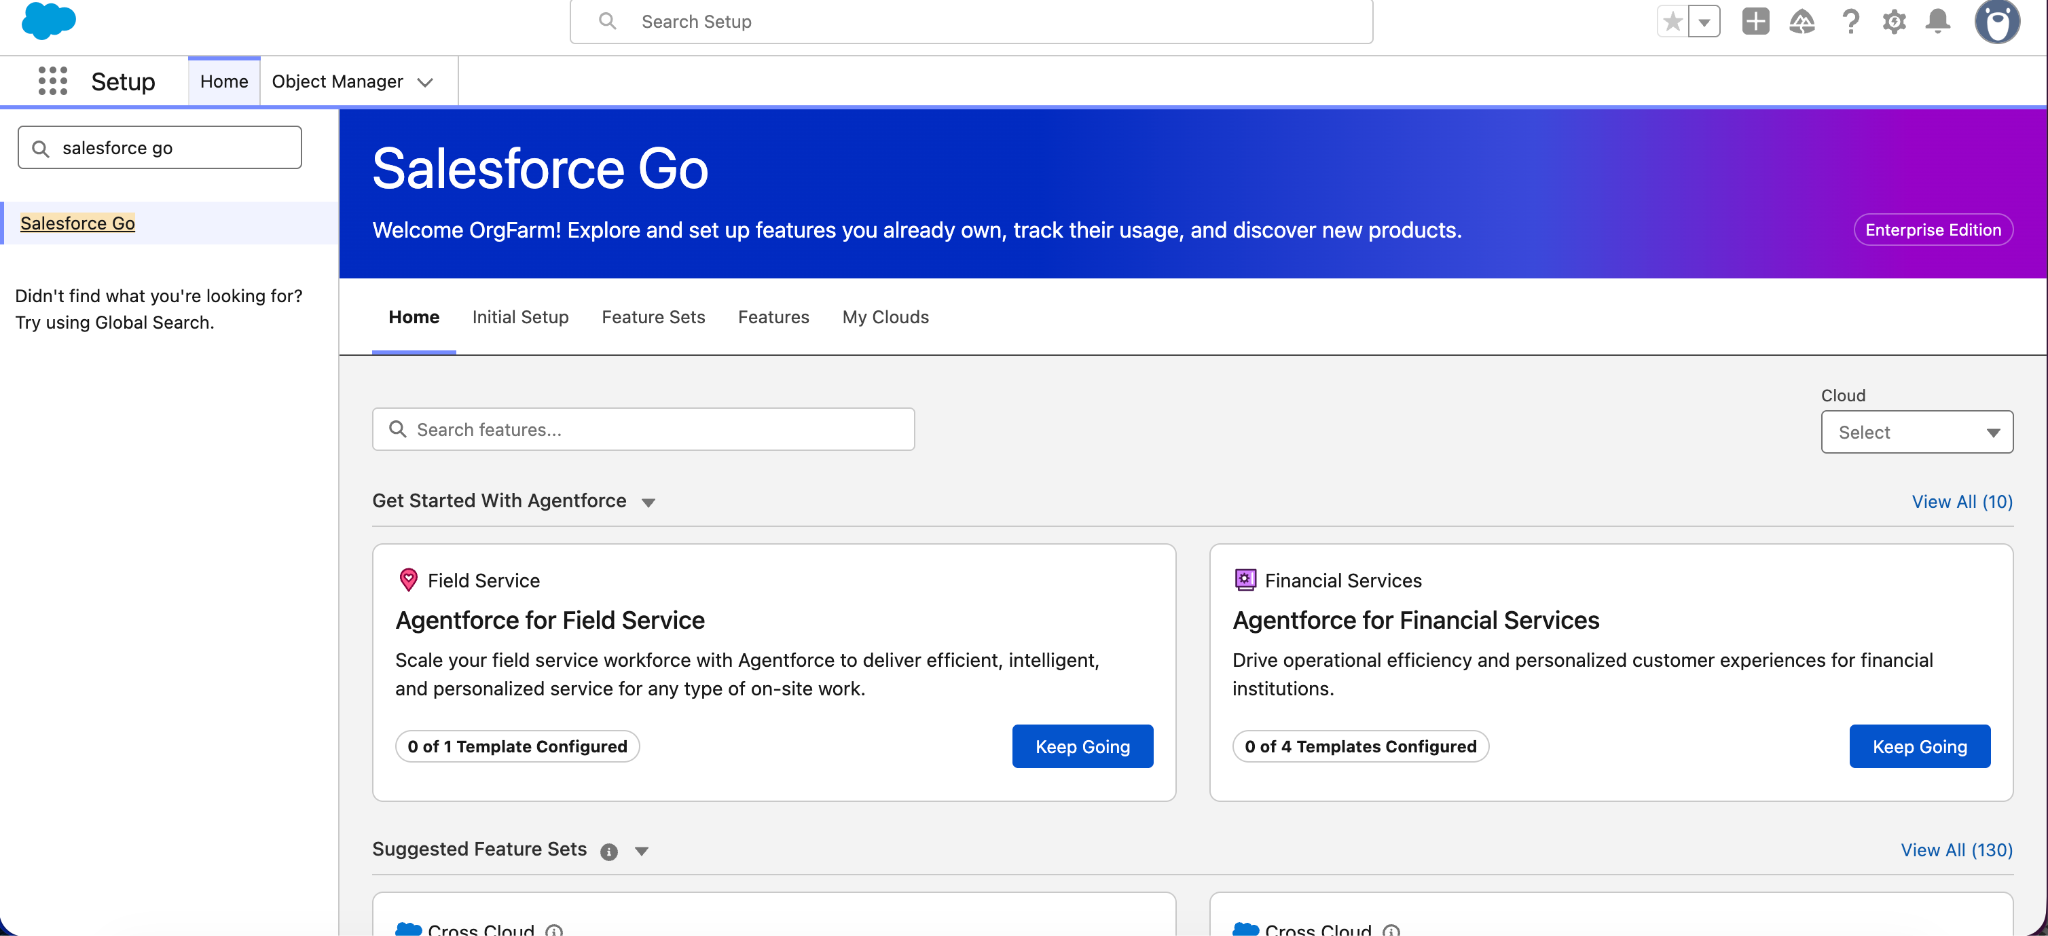
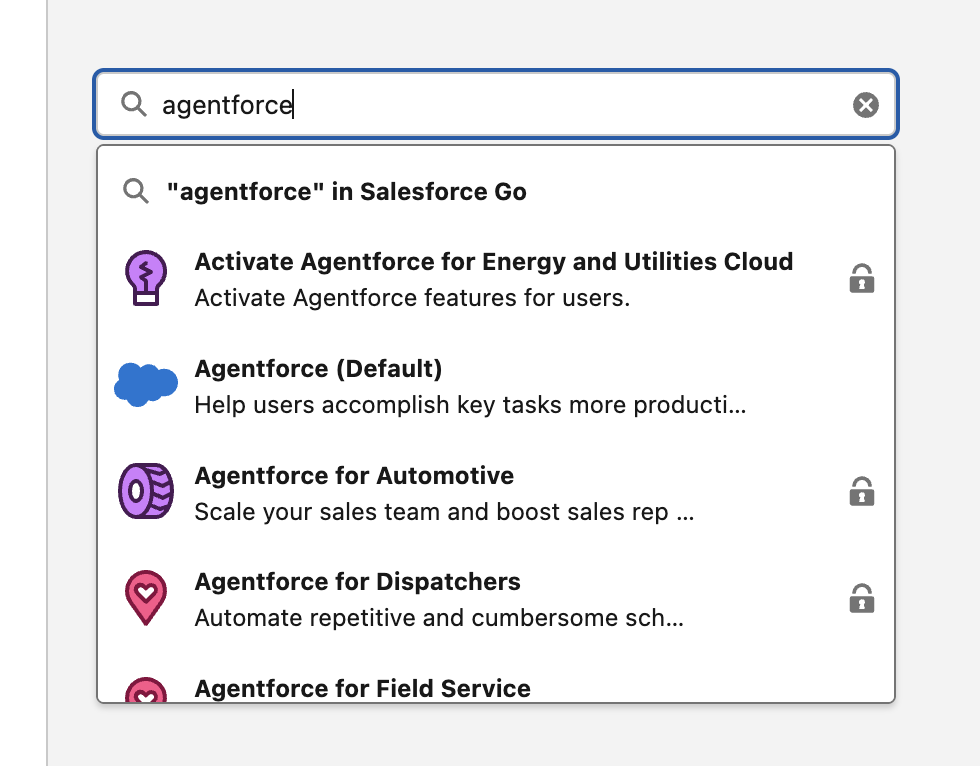
Once here, search for Agentforce, then select Agentforce (Default) from the available options.
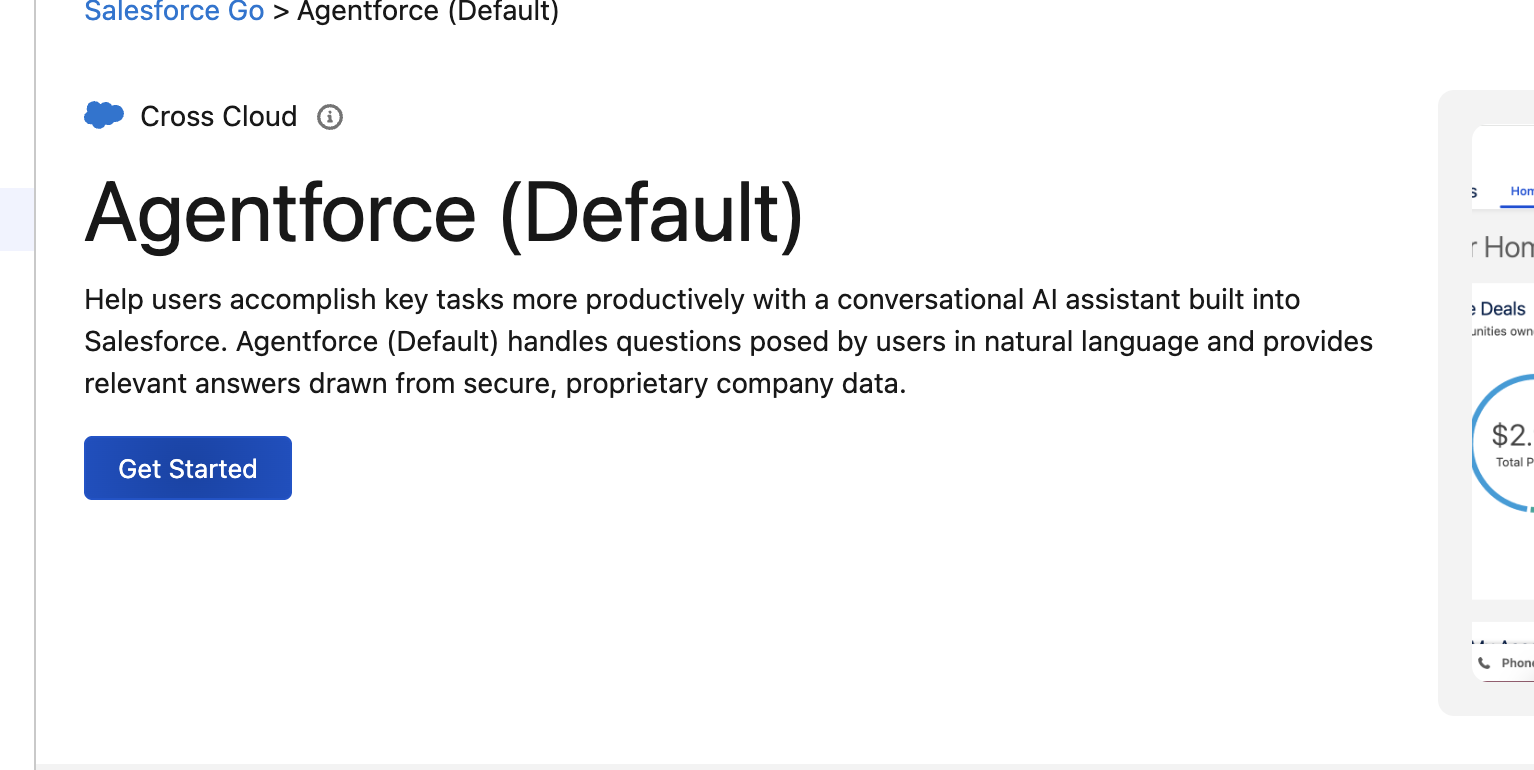
Underneath Agentforce (Default), you will see a Get Started button, click on that.
You will then see a Turn on Agentforce (Default) header, on the right, click the Turn On Button.

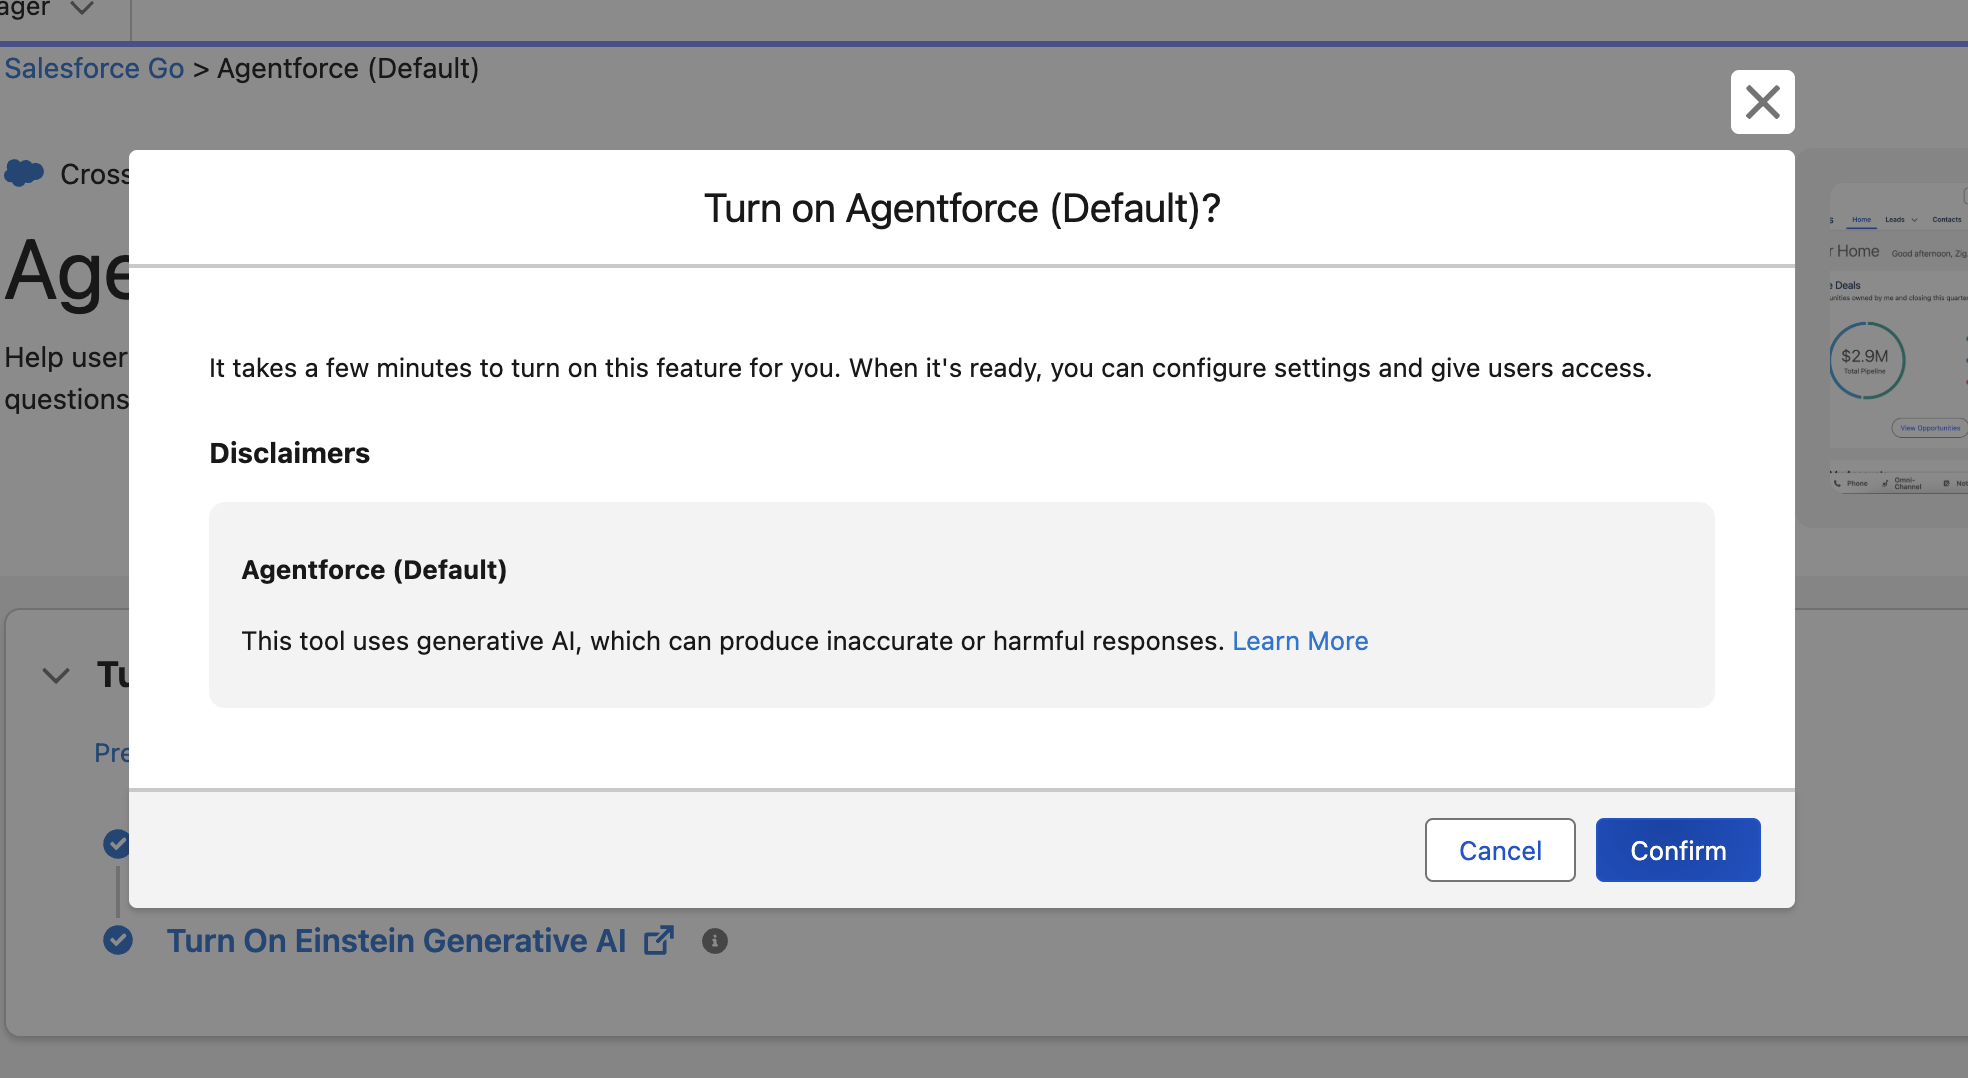
A pop up will appear, click on Confirm.
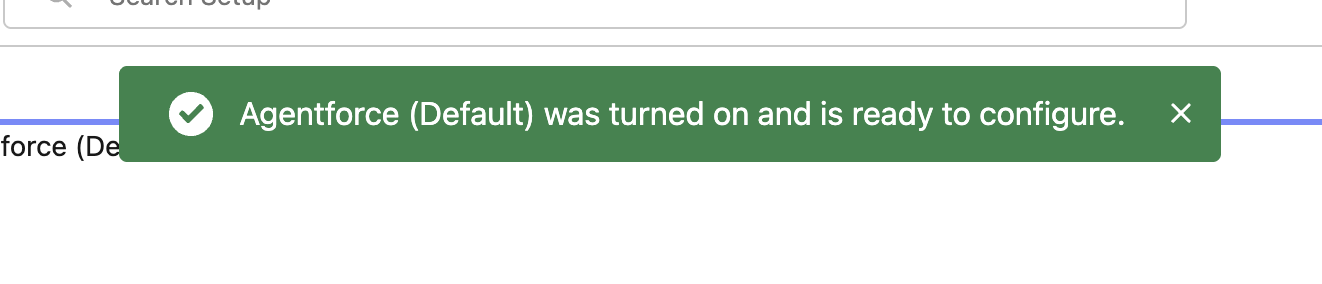
You will receive a green banner indicating that the Agentforce (Default) has been turned on.
From Setup, search for Agentforce Agents, and click the Agentforce (Default) agent already present.

Click Open In Builder to enter the Agent Builder canvas.
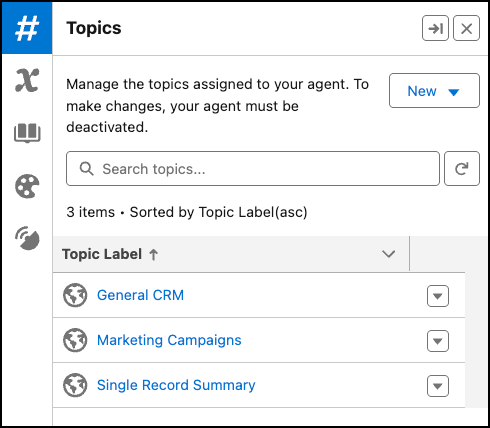
Note: If the agent is active, click Deactivate.Click New under Topics and select Add from Asset Library.
Select Marketing Campaigns and click Finish.
Click General CRM under Topics on the left side of the agent builder canvas.
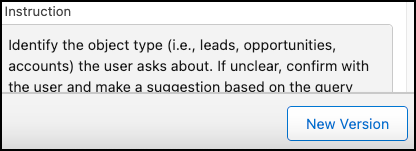
Default topics cannot be edited directly, so we need to create a new version. Click New Version on at the bottom of the Topic Details.
Go to the This Topic’s Actions tab. Click New and select Add from Asset Library.
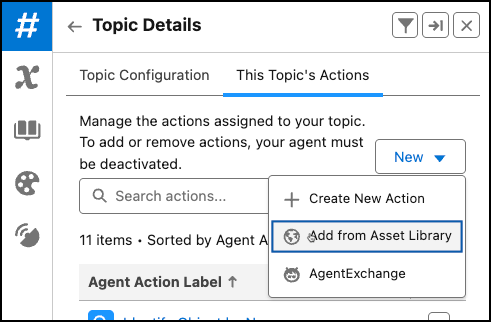
Select the Create Oppty for Account agent action and click Finish.
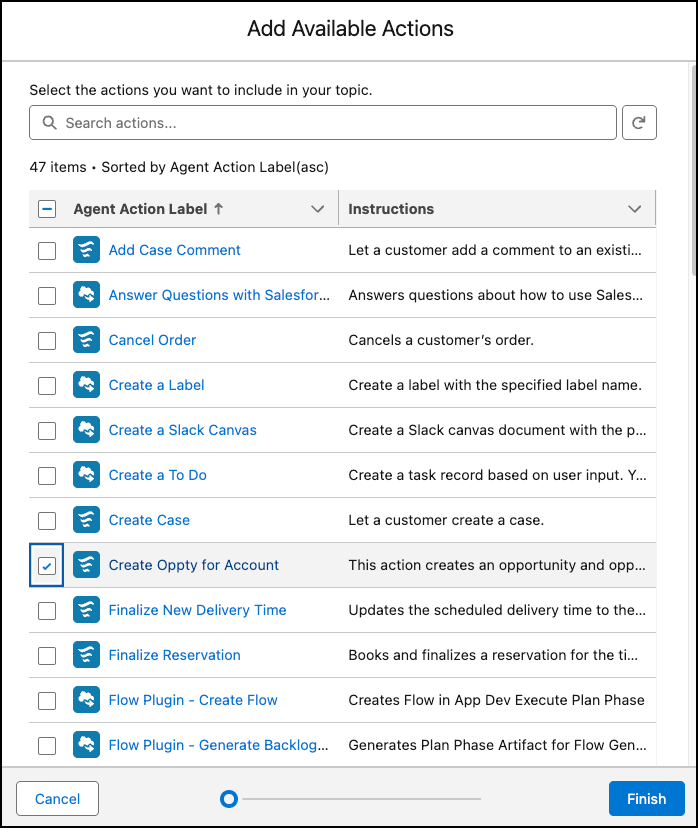
*NOTE* – Ensure that the “Create Oppty for Account” action appears in the left pane before activating your agent. You may need to refresh the page before proceeding.
Go back to the Topic Configuration tab. Scroll down until you see the Add Instructions button. Click the button twice to add two new Instruction boxes.
Add this text to the first Instruction box:
Use the Create Oppty for Account action if the user asks to create an opportunity. If unsure about which account or which product to use, ask the user to specify.Add this text to the second Instruction box:
If Edition is mentioned during a lookup, this is always referring either to a Product or to an Asset.
Click Save at the bottom of the screen.
Note: If during this process you see a duplicate topic label in the builder, be sure to remove the default version of the topic (with the globe) from the agent.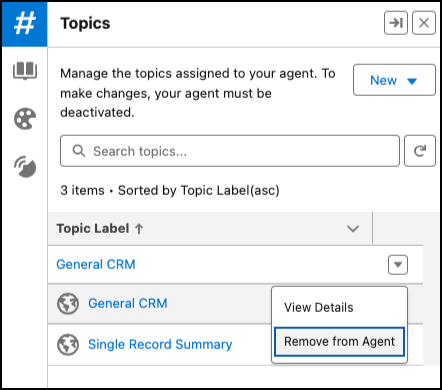
Activate the agent by clicking the Activate button on the upper right hand side of the screen.
Type into the Conversation Preview window:
Show me the top three accounts in the communications vertical with the highest utilization rate.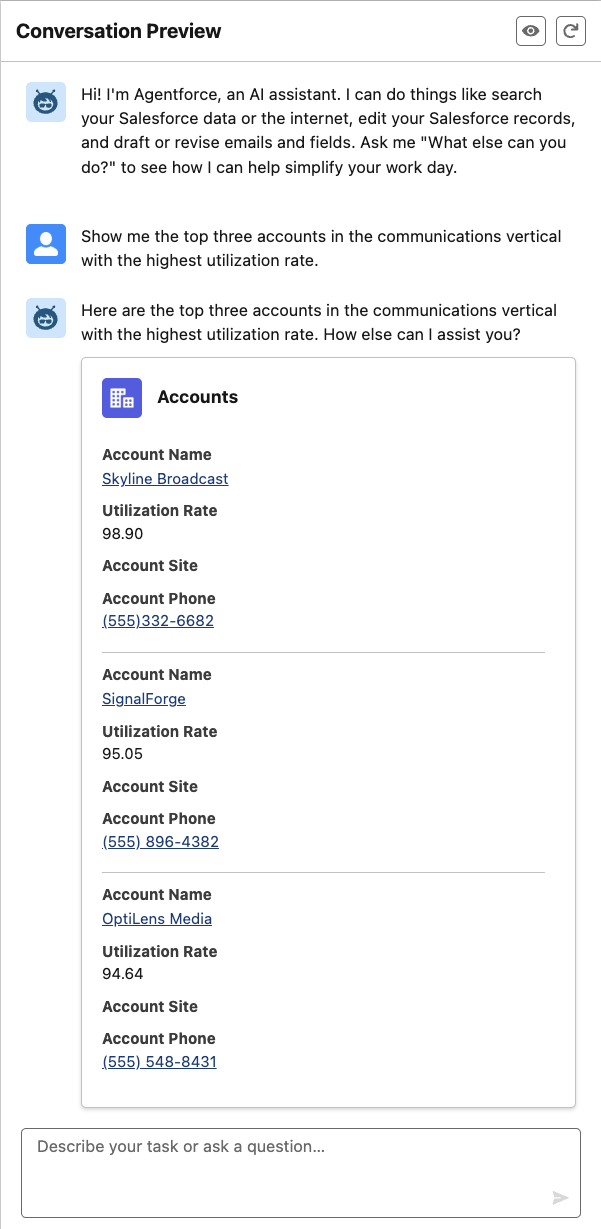
NOTE: If Agentforce returns an empty response, try prompting it to “Try again.”
Next, tell Agentforce to:
Create an opportunity for SignalForge for the Enterprise Edition product.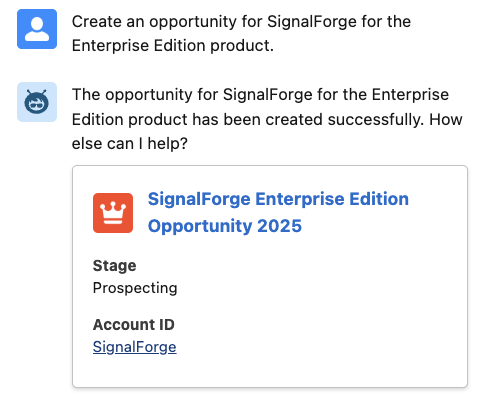
Click SignalForge under Account ID to verify that the Opportunity has been created.
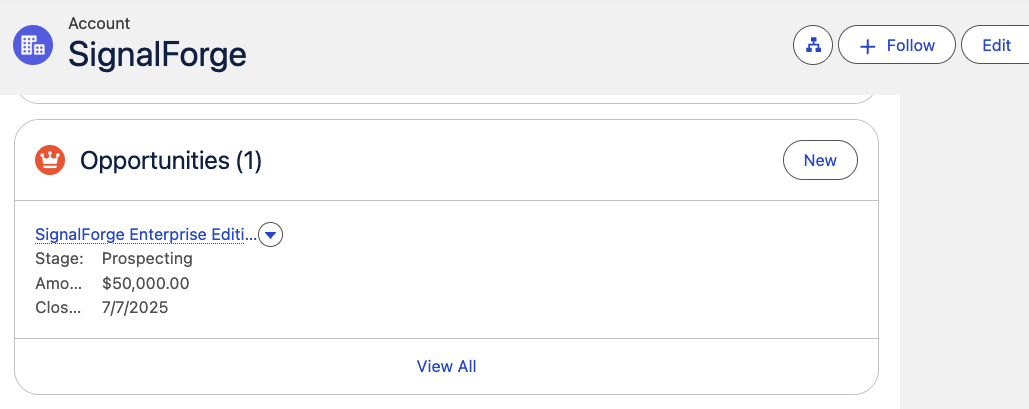
This concludes Exercise 4.