
Appearance
Exercise 6 - Activation to Marketing Cloud Advanced
Activation is the process that materializes and publishes a segment to Activation Platforms, including Marketing Cloud Engagement or Personalization, Loyalty, or other external platforms. For this exercise, we are going to “Activate” to a Campaign in Marketing Cloud Advanced.
Step 1: Launch the Marketing Cloud Advanced App
Navigate to our next generation Marketing Cloud application built on the Salesforce Platform.
- Click on the App Launcher icon.
- In the search box, type “Marketing” and click on the Marketing app. Note that another result is present that we will not use named Marketing CRM Classic.
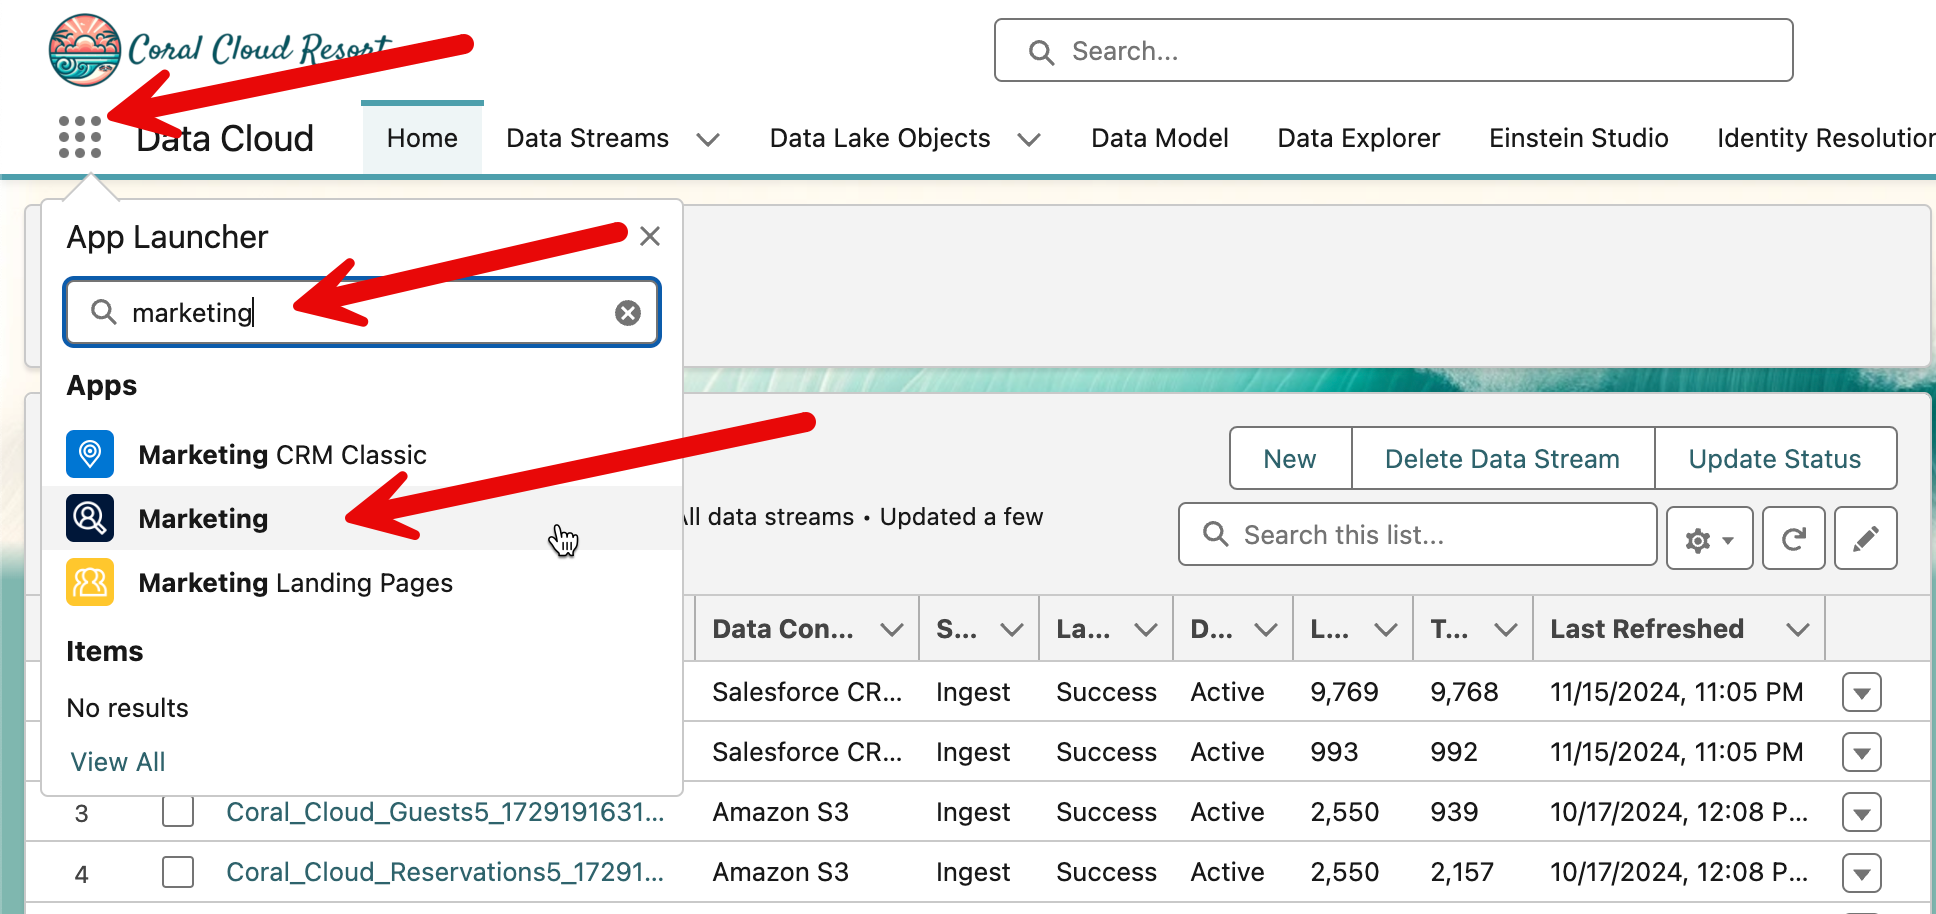
- You will be taken to the Marketing Cloud Advanced Homepage.
Step 2: Create a new campaign
We are going to create a new marketing campaign that will target the segment we just created in Data 36O.
Scroll down to Recently Activated Campaign Flows and click Draft with AI

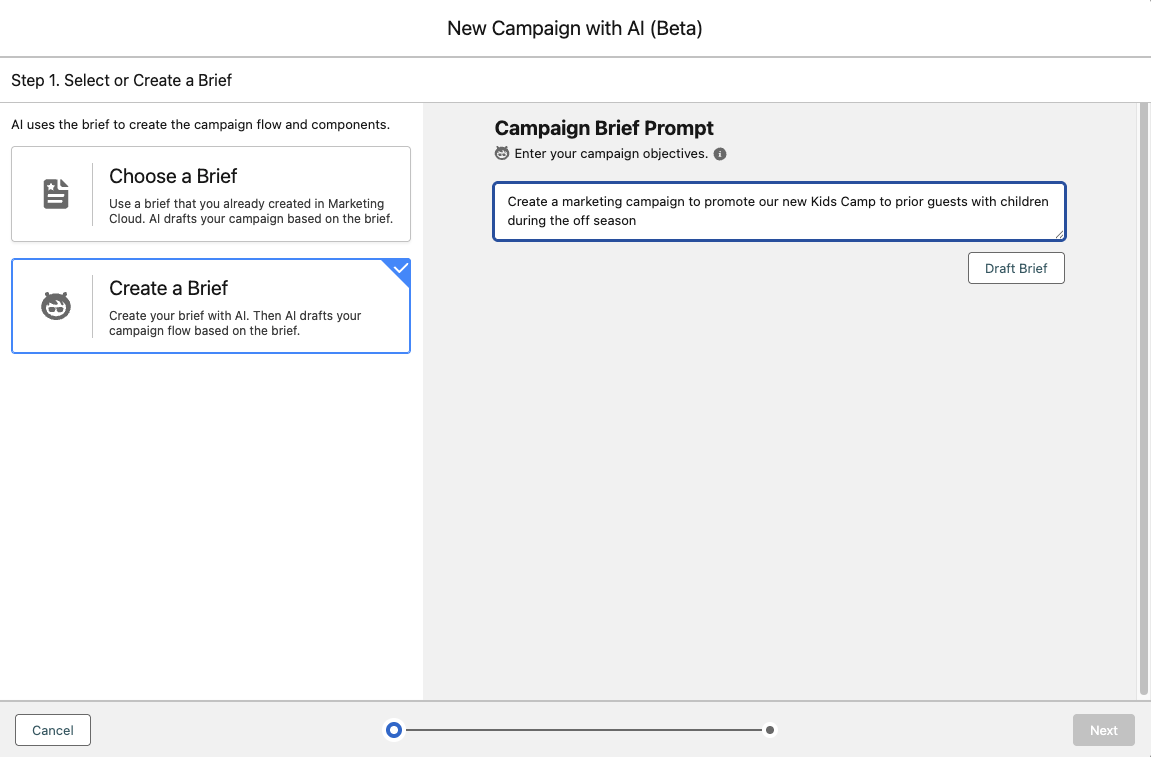
Here, we can use AI to draft a brief for us. Click Create a Brief and enter the following Campaign Brief Prompt:
Create a marketing campaign to promote our new Kids Camp to prior guests with children during the off seasonClick Draft Brief. Note how you are presented with a campaign description as before.
Review the Campaign Brief that was just generated.
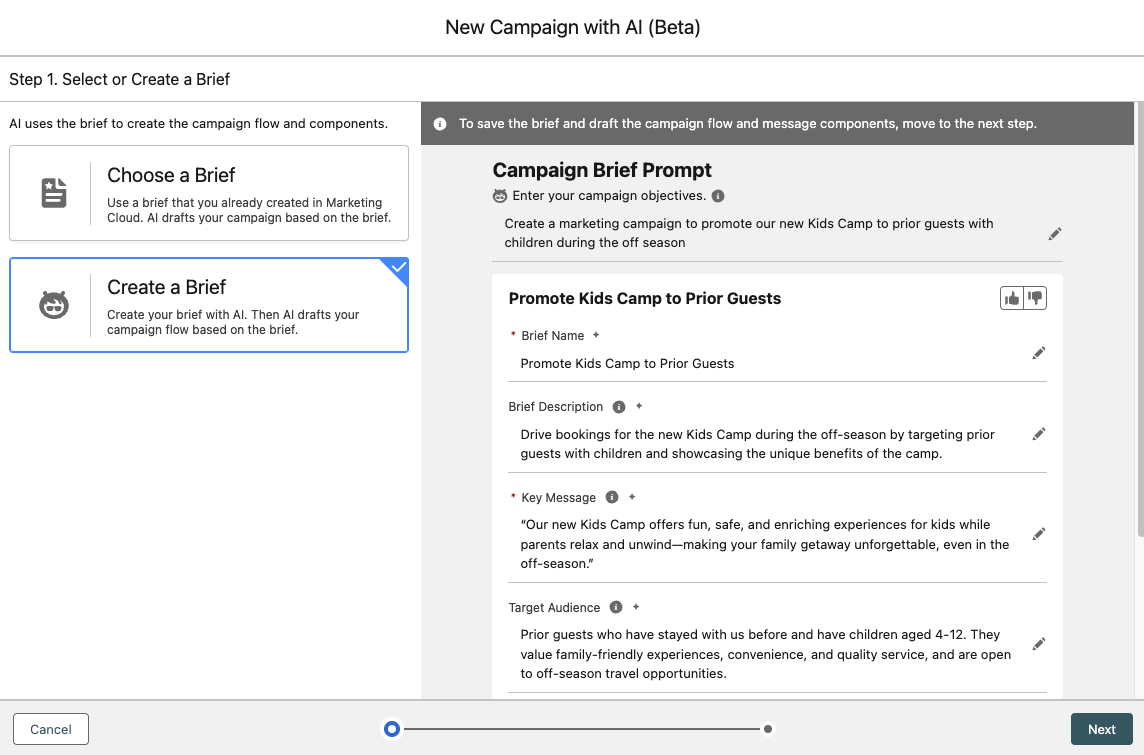
Click Next. This time, you are presented with draft content for both email and SMS steps in your campaign journey.
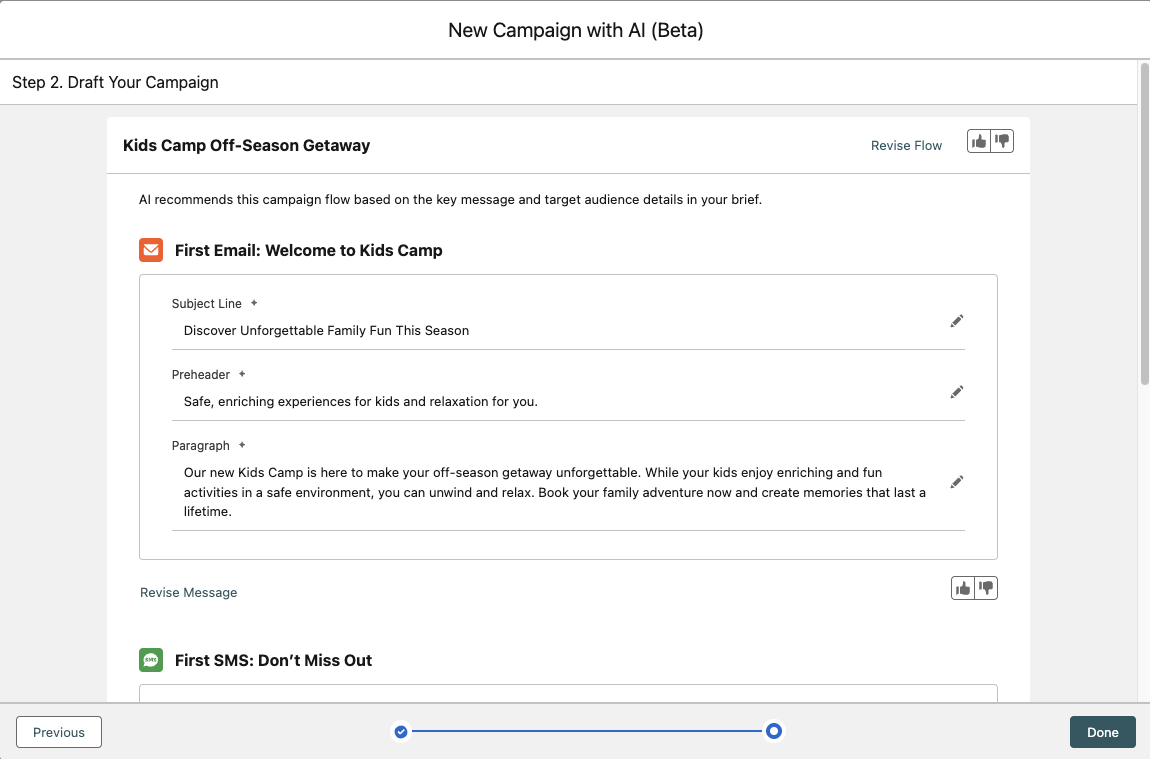
Click Revise Flow. You can define a sequence of Email and SMS messages using natural language. Try inserting the following prompt, then click Next.
3 emails first, then 2 SMSReview and validate the sequence of your campaign flow, then click Done.
You will see a campaign screen open, which will now have the content from all five of your messages for you to review and revise.
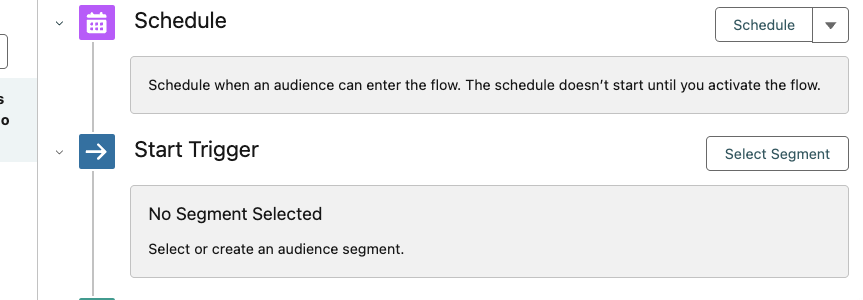
In the same campaign record, click Select Segment next to Start Trigger.
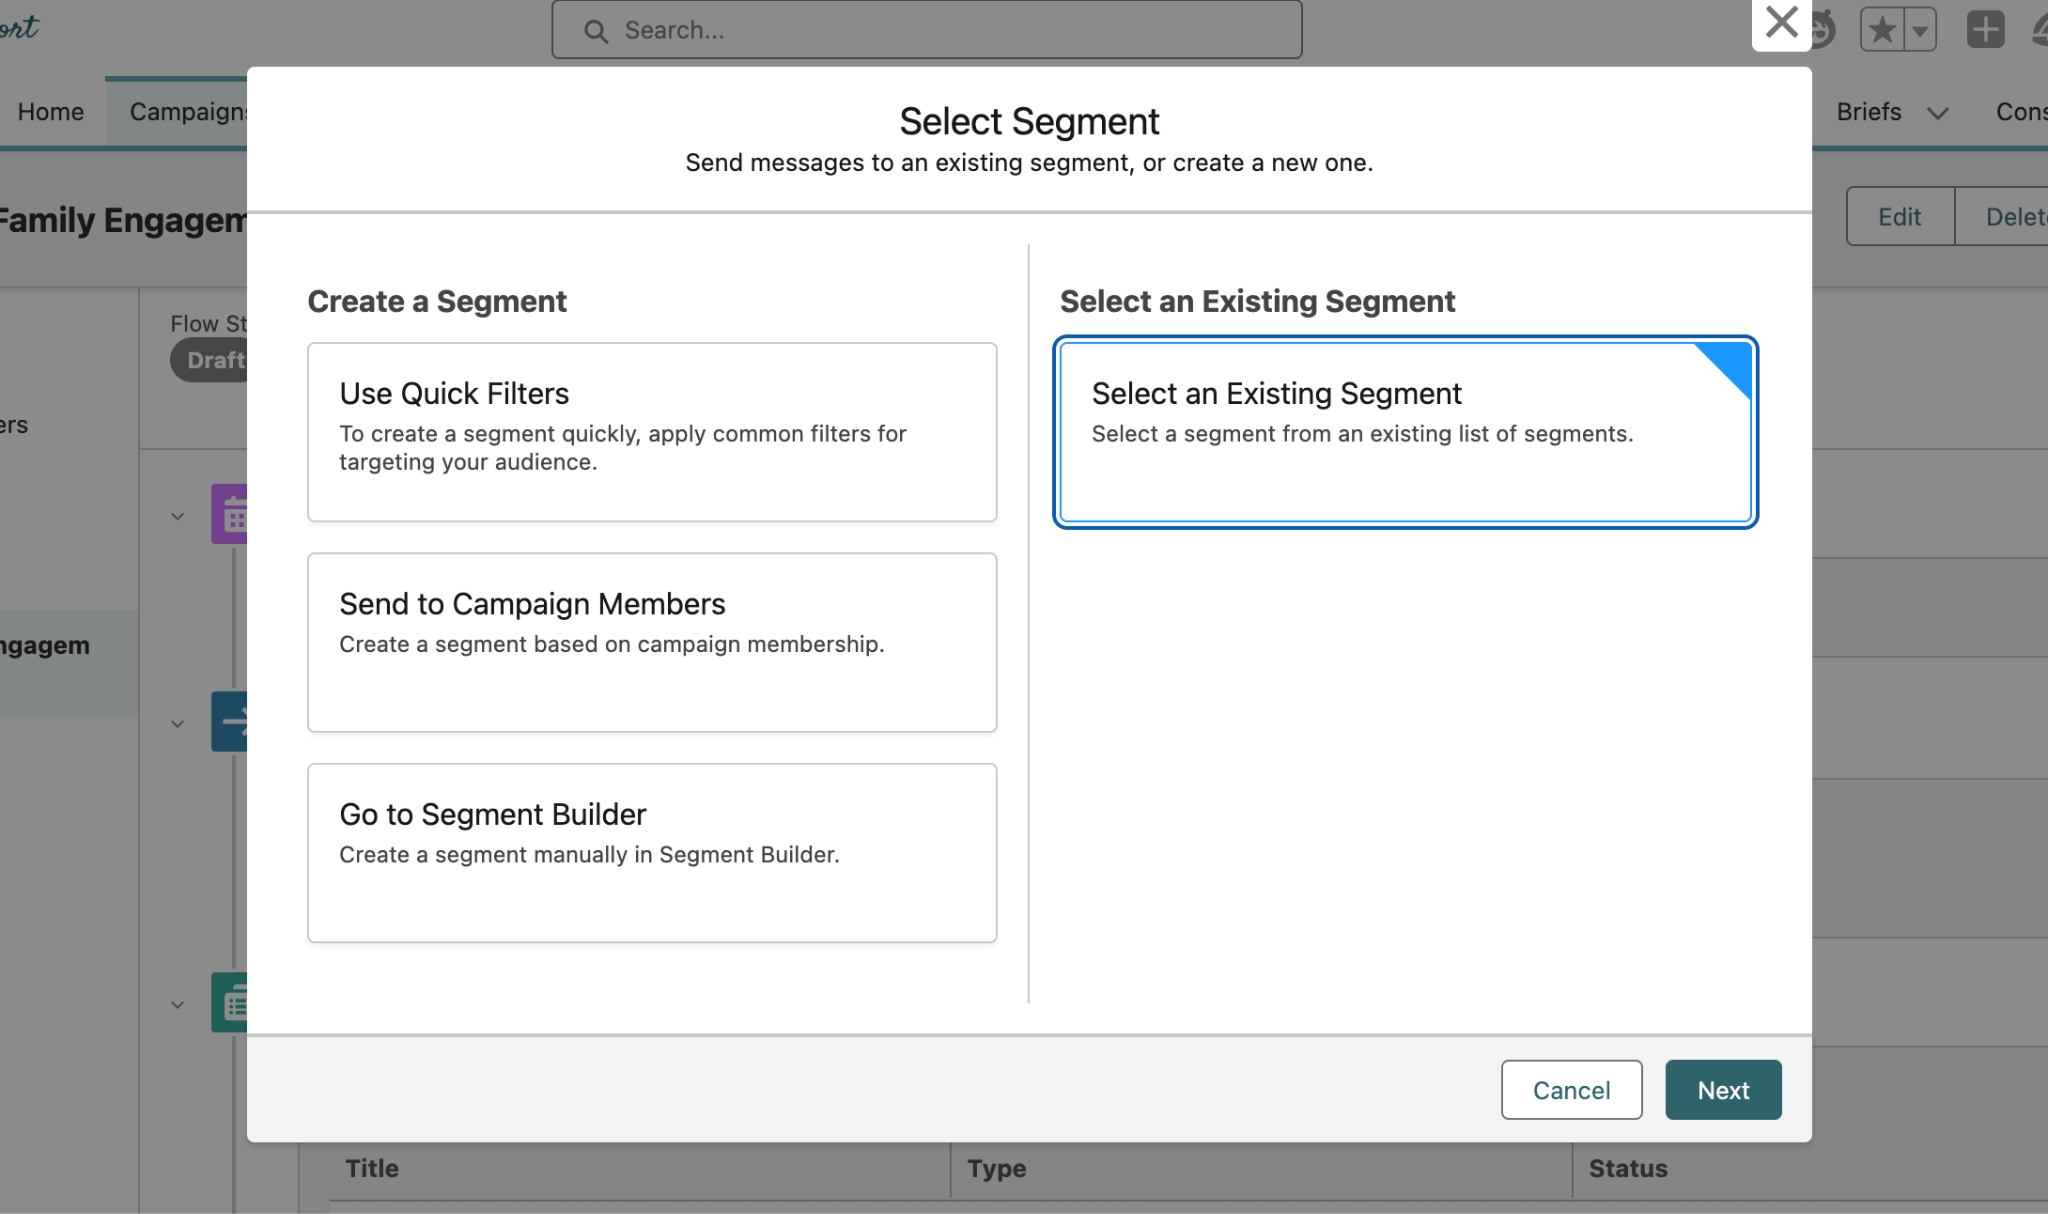
In the pop up window that appears, click on Select an Existing Segment. We will make use of the segment that we created earlier in the workshop.
Find and select the segment we created earlier in the exercise from the drop down menu, and click Save in the bottom right after.
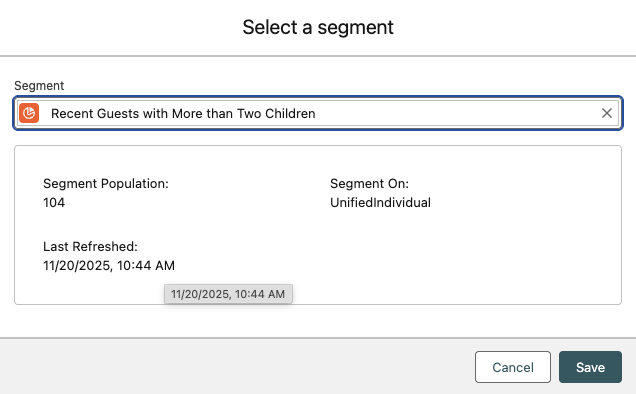
Given the nature of Generative AI, you may have a different segment name than what you see above.
This completes Exercise 6.